WARDOGS Anti-Air FOB Guide: Build IIEKKO's Compact AA Nest
Build IIEKKO's compact anti-air FOB in WARDOGS: Recon Tower alignment, 8-block Brimstone walls, double blast doors, roof bunker, and jitter-free AA placement.
FAQ
Why use Brimstone walls instead of standard blocks for an anti-air FOB?
Which hammer tier do I need to build this anti-air FOB?
How do the double blast doors stop C4 rushes?
Why does the Recon Tower need to overhang the FOB by one block?
Enemy helicopters and transport runs can erase a frontline in seconds if your squad has no dedicated air denial. A flat, open FOB with a single AA emplacement on the ground is an easy C4 gift — one breacher slips inside and your gunner is dead before the turret finishes rotating.
IIEKKO’s compact anti-air FOB solves that problem by stacking Brimstone walls, dual blast-door choke points, and a roof-mounted AA nest into a footprint small enough to drop on any flat clearing. This illustrated walkthrough breaks the 334K-view build into seven verified steps, each paired with in-game screenshots and deep links to the source video.
For FOB supply basics and general perimeter layout, start with our FOB building guide. When the base comes under assault, switch to the FOB combat walkthrough for breach defense tactics.
Source and Verification Card
| Field | Detail |
|---|---|
| System | FOB fortification, Brimstone walls, blast doors, Anti-Air turret |
| Key Build | Compact roof-mounted AA nest with dual-door C4 protection |
| Hammer Required | Level 3 (large) — Recon Tower, Brimstone, Hesco, AA turret |
| Source Channel | IIEKKO |
| Source Video | The Ultimate Anti-Air FOB in Wardogs! |
| Runtime | 4:28 |

IIEKKO — The Ultimate Anti-Air FOB in Wardogs!
Step 1: Pick Flat Ground and Align the Recon Tower
Deploy your FOB on flat, open terrain with clear sky sightlines — hills and tree lines block AA tracking arcs. Equip the Level 3 hammer, open the build menu, and select the Recon Tower.
Stand on top of the FOB unit and place the tower so its left edge overhangs the FOB foundation by exactly one block. That single-block offset is the alignment anchor: every Brimstone wall and roof segment you add afterward will snap flush to the grid instead of leaving exploitable gaps.
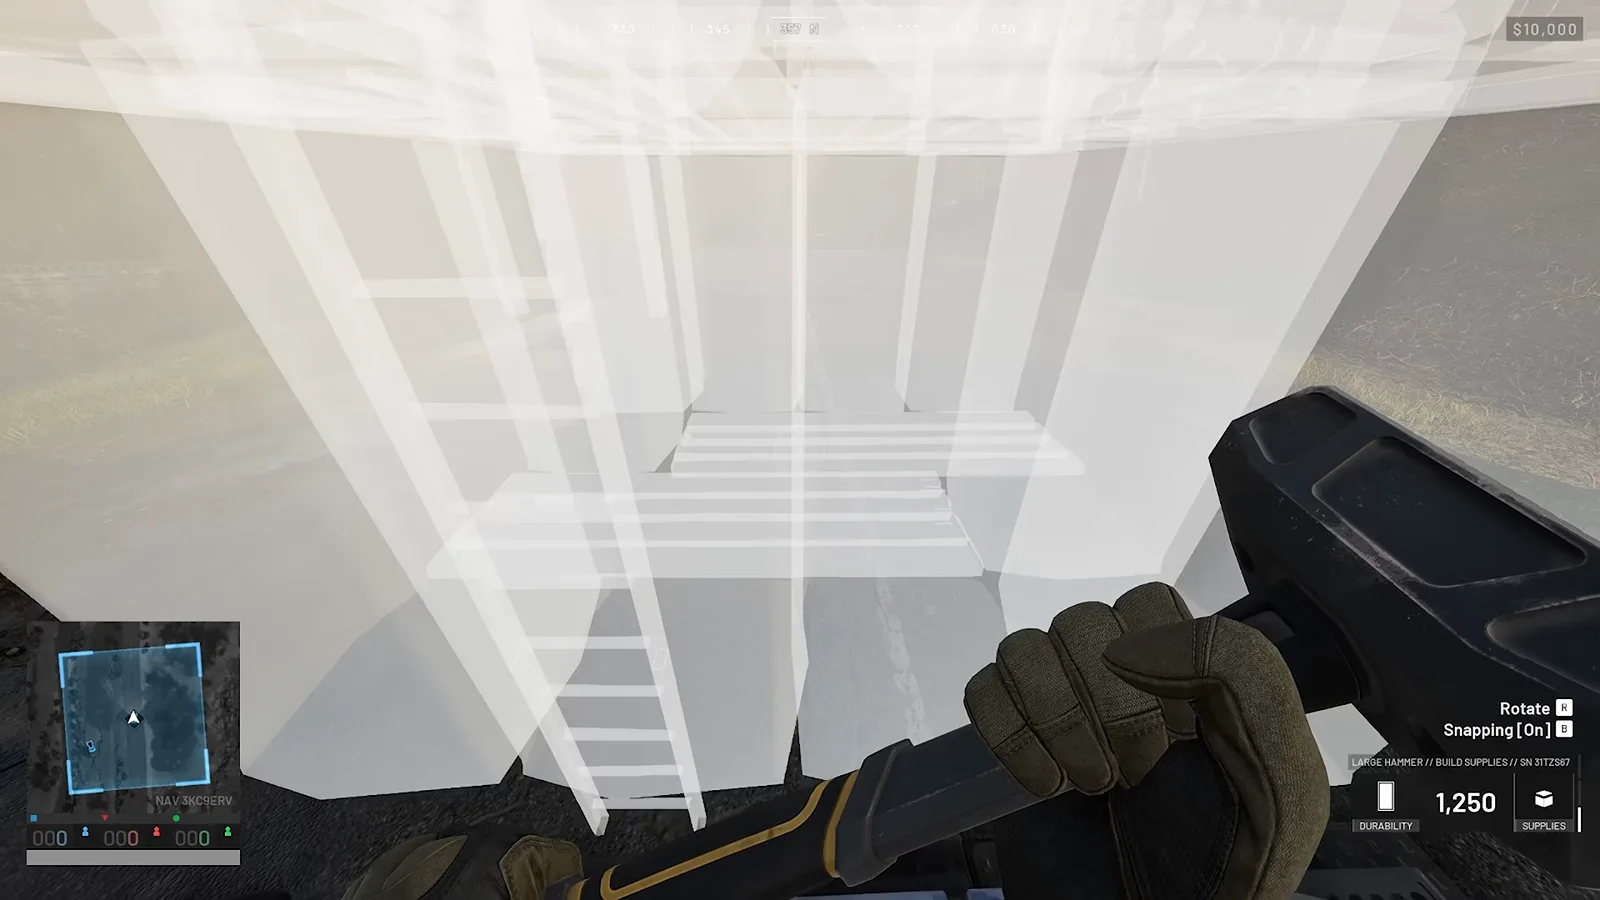
Deep link: Watch Recon Tower alignment (0:25).
Step 2: Ring the Core with 8-Block Brimstone Walls
Brimstone walls are the backbone of this layout. Each segment has twice the blast resistance of a standard block, and the sloped outer face deflects explosive damage away from the interior.
Build 8 blocks high around the front and side faces of the FOB, then add 4 blocks on the rear and 8 blocks on the opposite flank until the entire core is wrapped. Always orient walls sloped side outward, flat side inward — reversing the angle halves the blast protection.
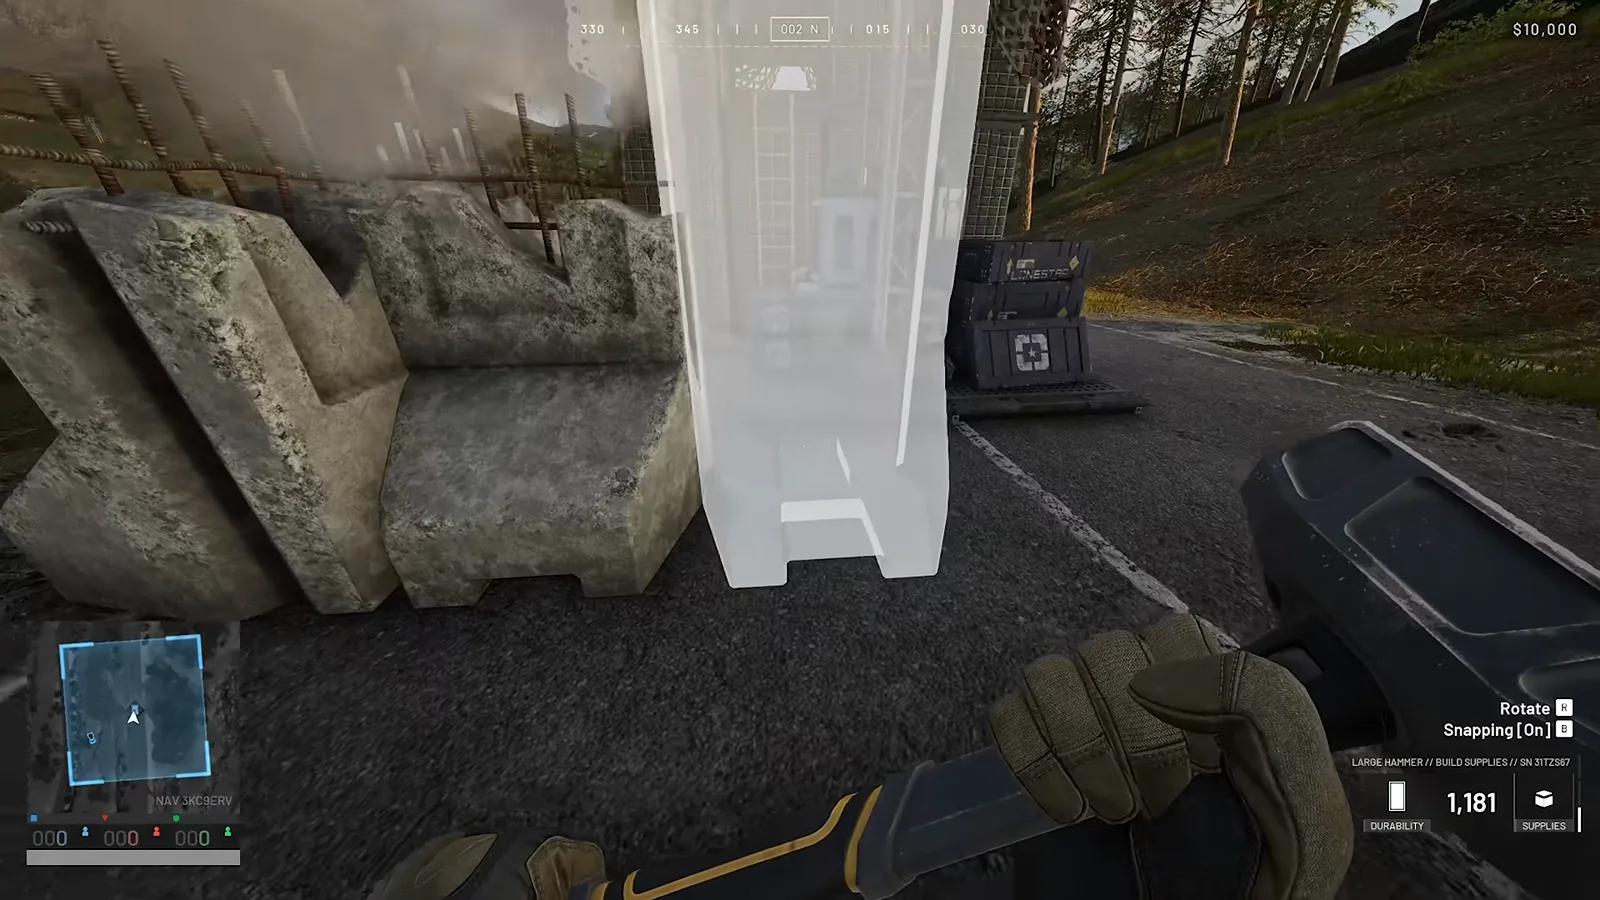
Deep link: Watch Brimstone perimeter construction (0:55).
For heavier fortification patterns beyond this compact AA nest, see our advanced FOB fortifications walkthrough.
Step 3: Carve the Entrance and Install Double Blast Doors
Leave one side of the perimeter unsealed for your access corridor. On that open face:
- Remove the outer corner block on the right side of the entrance gap so the corridor widens into a turn.
- Knock out the inner right-corner block to create a zigzag path attackers cannot sprint through.
- Install two blast doors — the outer door swings inward, and the inner door sits deeper in the choke, forming a dual-layer C4 barrier.
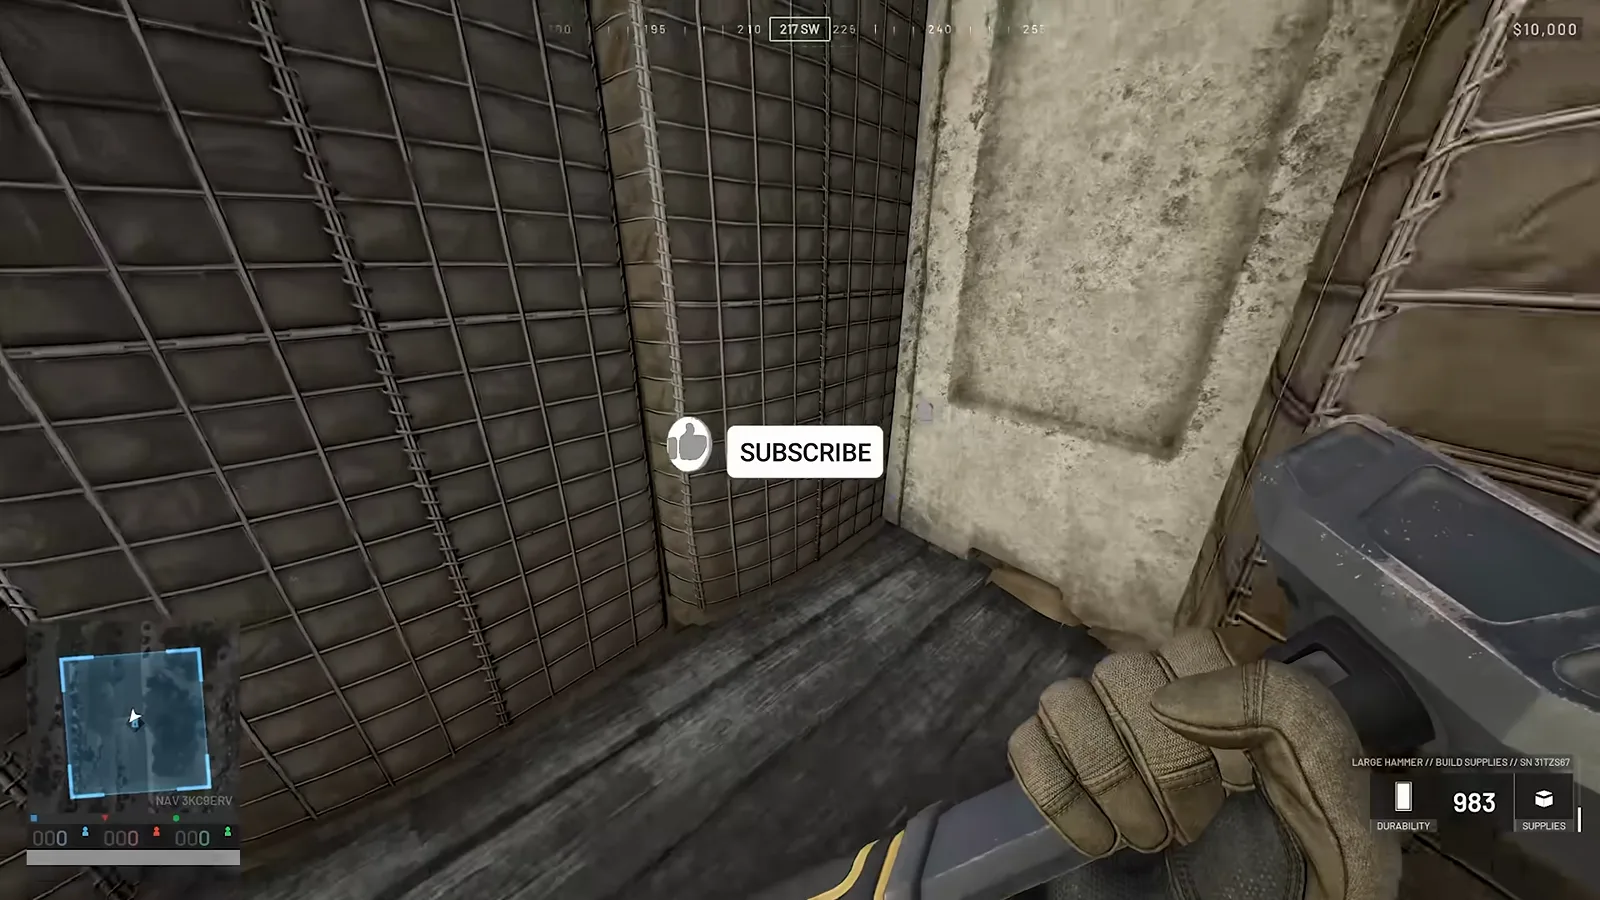
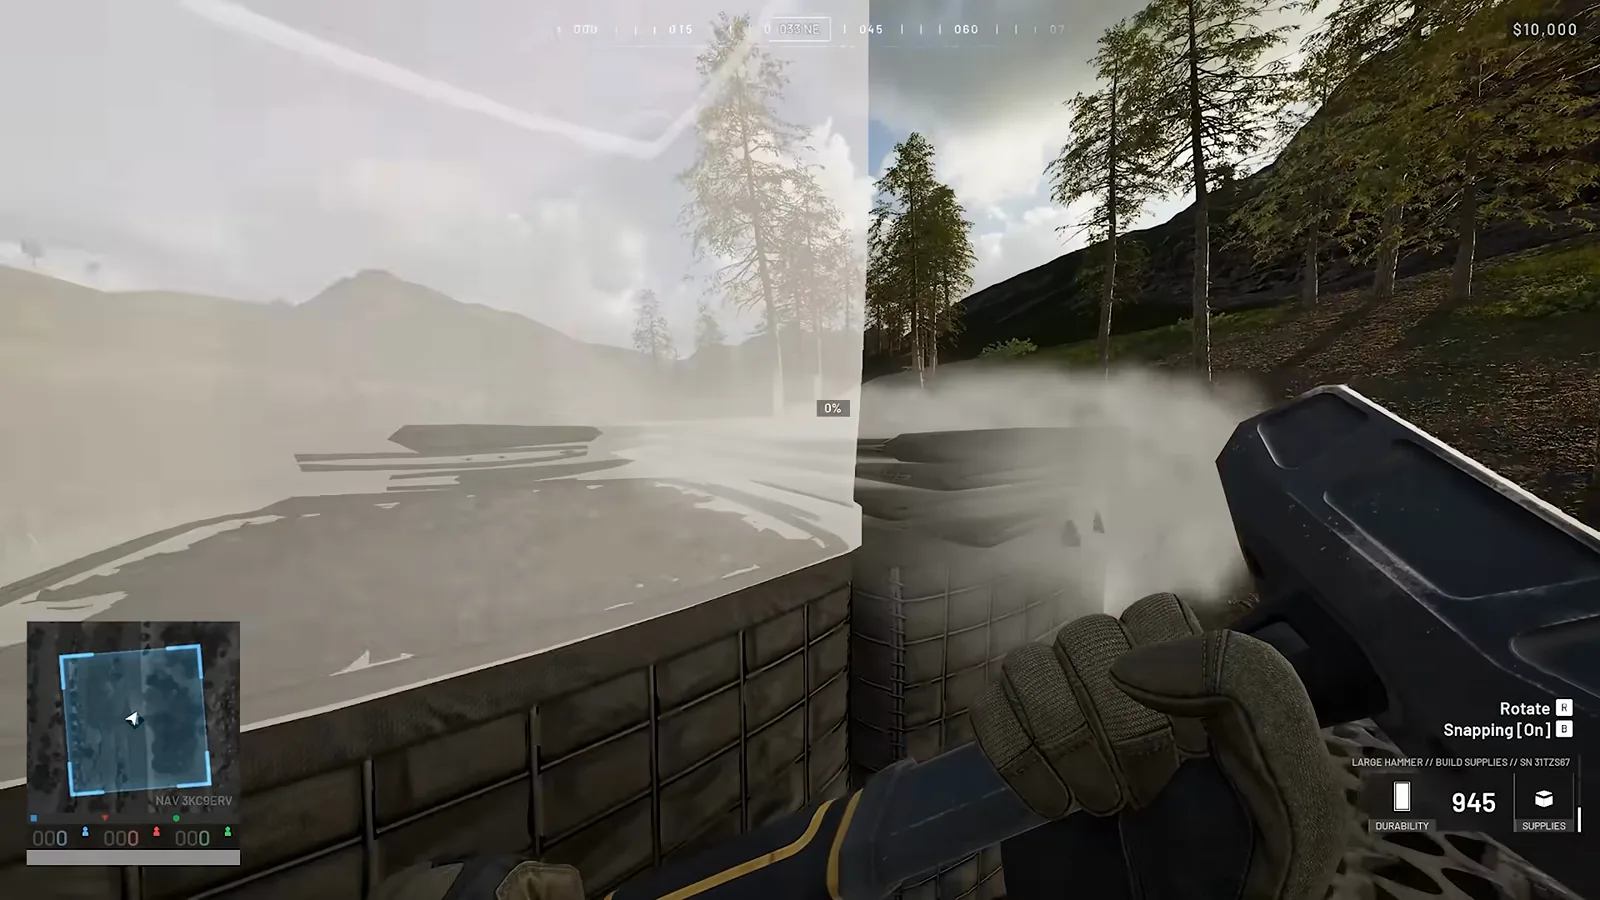
Deep link: Watch entrance breach and door install (1:35–2:25).
Step 4: Build the Interior Jump-Up and Climb to the Roof
Inside the walled FOB zone, place a single Brimstone wall segment flat on the ground to act as a jump-up platform. This low step is your launch point for reaching the roof without building an external ladder enemies can climb.
Use the pre-placed ladder on the Recon Tower to climb to the upper platform, then jump across onto the interior jump-up wall and vault onto the roof surface. Practice the jump once in a safe zone — missing the platform sends you back to ground level inside a locked perimeter.
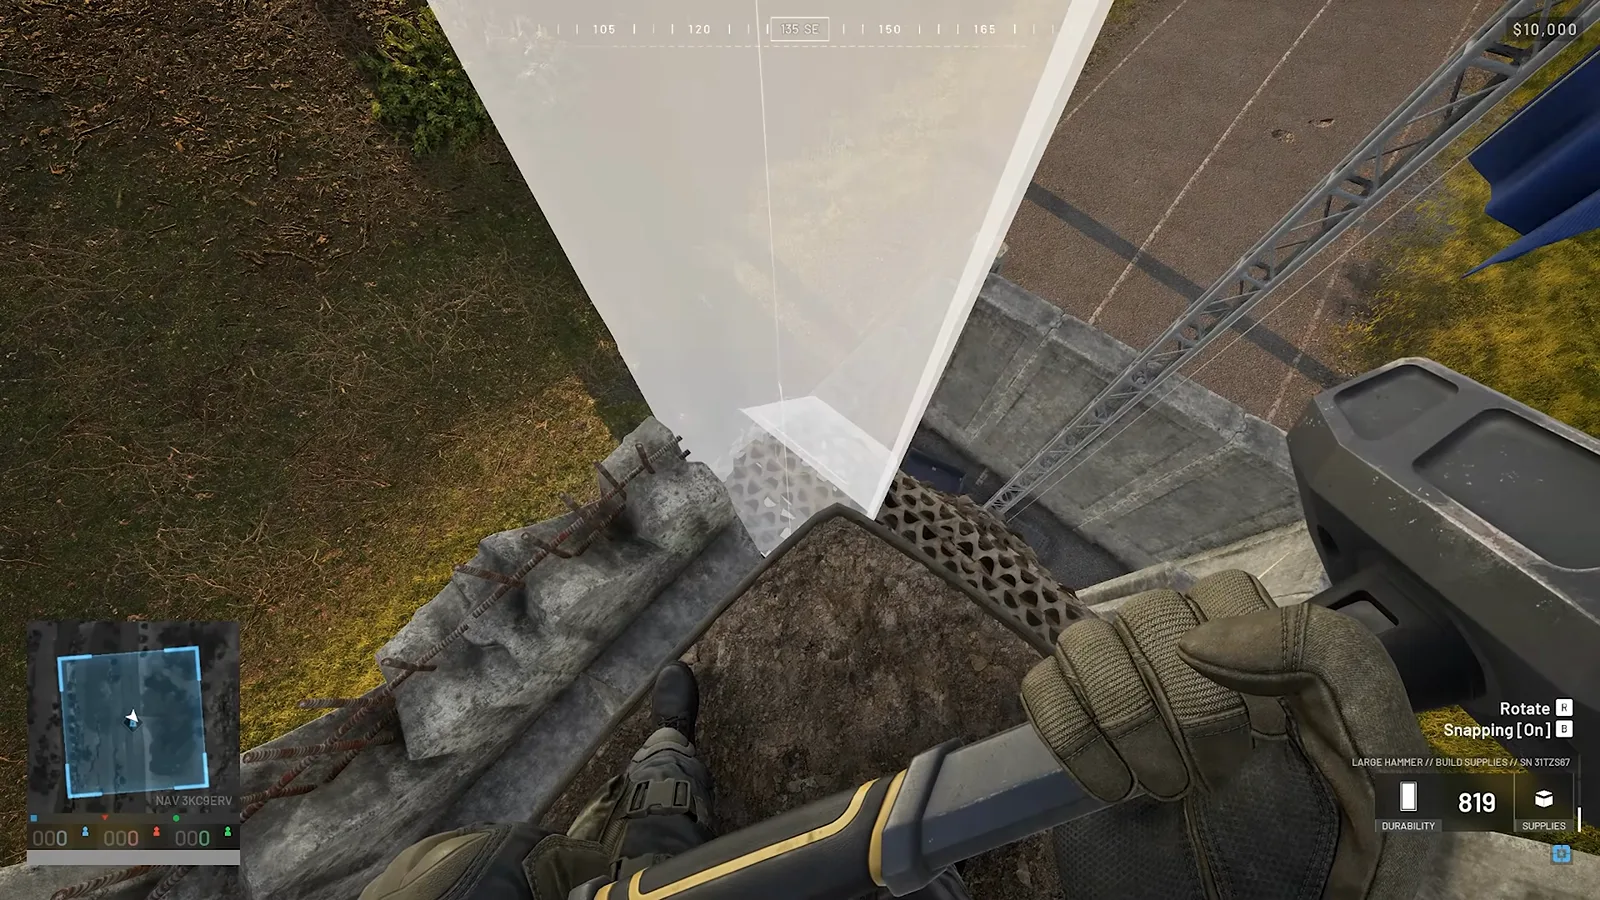
Deep link: Watch interior jump-up and roof climb (3:05).
Step 5: Fortify the Roof with Hesco Bunkers and Brimstone Parapets
Once on the roof, raise the existing 4-block roof layer by one Hesco tier to create head-height cover for the gunner. Then ring the roof edge with Brimstone wall segments, leaving deliberate narrow firing slits at the access points so you can slip in and out of the AA nest without exposing your full silhouette.
The slits should face the most likely helicopter approach vectors while blocking ground-level rifle fire from the sides.
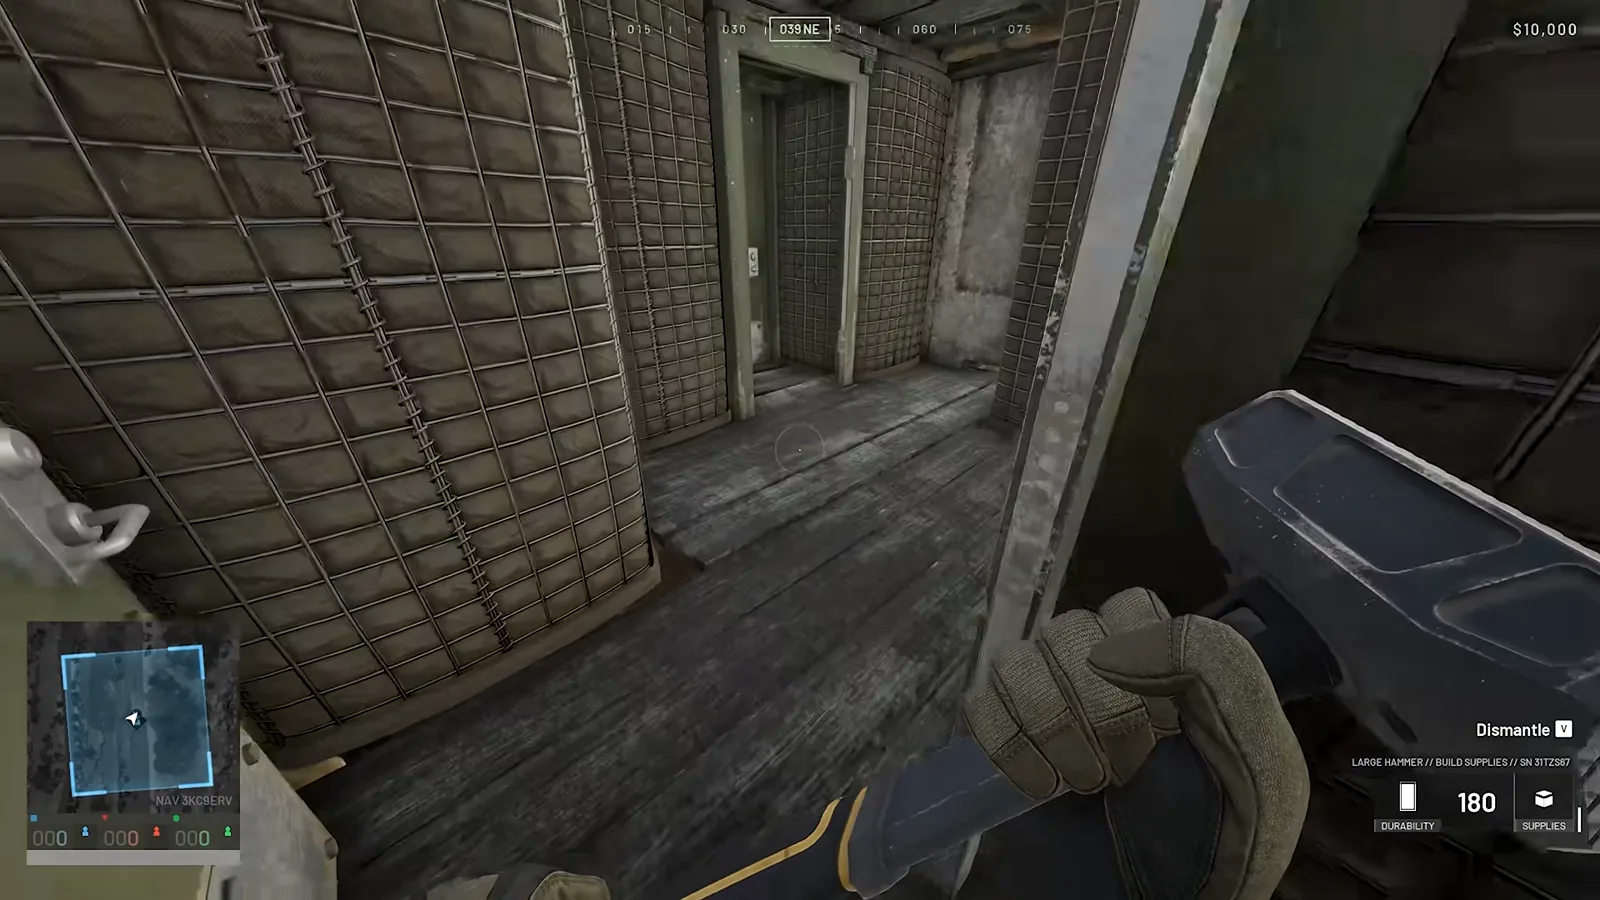
Deep link: Watch roof Hesco and Brimstone fortification (3:55).
Step 6: Mount the Anti-Air Turret with Zero Camera Shake
Select the Anti-Air turret from the Level 3 build menu and place it on the fortified roof platform. The turret needs unobstructed sky coverage — trim any Brimstone segment that blocks the barrel traverse arc before you commit supplies.
Hammer distance trick: back away until you are at the maximum range where the build percentage still appears, then strike. At that distance the hammer swing barely moves your camera, preventing the view jitter that causes missed placements on narrow roof platforms.
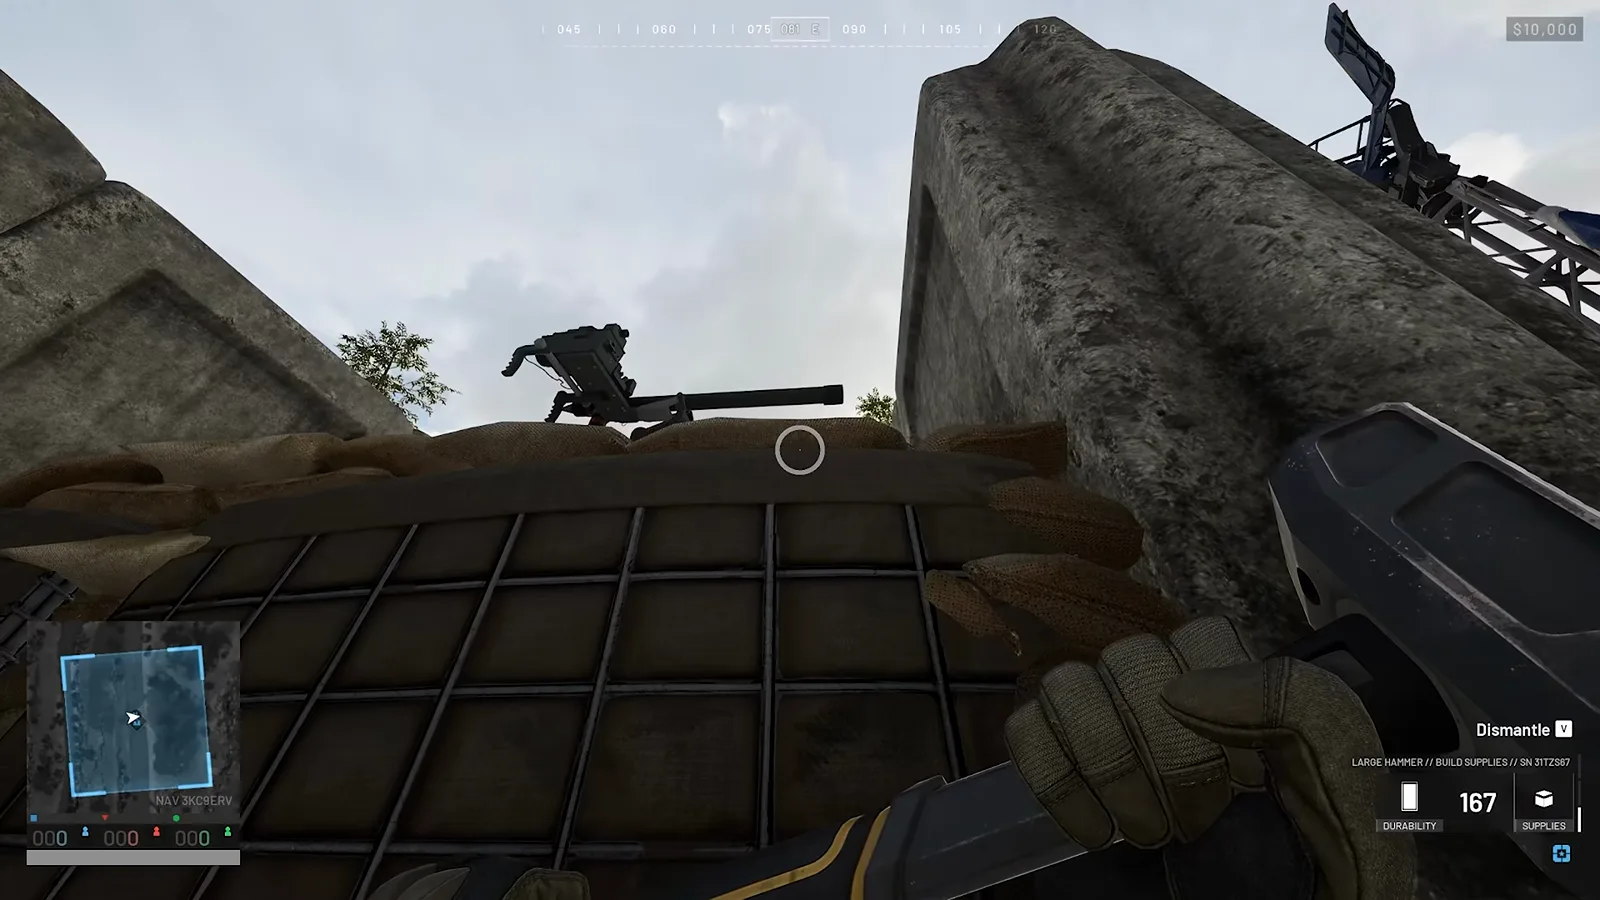
Deep link: Watch AA turret placement technique (4:15).
Pair this AA nest with our anti-tank emplacement guide to cover both air and ground threats on the same frontline. Pilots trying to bypass your AA coverage will still need to respect ground-based AT — and your gunners can learn incoming approach patterns from the helicopter flight walkthrough.
Step 7: Final Walkthrough of the Completed Compact AA FOB
The finished layout is a self-contained AA fortress: Brimstone walls absorb breaching explosives, dual blast doors funnel attackers into kill zones, the roof bunker shields the gunner, and the turret commands the surrounding airspace from an elevated, hard-to-reach position.
Walk the full entry path once as a defender, then once as if you were breaching — note every corner where you would pre-aim an RPG or C4 toss. That rehearsal takes 30 seconds and prevents the most common failure: building a perfect turret nobody can reach in time during a helicopter push.
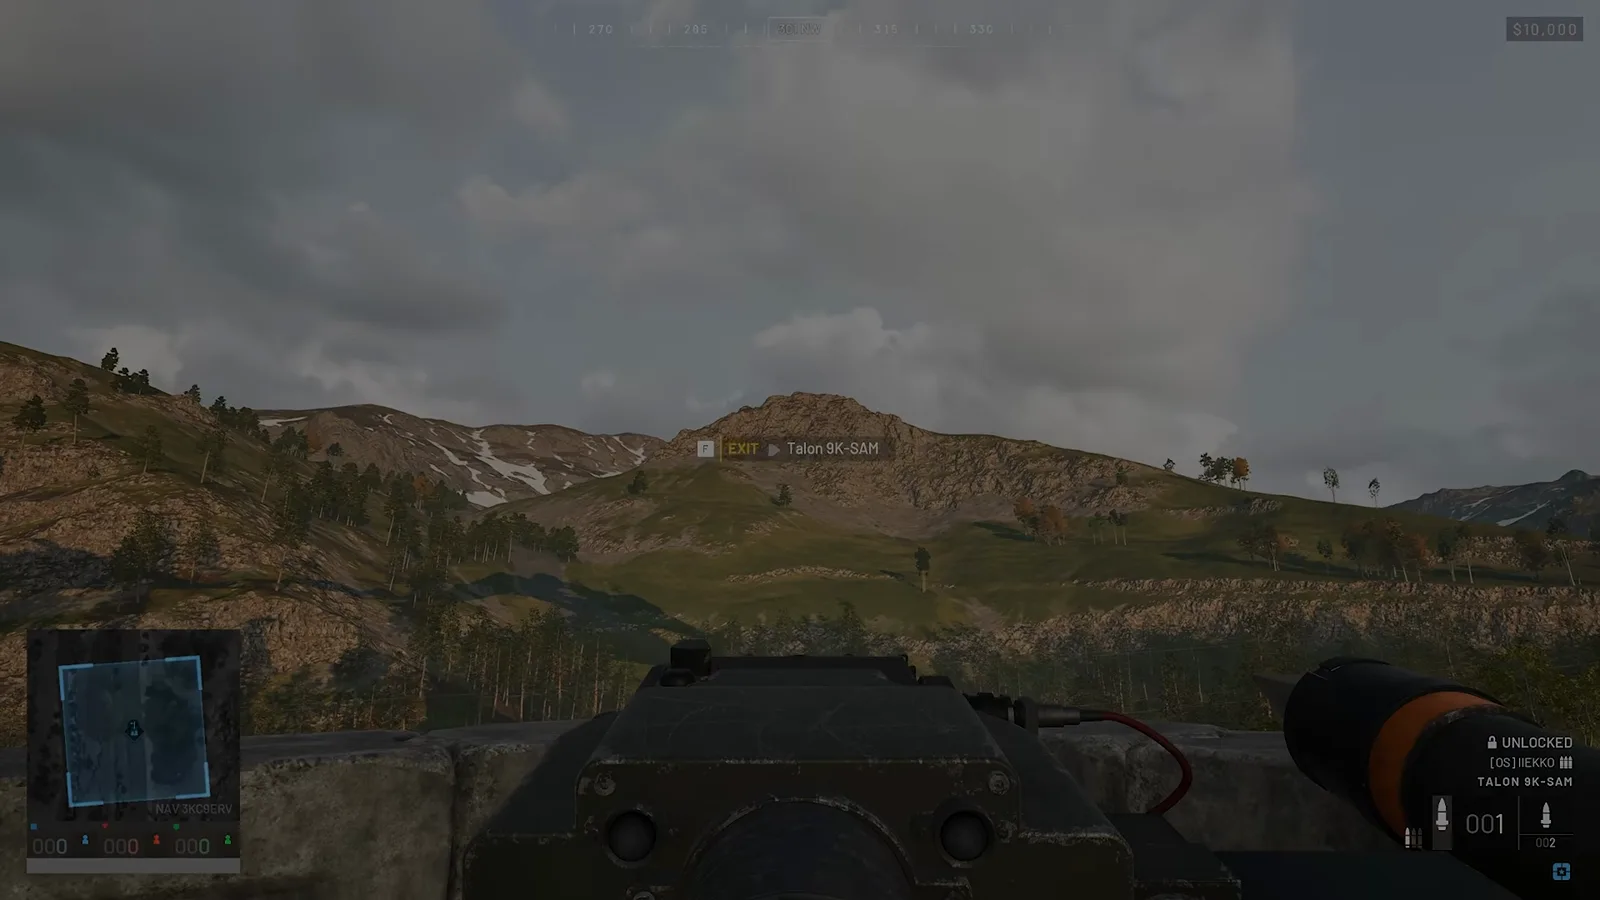
Deep link: Watch the finished AA FOB overview (4:25).
Quick Reference: Build Order Checklist
| Step | Structure | Height / Count | Critical Detail |
|---|---|---|---|
| 1 | Recon Tower on FOB | 1 unit | Left edge overhangs 1 block |
| 2 | Brimstone perimeter | 8 / 4 / 8 blocks | Sloped face outward |
| 3 | Blast door corridor | 2 doors | Zigzag choke, inner door deeper |
| 4 | Interior jump-up | 1 flat Brimstone | Tower ladder → jump → roof |
| 5 | Roof Hesco + parapet | +1 Hesco layer | Narrow slits at access points |
| 6 | Anti-Air turret | 1 emplacement | Max-range hammer strikes |
| 7 | Entry Hesco (optional) | 1 block | Blocks C4 during construction |
Related Articles
fixes
WARDOGS Stuck on Loading Screen Fix: Infinite Loading & Black Screen
Fix WARDOGS stuck on loading screen, infinite logging in, and black screen on launch. Work this 5-step ladder from process cleanup to shader cache reset.
guides
WARDOGS APC Garage Build Guide: JayWayyGaming Quick Bunker Layout
Build JayWayyGaming's quick APC garage in WARDOGS: dual IDF shelter foundation, Hesco roof layers, satellite antenna protection, and a garage-door variant.
guides
WARDOGS Driver Leveling Guide: 750K XP Path to L2A6 Tank
Fast-track Driver class to Level 35 (750K XP) in WARDOGS: Kodiak starter loops, Ural dual-pallet suicide logistics, spawn-vehicle passive XP, and armed roadkills.
Was this helpful?
Thanks for the feedback!