WARDOGS Maps and Tri-Faction Tactics: 100-Player Control Strategy
Master WARDOGS 100-player 3-faction warfare: map breakdown of Kolchia, Kavkazi, Bakurani, control zones, and tri-faction positioning tactics.
FAQ
How do 100-player 3-faction matches work in WARDOGS?
What are the three launch maps in WARDOGS?
How many total map configurations ship with Early Access?
Why is triangular positioning critical in 3-team warfare?
Most military simulation and tactical shooters stage battles between two opposing armies. Two battle lines form, trade artillery, and push across predictable choke points. WARDOGS shatters that paradigm by placing 100 players into three distinct factions (33 vs 33 vs 33) fighting across expansive 2x2km combat zones.
When three armies collide over a single objective, the mathematics of combat invert. Direct frontal assaults are suicidal, and victory belongs to squads that understand the strategic geometry of triangular warfare. This comprehensive operational guide breaks down the three confirmed launch maps—Kolchia, Kavkazi, and Bakurani—and teaches you how to conquer control zones, establish fortified forward operating bases (FOBs), and extract with full squad bankrolls.
The Tri-Faction Dynamic: The Geometry of Third-Partying
The fundamental rule of WARDOGS is that two fighting forces create an opportunity for the third. When Alpha faction commits three armored vehicles to assault Bravo’s fortification at a central oil derrick, Charlie faction holds the ultimate veto.
            [Objective: Oil Derrick]
                   ▲        ▲
                  /          \
                 /            \
       [Faction Alpha] ◄────► [Faction Bravo]
         (Engaged)              (Engaged)
                 ▲
                  \
                   \
             [Faction Charlie]
             (Flank & Wipe Angle)
Key principles of 3-team engagement:
- The Danger of Initiating First: If your squad opens fire first on an entrenched enemy, you alert the third faction to your exact firing positions.
- Patience as an Economic Strategy: Because lives cost persistent cash, allowing two rival squads to exhaust their high-tier ammunition and armored vehicles before you clean up is how wealthy squads build their reserves.
- The Tick-20 Safety Line: As detailed in our beginner guide, surviving to tick 20 triggers a 90% loadout refund. Pushing the objective before tick 20 risks your entire investment; pushing after tick 20 is financed with minimal downside.
Map 1: Kolchia — Industrial Railyards & Concrete Complexes
Kolchia is a brutal industrial warzone defined by elevated conveyor systems, massive freight depots, and reinforced concrete warehouse complexes.
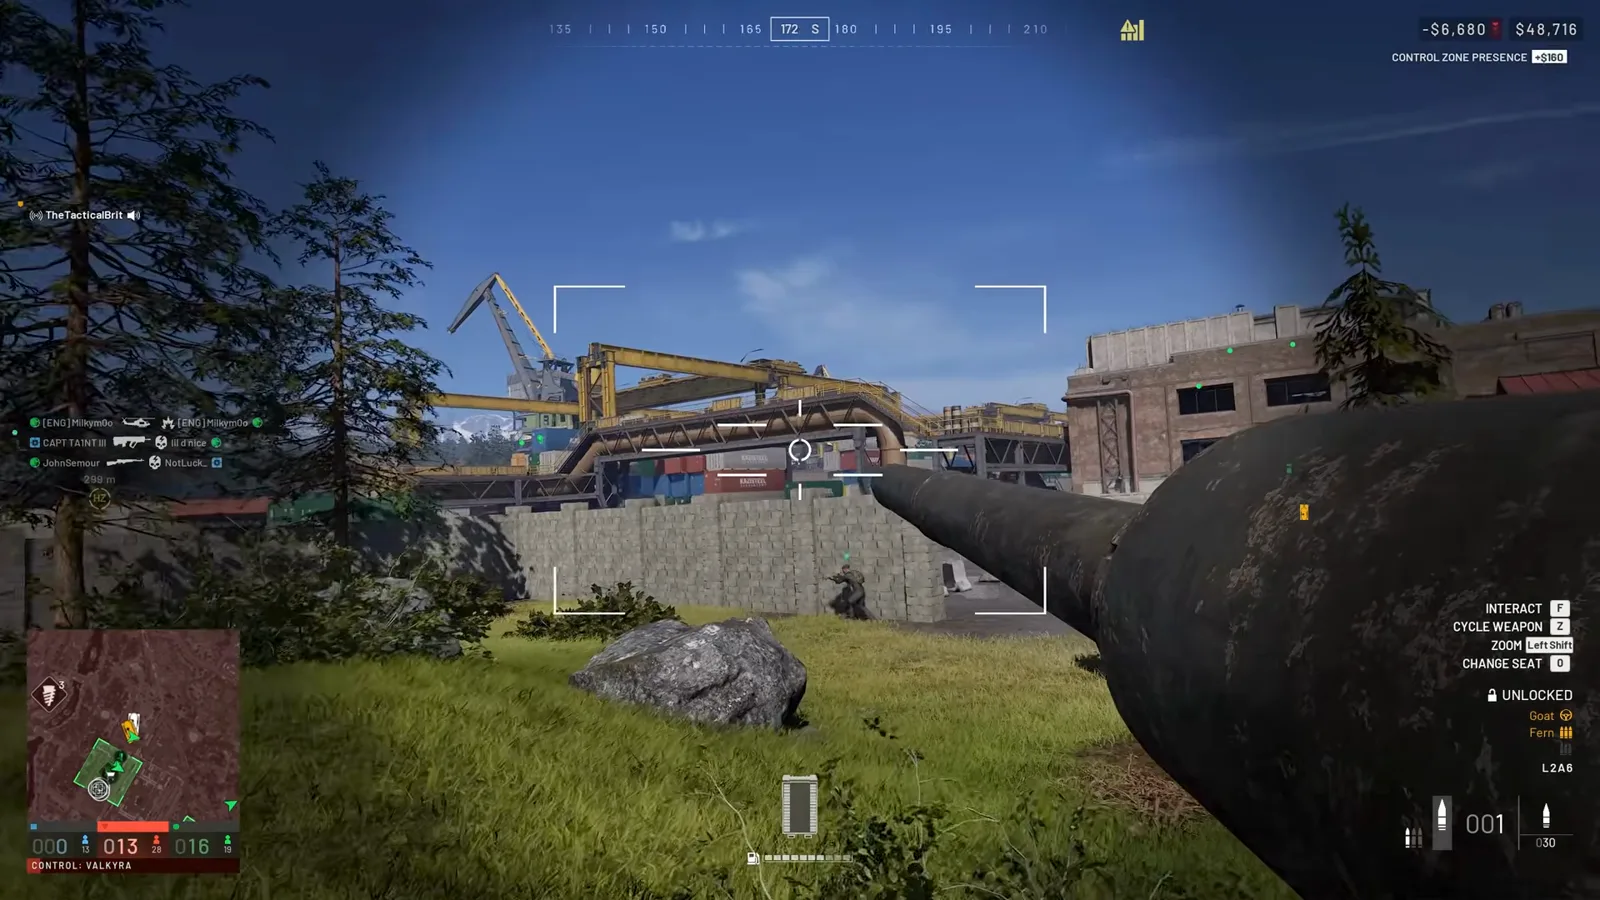 Kolchia features tight sightlines and intense close-quarters combat inside multi-story processing plants.
Tactical Profile of Kolchia
- Engagement Ranges: 15m to 150m. Submachine guns, compact carbines, and high-cyclic shotguns dominate indoor stairwells.
- Armor Mobility: Severely constrained. Tanks must navigate narrow service roads flanked by multi-story factory roofs where infantry can drop anti-tank munitions from above.
- Control Hot Zones: The Central Freight Train Hub is the primary capture area. Railyard cranes offer supreme sniper perches, but offer zero lateral cover once spotted.
- Recommended Setup: Review our best settings guide to optimize FOV and anti-aliasing for spotting enemies through metal catwalks and corrugated fencing.
Map 2: Kavkazi — Alpine Mountain Passes & Sunflower Fields
In stark contrast to Kolchia, Kavkazi is a vast, open expanse of rolling hills, terraced agricultural farmland, and sharp alpine ridgelines.
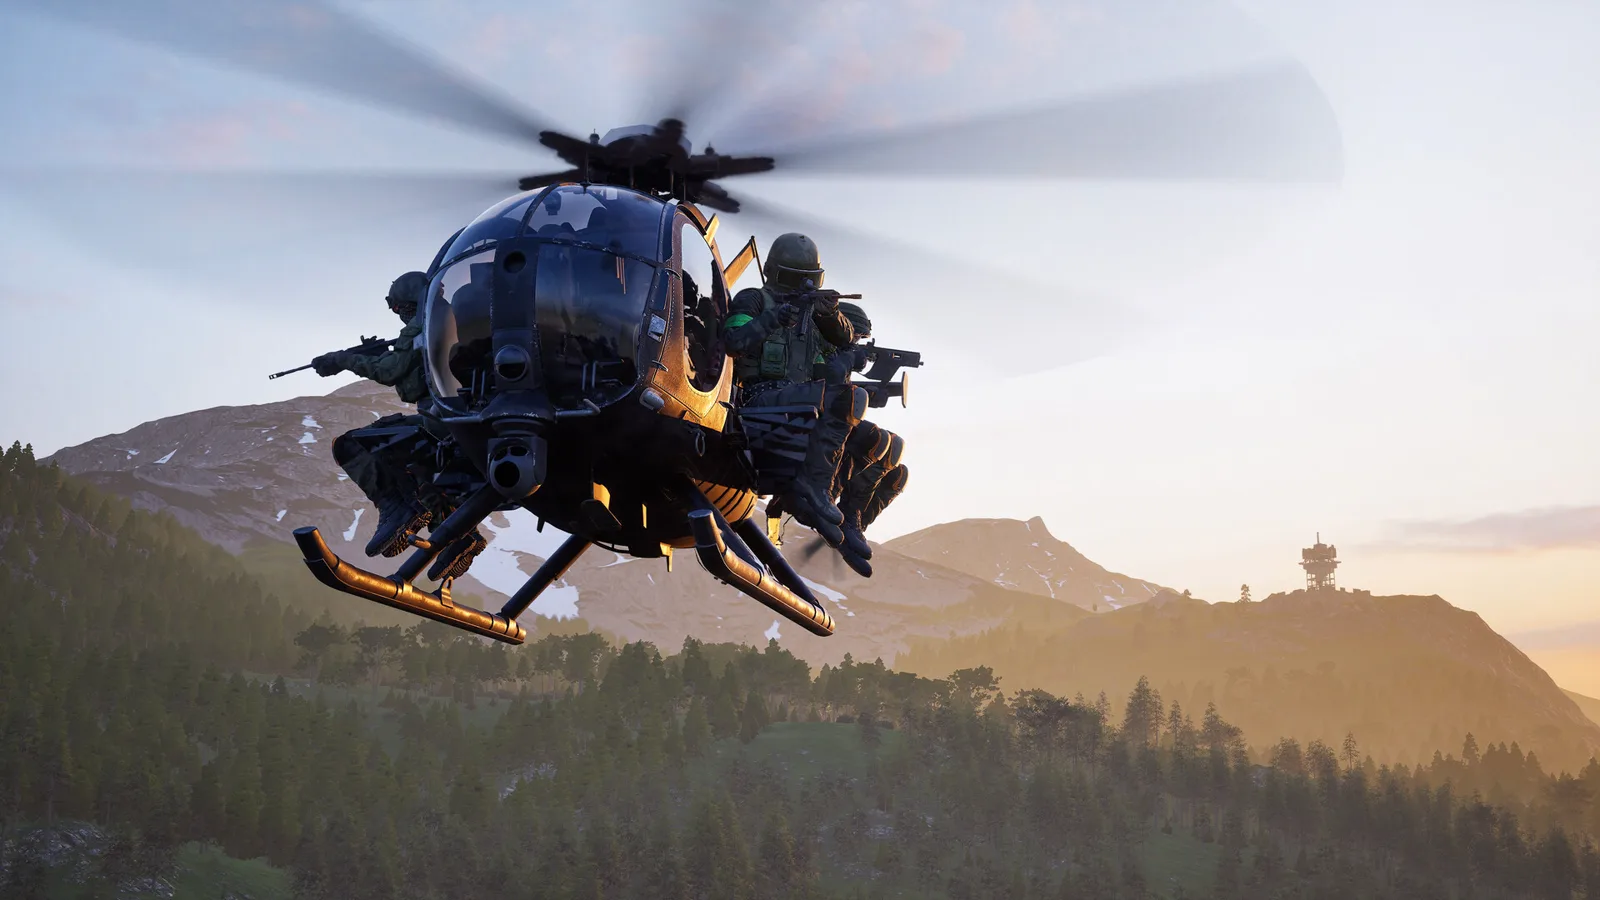 Kavkazi requires long-range ballistics and heavy vehicle escort to cross expansive sunflower plains safely.
Tactical Profile of Kavkazi
- Engagement Ranges: 100m to 800m+. High-magnification DMRs, bolt-action sniper rifles, and heavy machine guns dominate the valley.
- Armor Dominance: Kavkazi is paradise for armor commanders. As explained in our vehicles guide, maintaining proper hull angling in the sunflower fields allows tanks to deflect incoming fire while locking down valley crossings.
- Aviation Corridors: Helicopters can utilize steep ravines for low-altitude radar masking, popping up over hilltops for surprise rocket barrages before dipping back into defilade.
- Infantry Survival: Never sprint across open fields during daylight variants. Move along drainage culverts and dry creek beds to prevent getting spotted by thermal optics.
Map 3: Bakurani — Drilling Towers & Oil Infrastructure
Bakurani represents the economic heart of the conflict: a heavily contested desert extraction basin filled with towering oil derricks, pipeline networks, and refinery flare stacks.
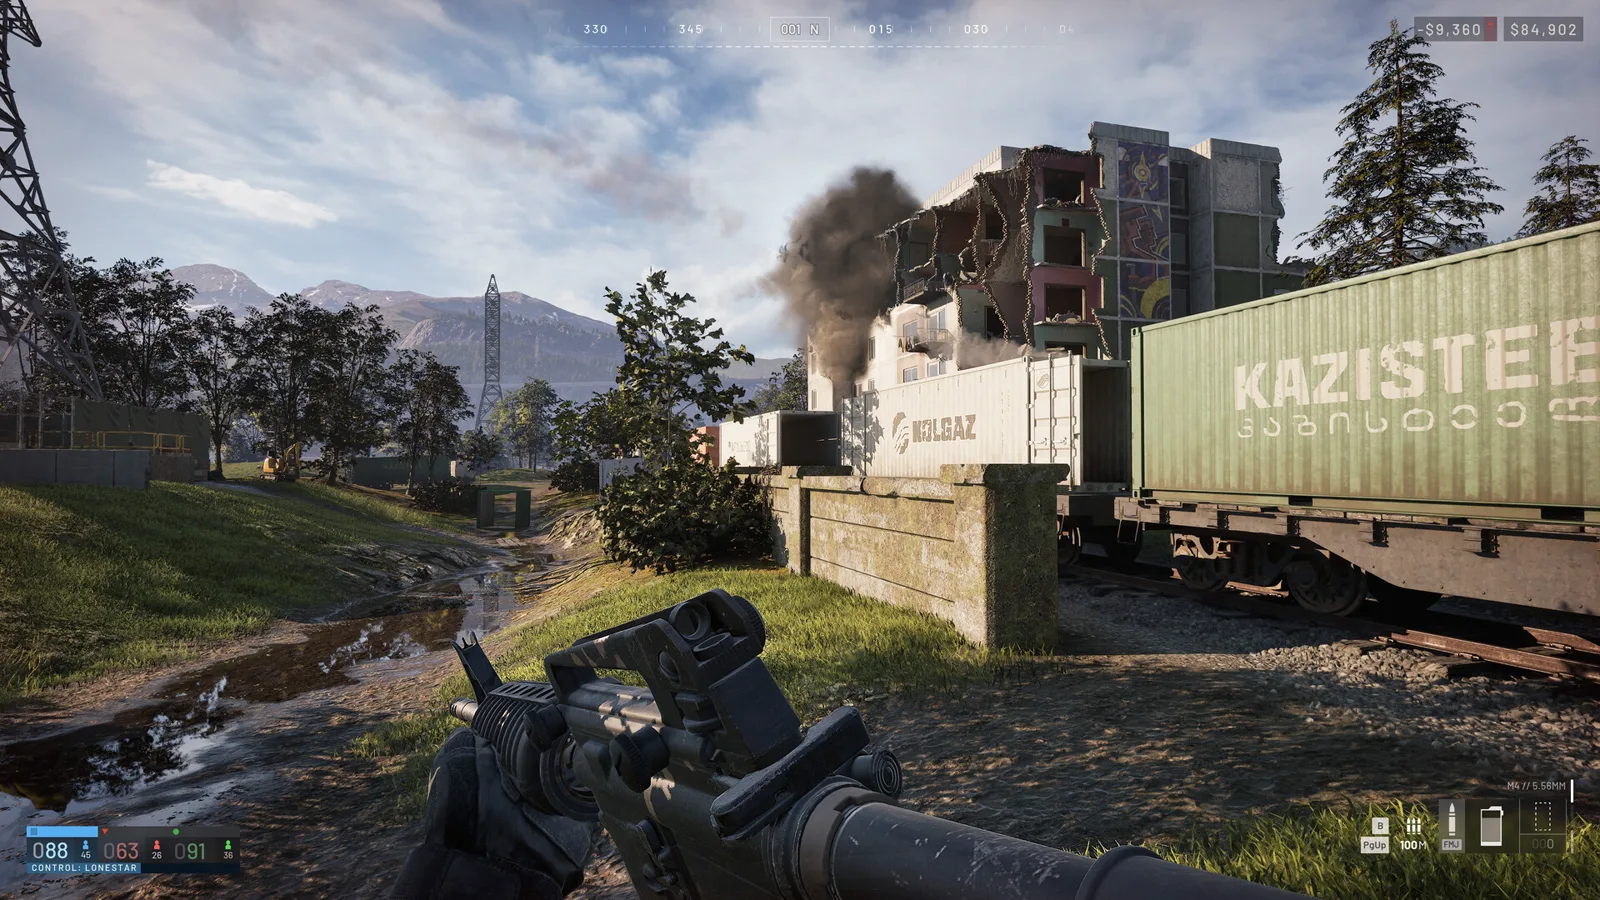 Bakurani centers around lucrative drilling towers that generate high cash payouts per tick.
Tactical Profile of Bakurani
- Verticality: Oil drilling towers provide 40-meter vertical platforms with ladder and zip-line access. Controlling the tower gives your squad vision over half the sector.
- Pipeline Pathways: Massive oil pipelines span the map, functioning both as high-speed elevated footpaths and bulletproof lateral cover against tank shells.
- Dust and Smoke Hazards: Desert dust storms and burning oil smoke frequently roll across the sector, drastically cutting visual range and making thermal optics mandatory.
Forward Operating Bases (FOB): Construction and Defense
In WARDOGS, territorial control is maintained by constructing forward operating bases (FOBs). A well-positioned FOB provides a squad respawn point, resupply crates, and vehicle repair gantries.
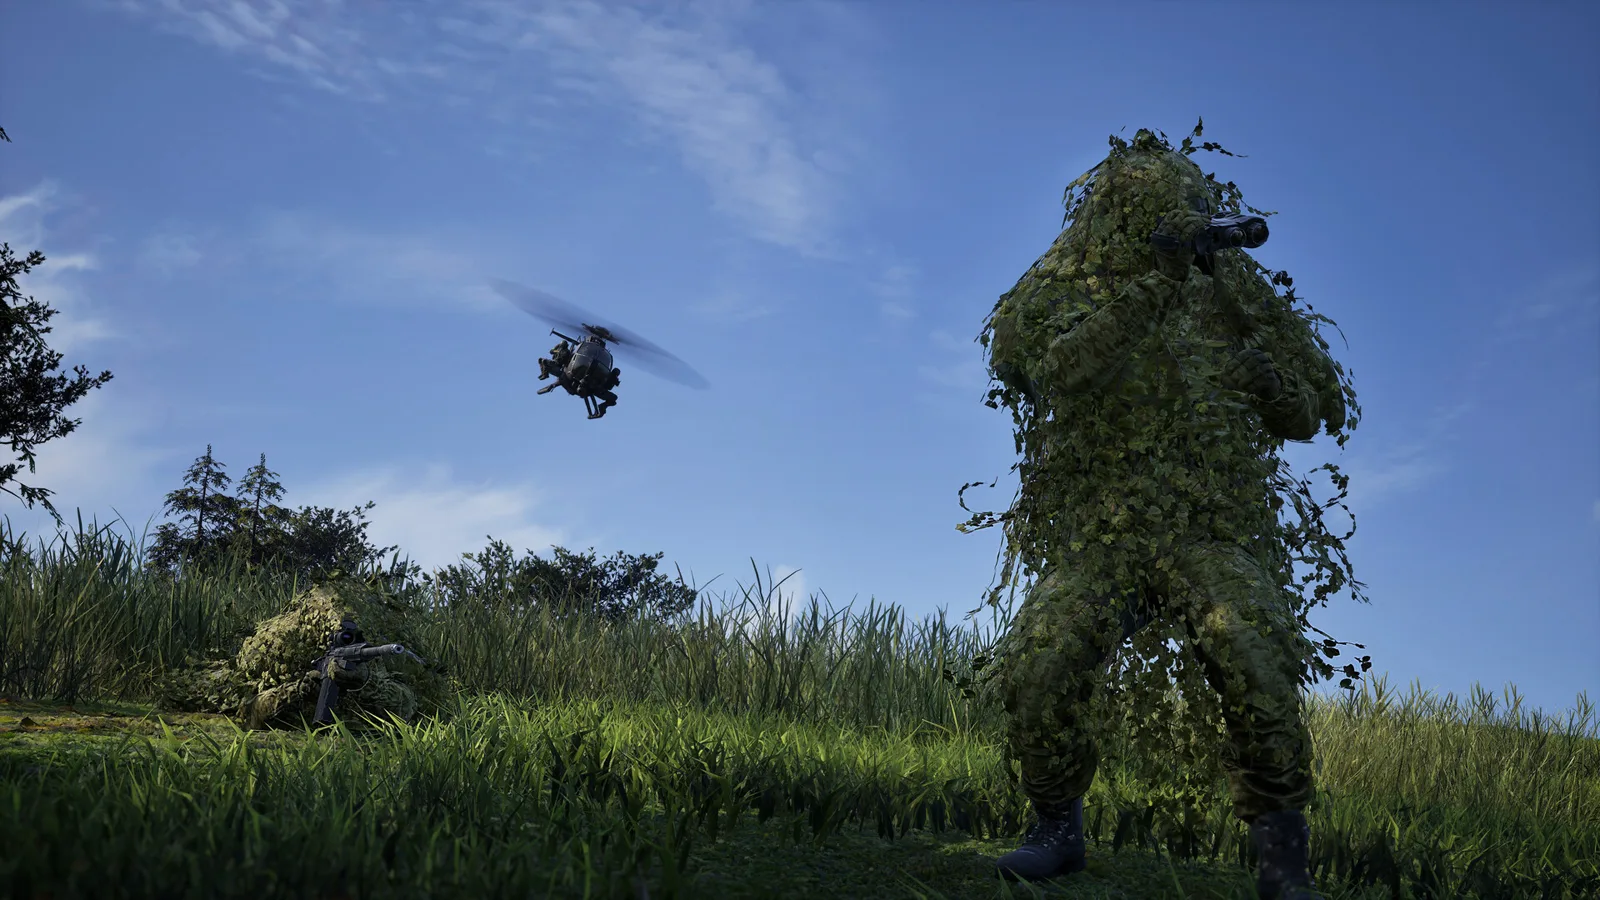 Concealed scouts overlooking an approach route provide early warning for base defense teams.
The Five Golden Rules of FOB Placement
- Never Place the Radio on the Objective: The radio hub radiates an audible hum. Place the radio 50 to 80 meters outside the capture point in a concealed basement or culvert.
- Double-Layer Sandbag Approaches: Build staggered sandbag walls rather than straight barricades to absorb explosive splash damage from artillery and RPGs.
- Establish 360-Degree Overwatch: Assign at least one long-range marksman armed with an accurate battle rifle from our weapons overview to monitor approach avenues.
- Camouflage Ammo Crates: Without resupply, defending infantry will exhaust anti-vehicle ordnance within two minutes of an armored assault.
- Prepare an Evacuation Route: Always have an armored vehicle or utility buggy positioned behind defilade for emergency tactical withdrawal if two rival factions converge simultaneously.
Zone Rotation and Extraction Strategy
Winning in WARDOGS does not require holding the hill until the final second; it requires leaving with more wealth than you invested.
- Check the Match Clock: Monitor server ticks continuously. If your squad holds the central objective at tick 18, prepare your perimeter defense. Once tick 20 triggers, your loadout is refunded, and you can play hyper-aggressively to secure the final victory bonus.
- Coordinate Smoke Corridors: When moving from the objective to an extraction heli-pad, deploy sequential smoke grenades to create a continuous 100-meter visual blind spot.
- Track Rival Reinforcements: If team Alpha wipes team Bravo, expect Alpha’s full armored strength to redirect toward your position within 90 seconds. Adjust your defense perimeter accordingly.
Map configurations, objective capture rates, and sector variants will be updated dynamically upon Early Access launch on September 10, 2026.
Related Articles
guides
WARDOGS FOB Combat Walkthrough: 100-Player Squad Assault Guide
Step-by-step illustrated walkthrough of WARDOGS 100-player FOB combat: squad insertion, smoke assault, defense setup, and vehicle extraction tactics.
guides
WARDOGS Vehicles Guide: All 21 Vehicles, Armor, Fuel and Economy
Complete WARDOGS vehicle guide for Early Access: stats, armor, fuel capacities, compartment HP, and how the per-life cash economy shapes vehicle deployment.
guides
WARDOGS Helicopter Flight Walkthrough: Controls, Hovering & CAS Tactics
Illustrated walkthrough for flying helicopters in WARDOGS: flight controls, hovering mechanics, low-altitude insertion, flares, and rocket CAS strikes.
Was this helpful?
Thanks for the feedback!