How to Destroy Tanks in WARDOGS: Infantry Anti-Tank Guide
How to destroy tanks in WARDOGS as infantry: rear and engine weak zones, mine and IED counts, RPG-7 flank play, and the two-man MAAWS kill drill.
FAQ
What is the best anti-tank weapon in WARDOGS?
How many C4 charges does it take to destroy a tank?
Where do you aim to destroy a tank in WARDOGS?
Do anti-tank mines destroy a tank in WARDOGS?
Every launch week produces the same voice-chat verdict — tanks are overpowered — and every launch week the verdict is wrong for the same reason: nobody has learned the counters yet. Two Early Access testers dug into it with firing-range tests, and both landed on the same conclusion. A tank’s front armor shrugs off nearly everything infantry carries, but the rear and engine take full damage, the tracks can be knocked out, and two clean rear hits shut the engine down completely.
This illustrated guide turns those tests into an escalation ladder you can actually play, from the cheapest tool to a coordinated squad kill: read the armor map, mine the routes, carry a $300 IED, work the RPG-7 on the flank, immobilize with a track shot, smoke and finish the engine, then run the MAAWS drill that killed a tank six seconds after the first trigger pull.
Source and Verification Card
| Field | Detail |
|---|---|
| Topic | Infantry vs. tanks: armor zones, explosives, launchers, time-to-kill |
| Primary source (facts) | DemoMan0351 — The Ultimate Tank Killing Guide - Wardogs (firing-range damage chart, two-man kill drill, IED economy) |
| Secondary source (footage) | GOLDMQ9 — launcher armor-zone and aim test (front/side/rear trials with RPG-7, MAAWS and anti-tank mines) |
| Cross-checked | Both tests independently agree on the weak zones: rear and engine take full damage, front resists penetration, turret and barrel take none |

DemoMan0351 — The Ultimate Tank Killing Guide - Wardogs
Step 1: Read the Armor Map Before You Shoot
Every engagement starts with knowing which faces matter. The game’s armor model is effectively three colors: red front (little to no penetration), yellow sides (medium damage that scales with the launcher), and green rear plus top (full damage). The turret and the cannon barrel take no damage from launchers at all — GOLDMQ9 hammered his test barrel three times and the cannon kept firing — so the engine deck is the kill zone, not the gun.
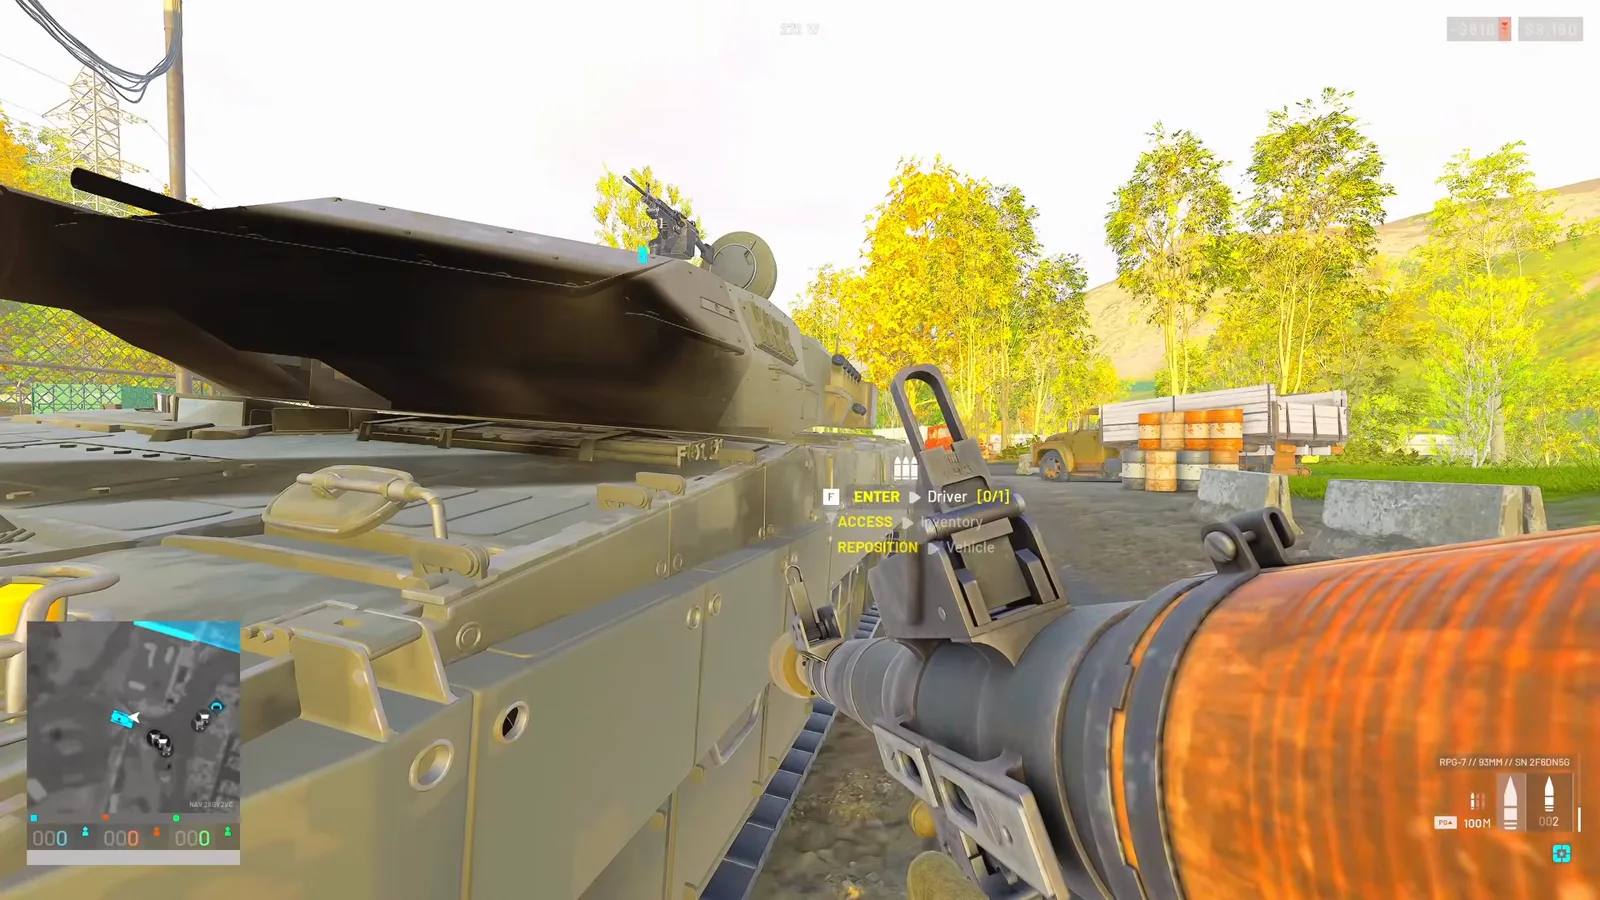 Step 1 (0:40) — The rear quarter is the only face of a tank you should ever see this close. Everything else is a bounce.
Watch the armor-zone briefing (0:40)
Step 2: Start Cheap — Mines and the $300 IED
You do not need a launcher to open a tank. GOLDMQ9 planted two anti-tank mines on a route and drove his own test tank over them: one mine removed about half the health bar, two destroyed the tank outright — just mind the weight, because mines are among the heaviest items you can carry. The IED is the pocket-money version: DemoMan0351 buys them for $300 a piece, recommends one in your third slot every single life, and points out that sticking one on the engine deck produces a one-IED cook-off kill — a $300 investment against a kill worth roughly $15,000.
 Step 2 (10:52) — Mine one takes half the health bar, mine two ends the ride. Route choice does the aiming for you.
Step 3: RPG-7 — Stop Shooting the Front
The RPG-7 is the first launcher most players reach, and it is exactly where the “tanks are OP” myth is born: fired into the front plate it needs about eight rockets, which no economy survives. Swing to the flank or the rear and the same launcher needs around five on the side and four to the rear. GOLDMQ9 adds two practical notes — spare rockets add up in weight fast, and the tank starts pouring smoke once it drops to roughly half health, which is your cue that the finish is on.
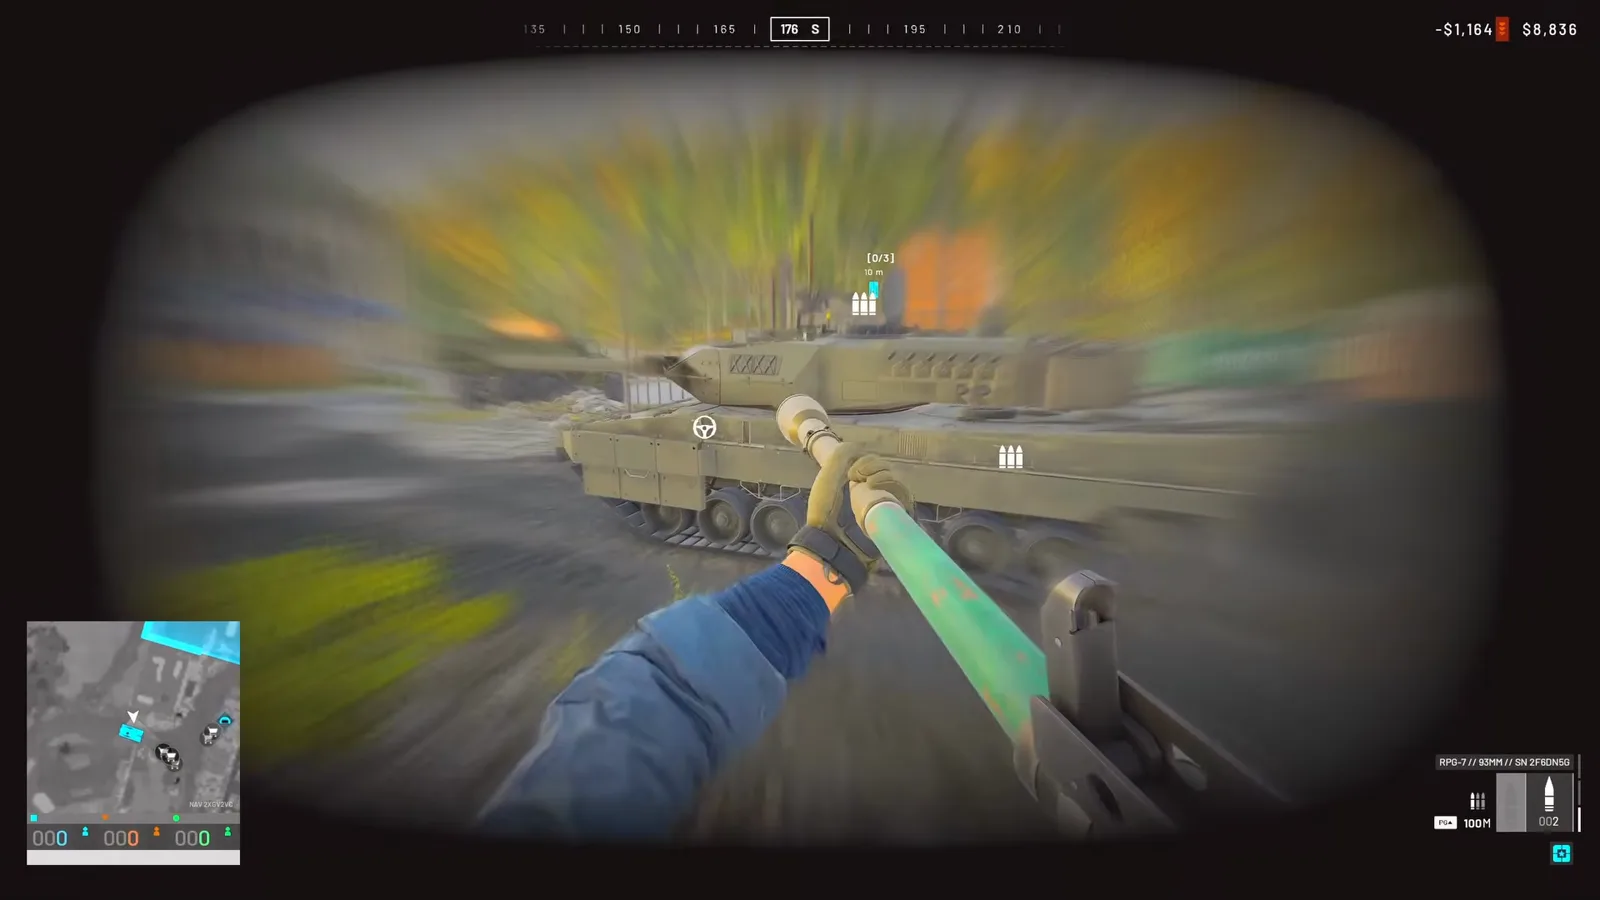 Step 3 (6:13) — Hold fire until the side or rear presents itself; the sight picture should never be facing you head-on.
Step 4: Immobilize First — Tracks and the Engine Kill-Switch
Mobility damage changes the whole fight. A rocket into the track face, head-on, disables it — the tank can still pivot left and right but cannot drive forward or back, and it starts auto-repairing the moment you stop shooting. The engine has its own rule, and it is the single most useful fact in this guide: two good rear hits force the engine to shut off, and it will not restart until a crewman repairs it. GOLDMQ9 calls that shutdown guaranteed.
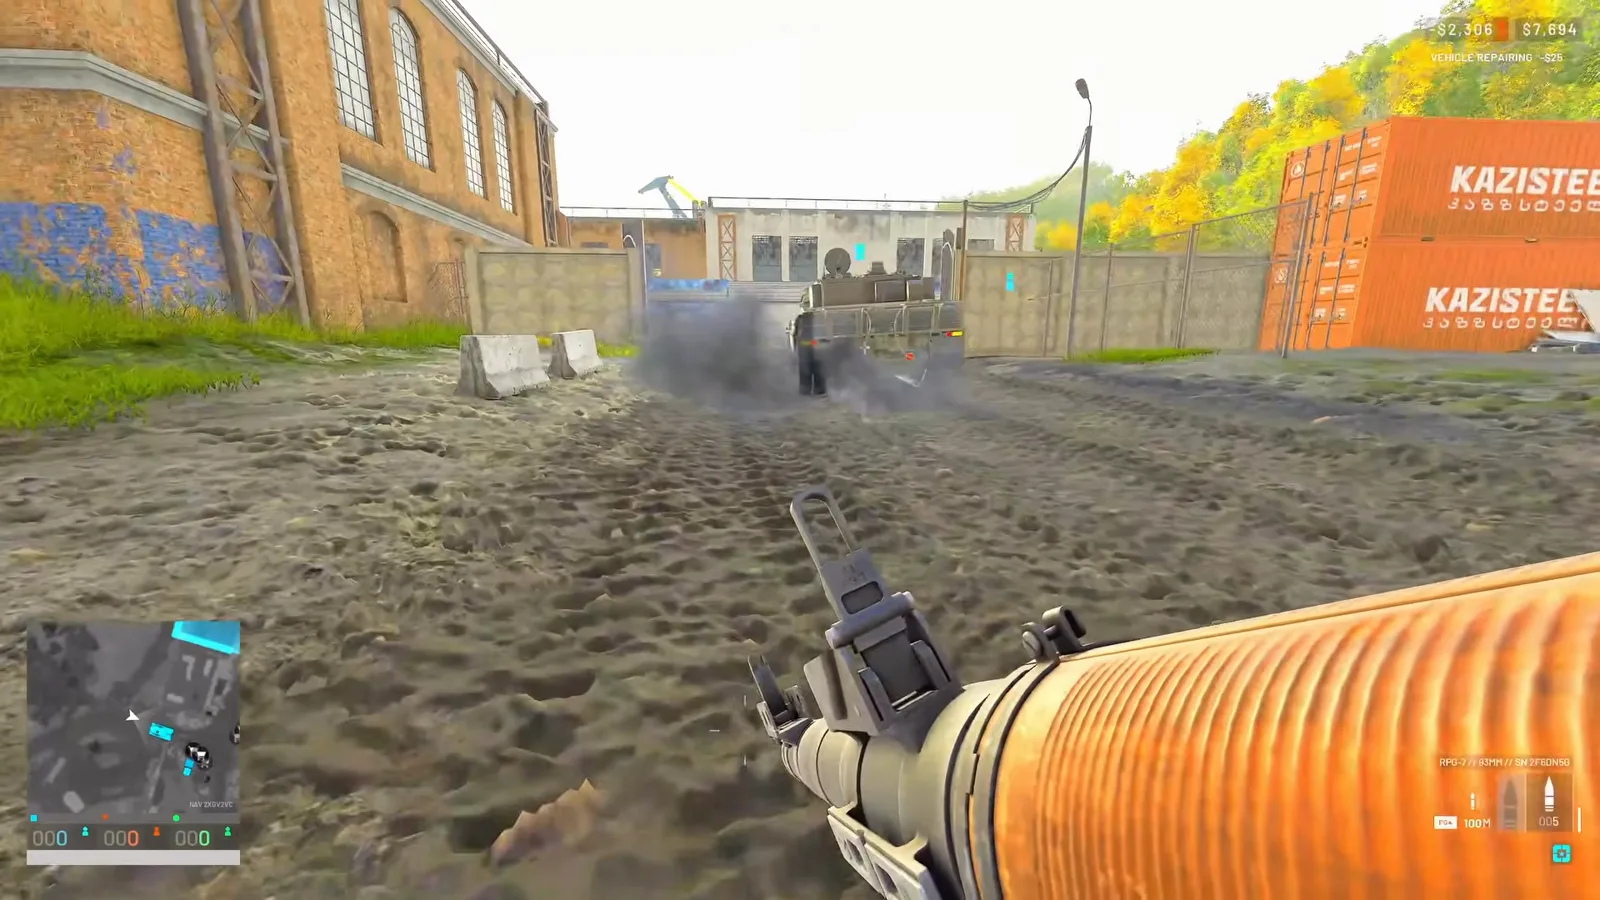 Step 4 (7:44) — A disabled track buys your whole team the flank. It cannot chase what it cannot drive toward.
Watch the track and mobility test (7:44)
Step 5: Smoke It, Then Finish the Engine
Once the tank is blind or bleeding, close the deal without giving the cannon a fair fight. GOLDMQ9’s playbook: disable mobility, pop smokes over the tank, and push — it still has a third-person camera, but the crew loses precise line of sight and, in his words, they are more than likely to panic and dismount the moment they realize a launcher is hunting them. With vision denied, walk to the rear quarter and put rockets one and two into the engine. The white smoke pouring from a hurt hull marks about half health, so a smoked, tracked, burning tank is already losing.
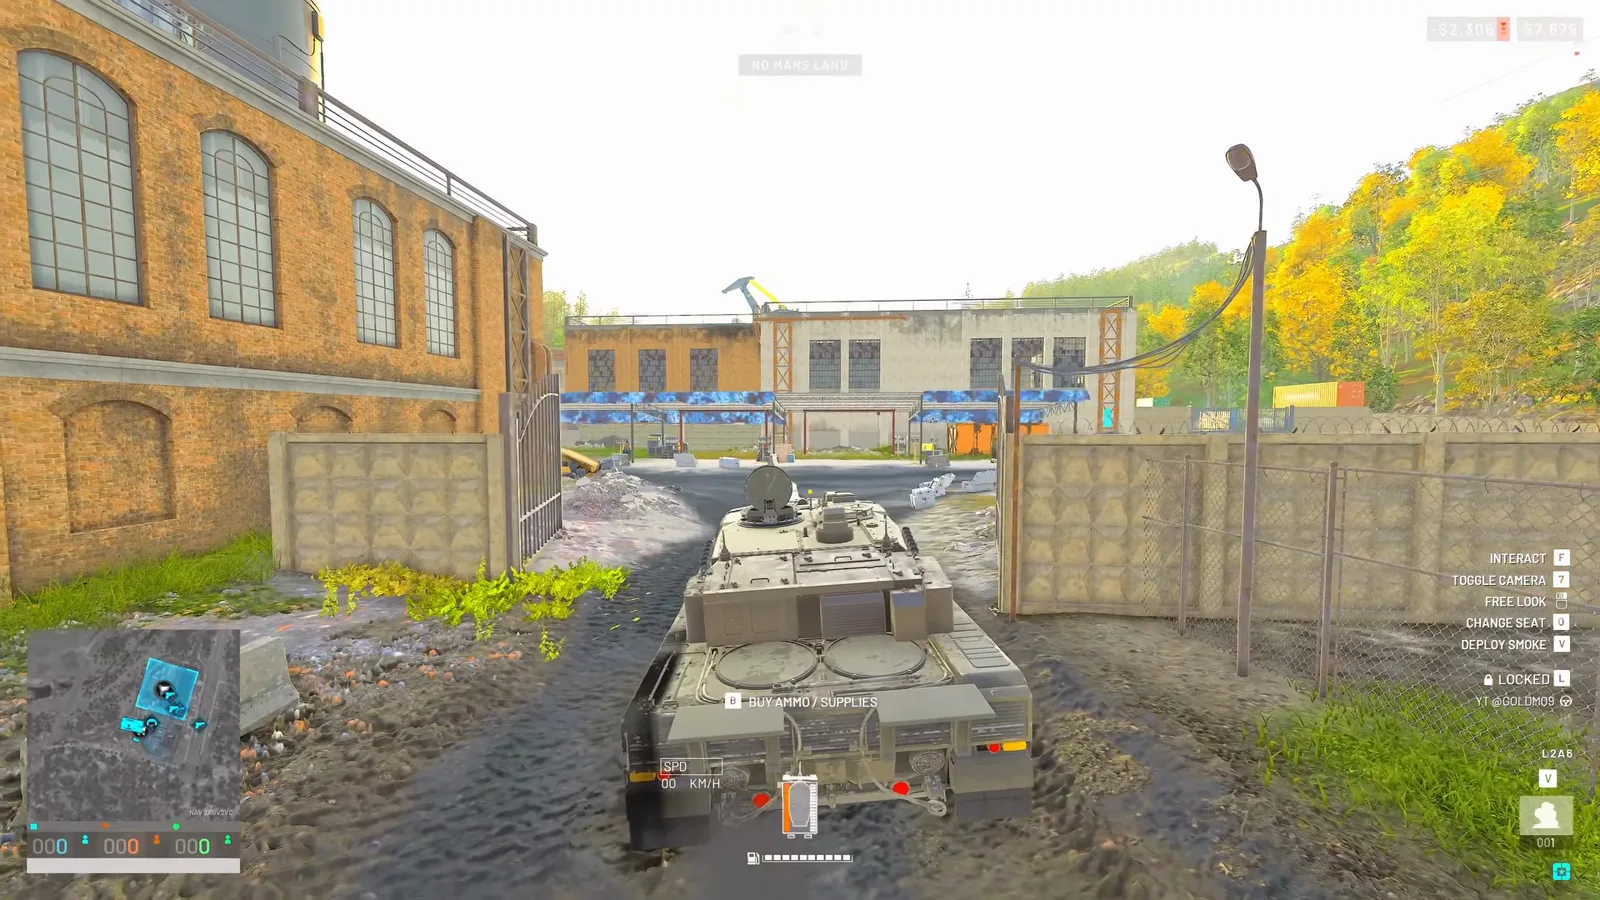 Step 5 (2:34) — Smoke is not just cover for you; it is a panic button the tank cannot answer.
Watch the smoke-and-push plan (2:34)
Step 6: The MAAWS Is the Answer — Two Shots to the Rear
Both testers land on the same launcher. The MAAWS (the 84mm recoilless rifle DemoMan0351 calls the Carl Gustaf) needs about four hits on the front, three on the side, and only two to the rear — and GOLDMQ9’s rear test ended with exactly that, a second rocket into the engine and the tank dead on the spot. It fires a Storm Anti-Tank Shell from a reusable launch tube, which is why the engine-deck math is so much kinder than the RPG’s.
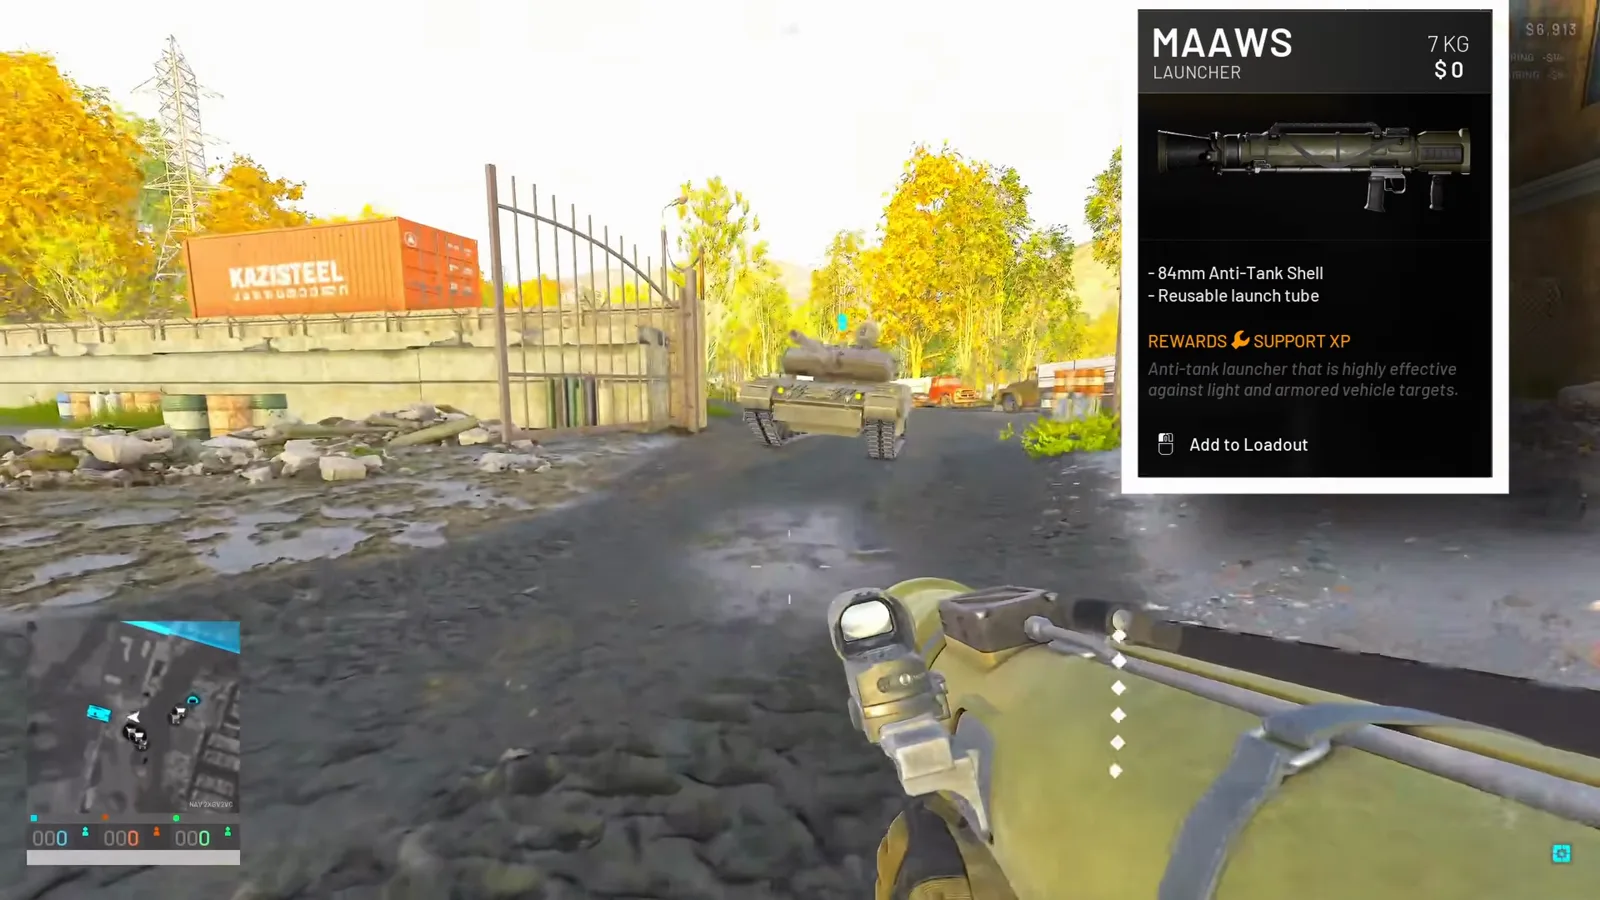 Step 6 (8:44) — The item card for the gun that ends the argument: a reusable tube built for armor.
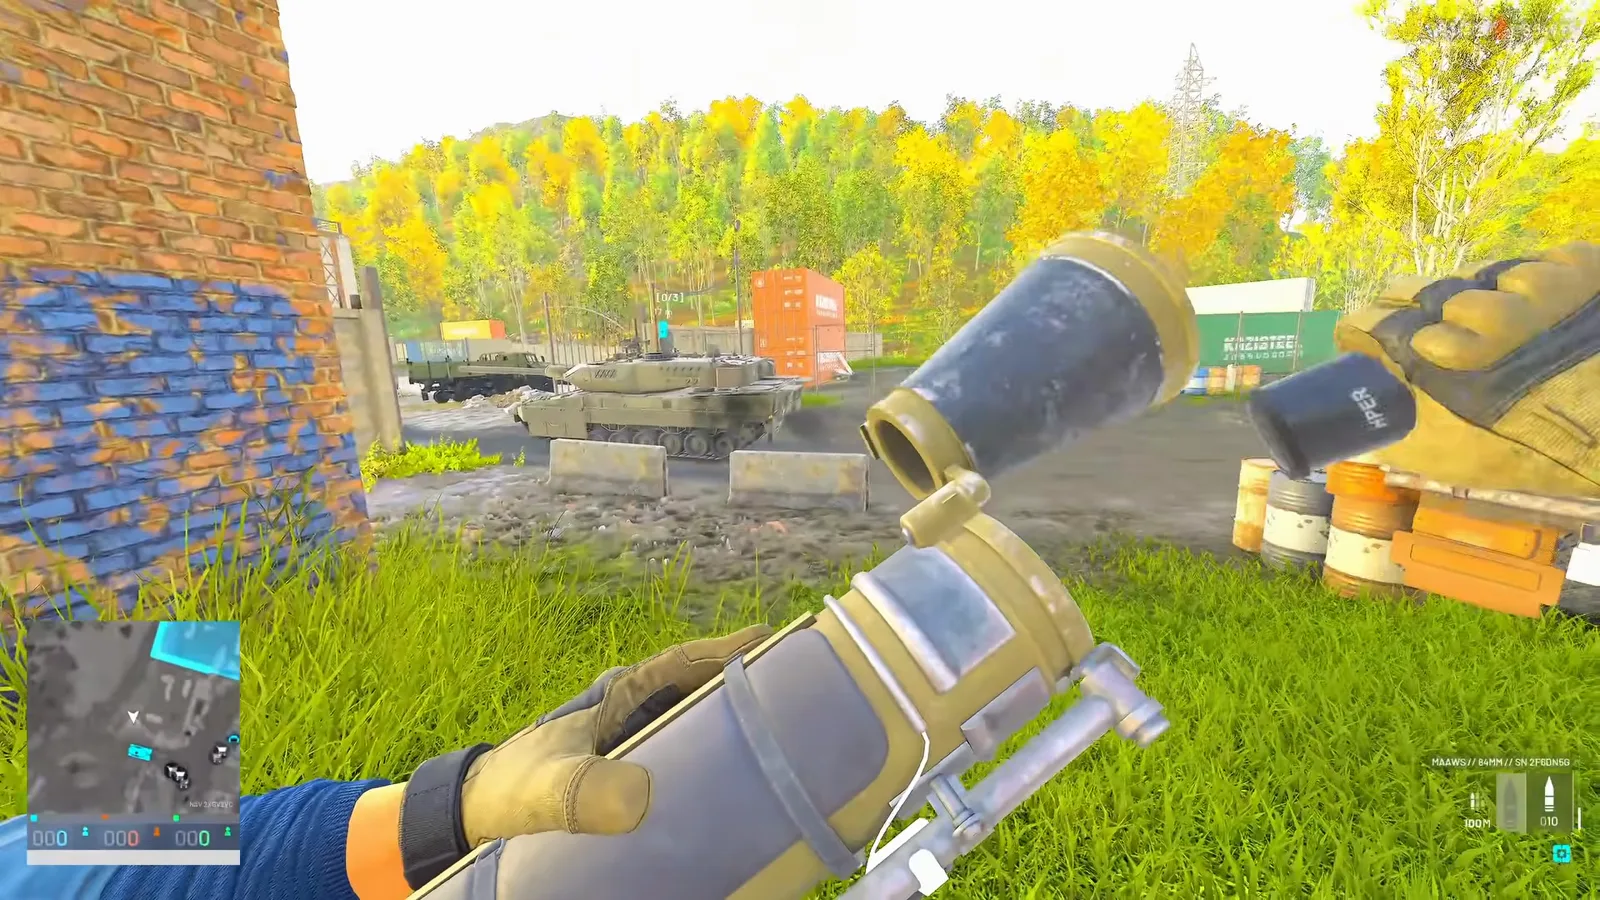 Step 6 (8:48) — Two rear hits, one reload between them. That is the whole kill.
Watch the MAAWS rear kill (8:48)
Step 7: Run the Two-Man Drill — Six Seconds to a Kill
The proof the tank is not overpowered is a sequence DemoMan0351 times twice. Spotting a tank with a teammate, he calls the rear, both men aim and fire their MAAWS, and the target cooks off: ten seconds from first spotting the tank to it burning, and six seconds trigger-pull to trigger-pull. His launch-week advice stacks on top: tanks are moving to the driver unlock tree, so engineers will reach the MAZ long before most players see armor — invest there, feed your launcher man, and the “OP tank” stops existing.
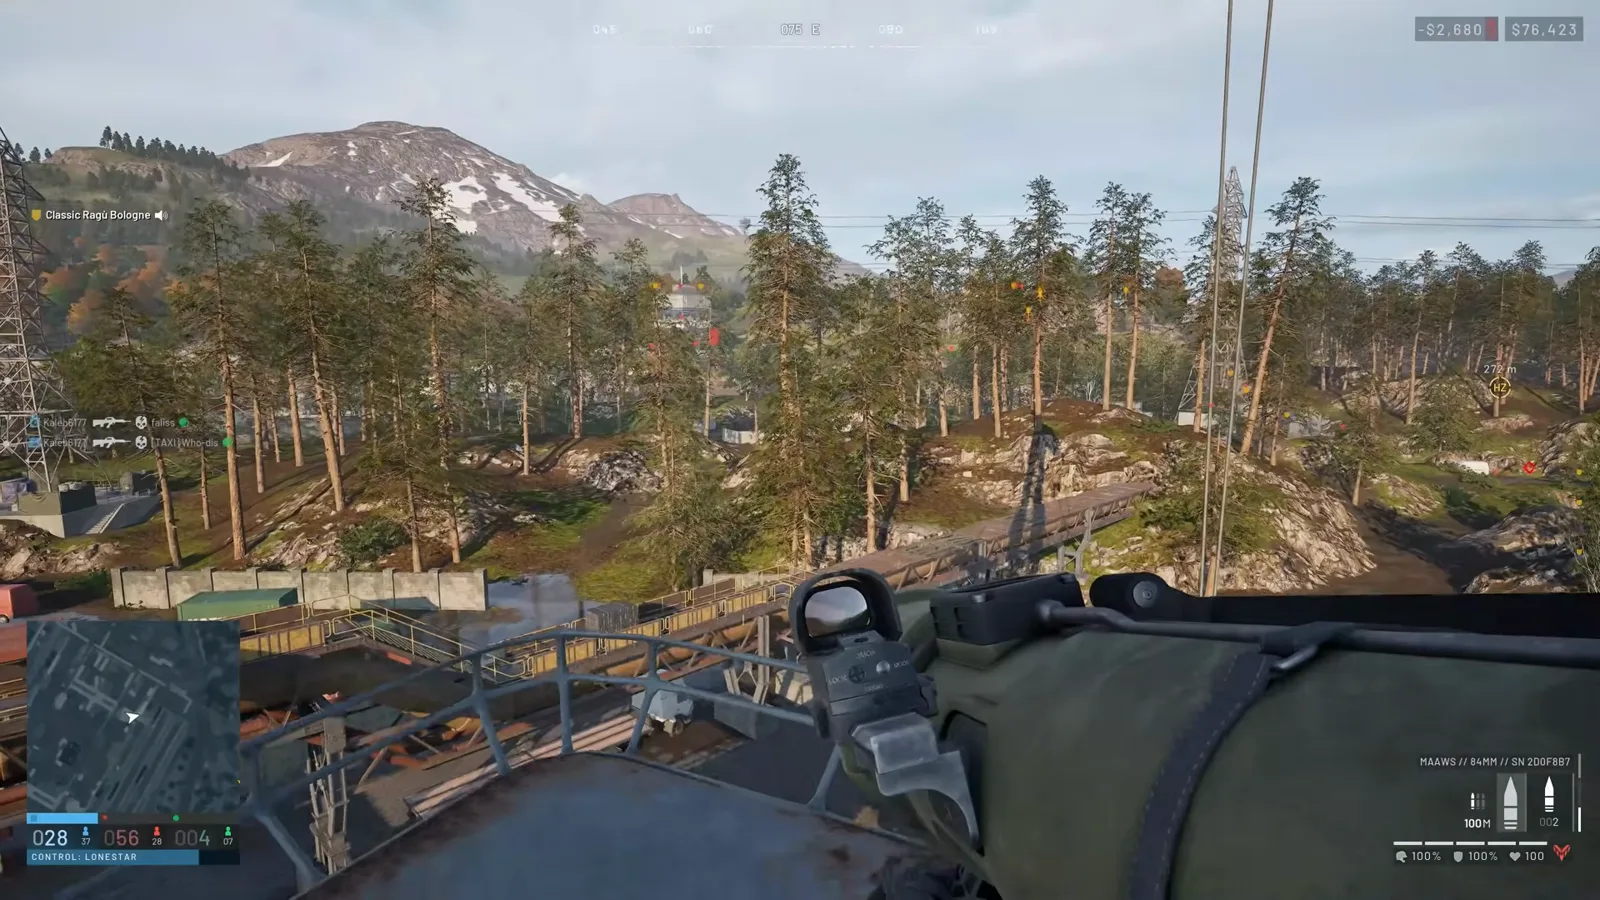 Step 7 (1:33) — One spotter, two launchers, six seconds. The tank never gets to play its game.
Watch the timed two-man kill (1:33)
Tank-Killing Rules of Thumb
- Aim rear, always — front red, sides yellow, rear and top green; the turret and barrel are worth zero rockets.
- Cheapest tools win fights — two mines or one $300 IED on the engine deck out-earn any hero charge with a rifle.
- Break mobility, then break the tank — a track shot or two rear engine hits turn armor into a target range; check exact weapon numbers in our TTK and damage chart.
- Know the whole arsenal — where the RPG-7 and MAAWS sit among the rest is covered in our weapons list, and what you are shooting at is spec’d in our vehicles guide.
- Pick the ground — route mines and flank lanes work best when you have read the maps and tactics guide first, and if the tank’s coax shreds your squad on approach, the medic and revive walkthrough gets the team back into the fight.
This guide was reconstructed from two community firing-range tests and will be re-verified as vehicle balance shifts through Early Access — counts are per-test results, not official statistics. For what to carry in the remaining slots while you hunt armor, see our best loadout guide.
Related Articles
fixes
WARDOGS Connection Error and Server Down Fixes: Queue, Ping, Disconnects
Fix WARDOGS connection errors, stuck queues, high ping and match disconnects in Early Access with a server-first triage ladder before you touch your PC.
guides
WARDOGS Money Guide: Fastest Cash Methods in Early Access
Illustrated WARDOGS money guide: helicopter passenger drops, logistics pallets, supply crates, spawn-vehicle runs and medic income for fast early-game cash.
guides
WARDOGS Medic Revive Guide: Defibs, Bandages & Payouts
Illustrated WARDOGS medic guide: charge the defibrillator, bandage live teammates, drag downed players to cover, and bank revive payouts and tips.
Was this helpful?
Thanks for the feedback!