WARDOGS Driver Leveling Guide: 750K XP Path to L2A6 Tank
Fast-track Driver class to Level 35 (750K XP) in WARDOGS: Kodiak starter loops, Ural dual-pallet suicide logistics, spawn-vehicle passive XP, and armed roadkills.
FAQ
How much Driver XP do I need to unlock the L2A6 tank in WARDOGS?
Is the suicide logistics loop worth the $800 death penalty?
How does the 10-minute spawn vehicle assist window work?
How do I reach Driver Level 3 with the free Kodiak pickup?
The L2A6 heavy tank is the Driver class capstone — and the gate is brutal. You need Driver Level 35 and 750,000 cumulative Driver XP before the vendor even lets you spawn one. Most players burn hours driving aimlessly because nobody maps the fastest payout loops.
Dex’s 33K-view guide breaks the grind into four distinct phases, each with a different vehicle and a different XP-per-minute profile. This illustrated walkthrough converts that 292-second masterclass into seven verified steps, complete with payout tables, suicide-logistics timing, and deep links to every screenshot timestamp.
For the broader six-class XP curve, see our XP leveling guide. When you finally field the tank, switch to our Driver tank guide for crew roles and hull-down gunnery.
Source and Verification Card
| Field | Detail |
|---|---|
| System | Driver class XP progression and vehicle unlock ladder |
| End Goal | L2A6 heavy tank — Driver Level 35 (750,000 XP) |
| Four Phases | Kodiak starter → Ural dual-pallet logistics → Spawn vehicle passive pool → Armed vehicle combat |
| Source Channel | Dex |
| Source Video | How to Level Driver FAST in WARDOGS - 750K XP Guide |
| Runtime | 4:52 |

Dex — How to Level Driver FAST in WARDOGS (750K XP Guide)
Payout and XP Breakdown Table
Every Driver income source Dex covers, ranked by phase. Treat dollar amounts as Early Access figures — XP values are the primary grind metric.
| Activity | Cash Payout | Driver XP | Notes |
|---|---|---|---|
| Passenger drop at contested zone | $600 | 250 | Per passenger delivered |
| Passenger survives 10 seconds | +$500 | +200 | Bonus after drop-off |
| Return vehicle to HQ | +$750 | +300 | Full round-trip bonus |
| Passenger loop total (solo) | $1,850 | 750 | All three bonuses combined |
| Small supply crate delivery | $500 | 250 | Fallback when no passengers |
| Single supply pallet delivery | $2,500 | 750 | Requires Ural (Level 3) |
| Dual pallet full delivery | $5,000 | 1,500 | Two pallets on one Ural trip |
| Spawn vehicle deployment | $3,000 | 500 | One-time per APC placed |
| Teammate spawns from your APC | $250 | 25 | Per spawn event |
| Spawn survives 10 seconds | +$250 | +75 | Per spawn event |
| 10-minute kill assist share | $375 | 25 | Per kill by your spawn passenger |
| Vehicle roadkill | $1,500 | 250 | Ram kill with any armored vehicle |
| Suicide respawn penalty | −$800 | 0 | Cost of skipping the return drive |
Step 1: Map the 750K XP Roadmap Across Four Phases
Before you spawn a vehicle, understand where every hour of driving is supposed to land on the progression ladder.
The Driver tree runs from the free Kodiak pickup at Level 1 through the Ural at Level 3 (1,250 XP), Kodiak M249 at Level 6, Dune Buggy at Level 8, Humvee variants at Levels 15 through 30, and finally the L2A6 tank at Level 35. Dex organizes the grind into four phases that match these unlock gates — you are never doing the wrong activity for your current level.
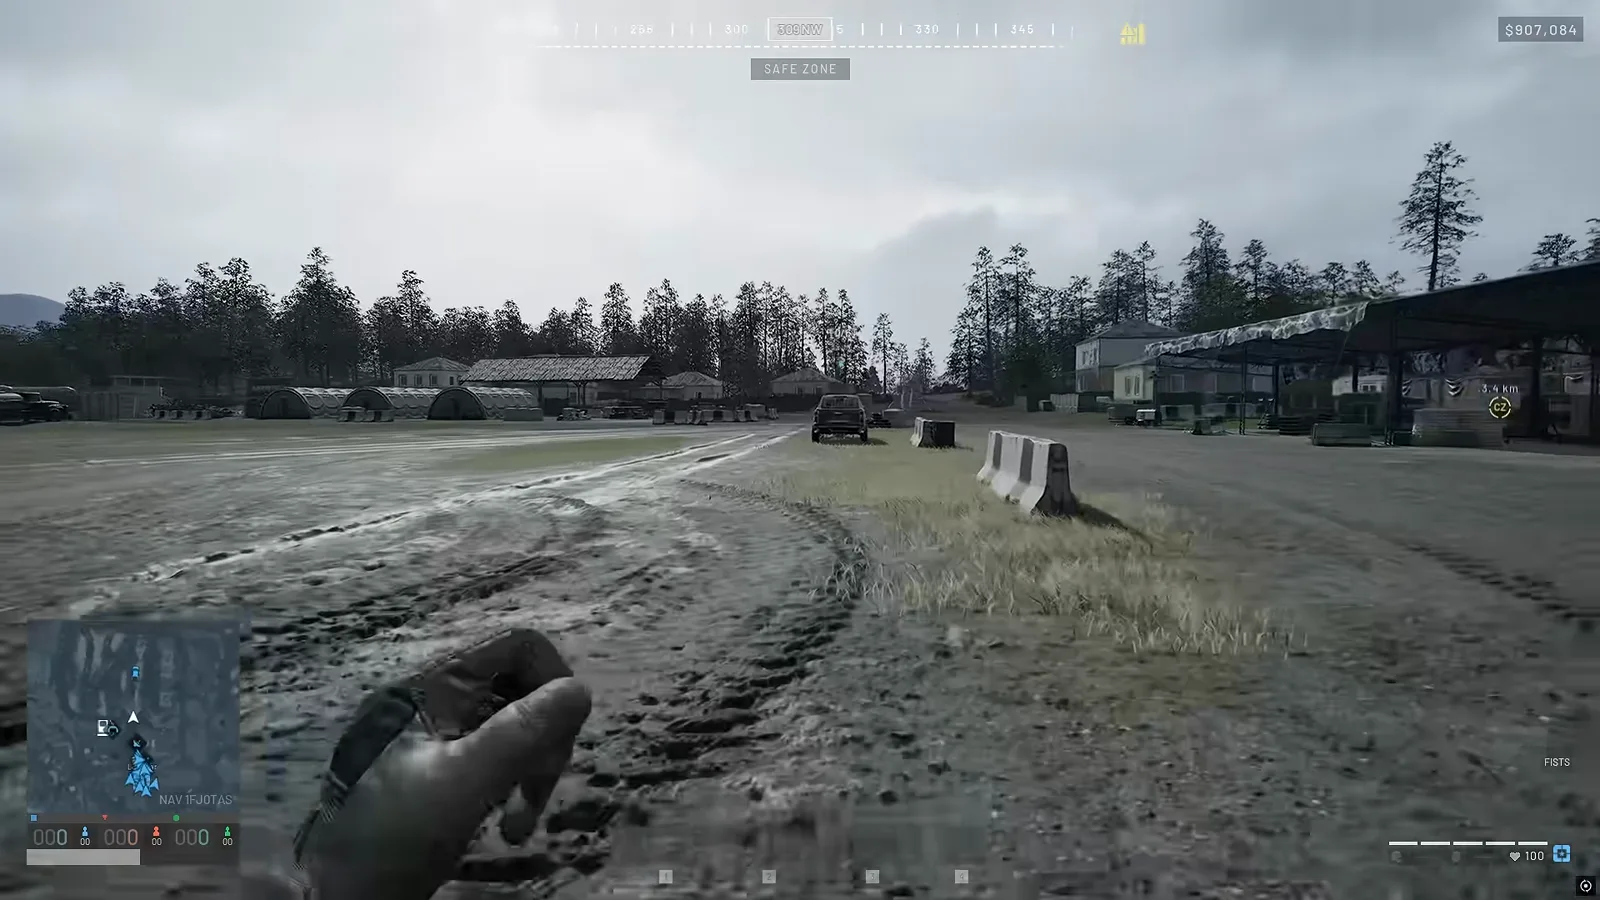
Deep link: Watch the progression overview (0:42).
For every chassis price and cargo capacity on the ladder, cross-reference our vehicles guide.
Step 2: Grind Level 3 with the Free Kodiak and Supply Crates
Every match starts with a free Kodiak pickup in your spawn pool. Your first target is 1,250 Driver XP — enough to unlock the Ural at Level 3.
When no teammates need a ride, load a small supply crate (bandages, ammo boxes, or any compact cargo) into the truck bed via the logistics menu. Drive to a contested zone or friendly FOB, deliver the crate, and collect $500 plus 250 Driver XP per drop. Repeat until you hit Level 3.
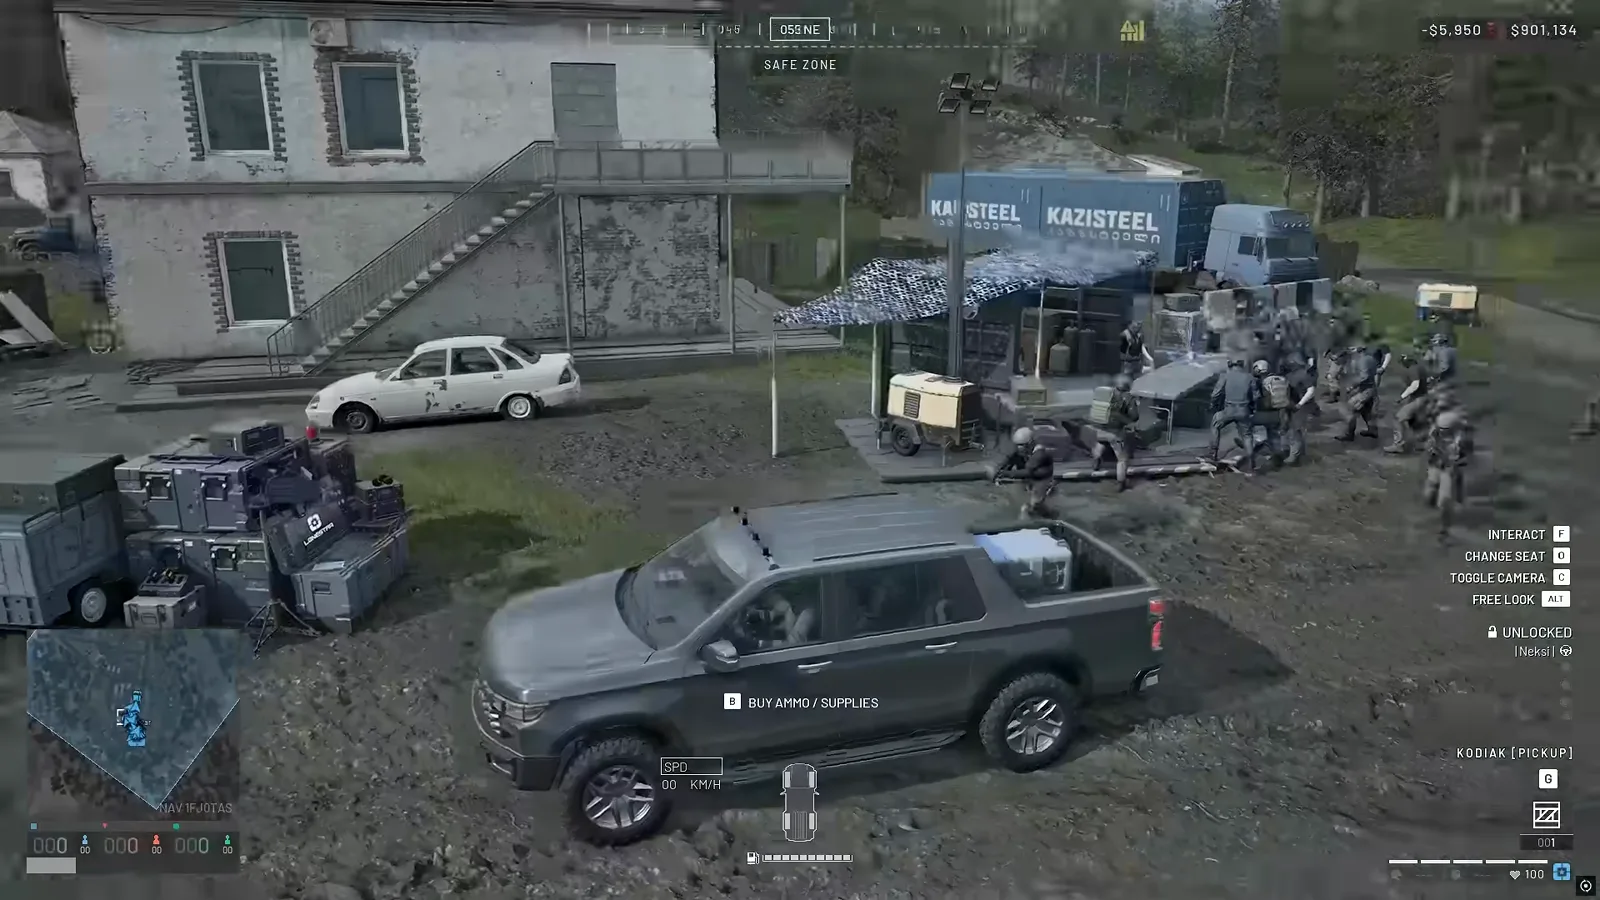
Deep link: Watch supply crate loading (1:00).
Step 3: Run Passenger Transport Loops for 750 XP Per Trip
When squads need insertion, passenger transport beats crate hauling on XP density. Pick up a teammate at HQ, drive them to the contested zone, and collect payouts at three checkpoints:
- Drop-off: $600 + 250 Driver XP when they exit at the combat area.
- Survival bonus: +$500 + 200 XP if the passenger stays alive for 10 seconds after dismounting.
- Return to HQ: +$750 + 300 XP when you bring the empty truck back to base.
A solo-passenger round trip totals $1,850 and 750 Driver XP — enough to nearly finish the Level 1-to-3 grind in two clean loops.
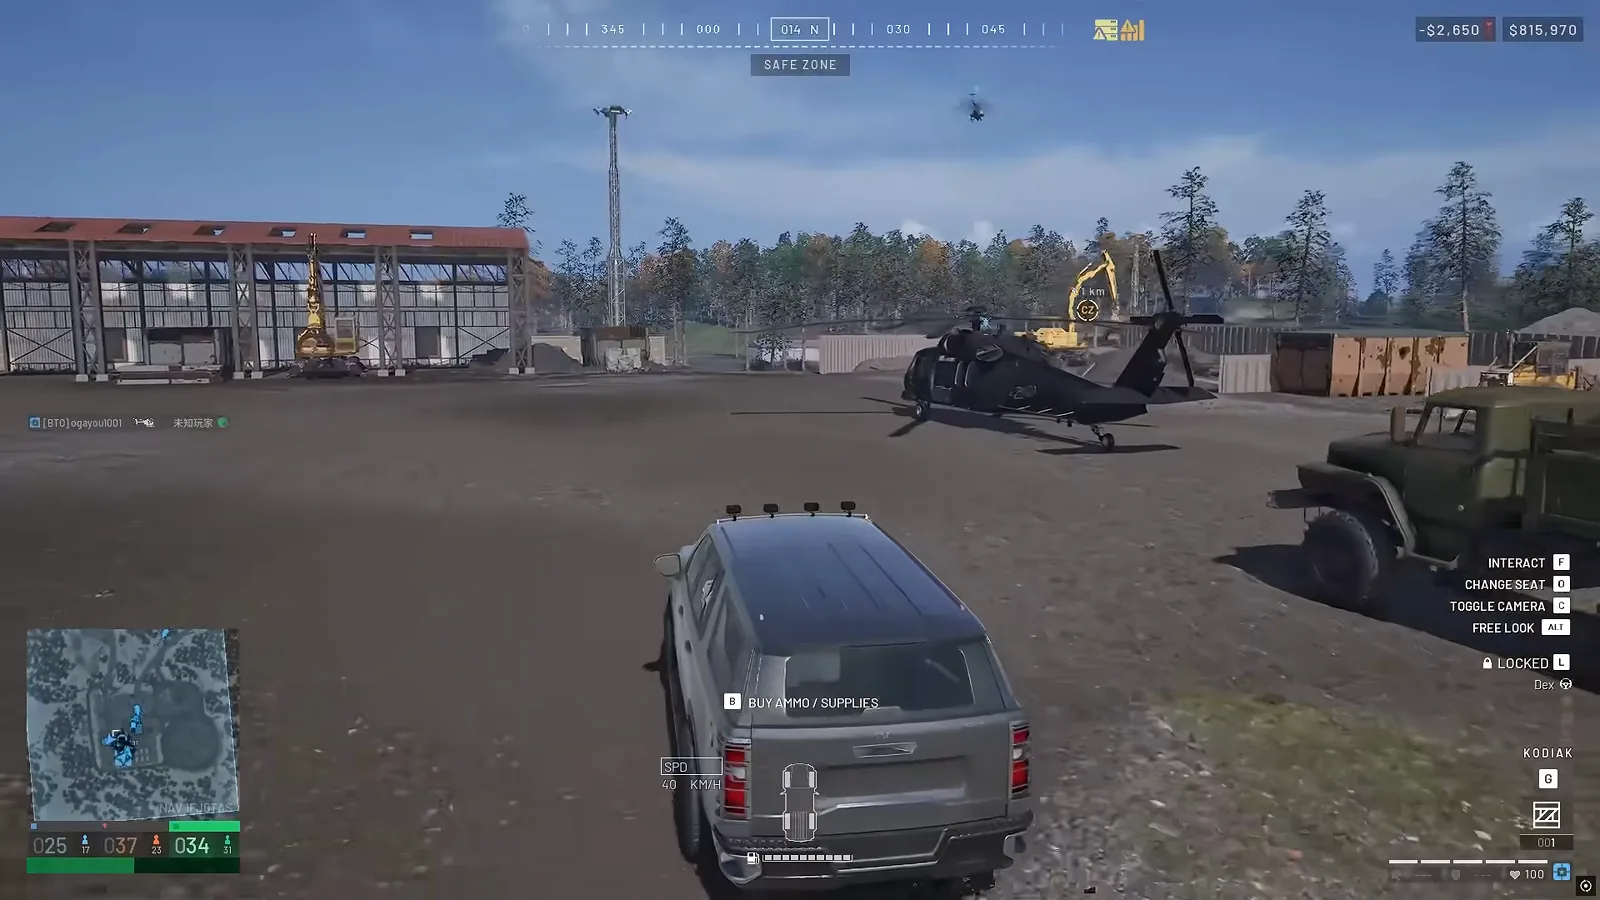
Deep link: Watch passenger transport payouts (1:40).
Step 4: Unlock the Ural and Run Dual-Pallet Deliveries
At Driver Level 3 you unlock the Ural truck — the first chassis that carries two supply pallets simultaneously. This is the backbone of the mid-game grind.
Load two pallets (building materials, fuel, or ammunition) via the B menu, drive to a contested zone FOB, drop both with G, and unload with F. Each pallet pays $2,500 and 750 Driver XP on delivery. A full dual-pallet trip earns $5,000 and 1,500 Driver XP in one run.
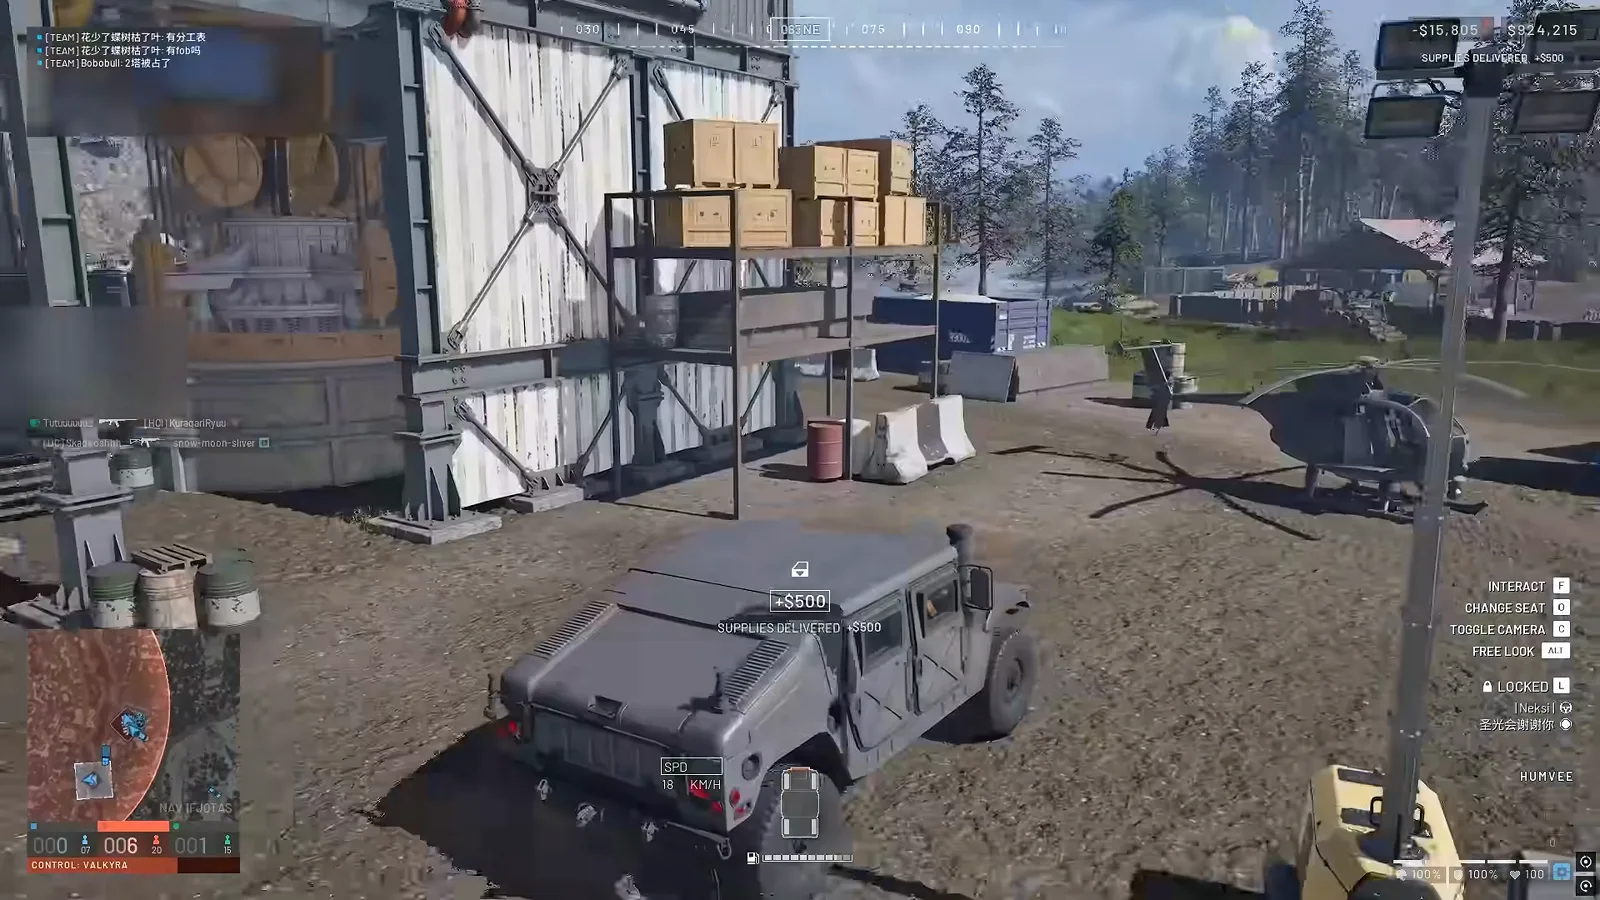
Deep link: Watch Ural dual-pallet delivery (2:00).
Step 5: Maximize XP with the Suicide Logistics Loop
Once dual-pallet deliveries feel routine, switch to suicide logistics for maximum Driver XP per minute:
- Load two pallets on a fresh Ural at HQ.
- Drive to the contested zone and deliver both ($5,000 + 1,500 XP).
- Jump out and let your character die (or use the respawn menu) instead of driving back.
- Respawn at HQ (−$800 penalty), grab another Ural, and repeat.
Each cycle takes 3 to 4 minutes and nets roughly 375 XP per minute — roughly double the safe round-trip rate. You sacrifice return-trip cash and the truck itself, but the XP curve accelerates dramatically through Levels 6 to 15.
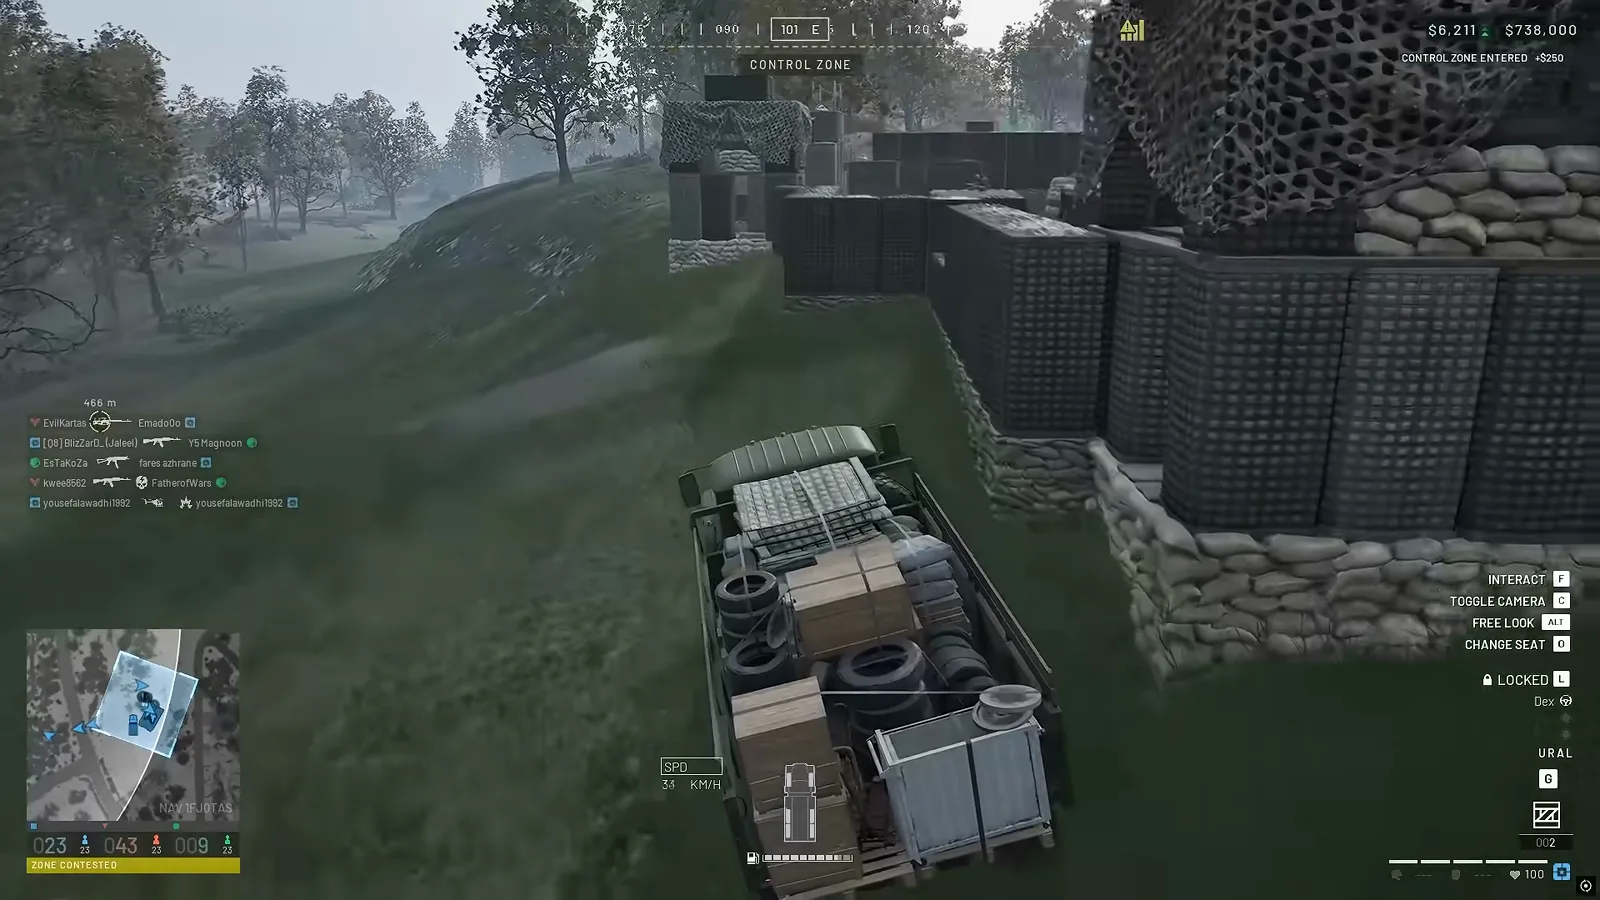
Deep link: Watch suicide logistics timing (2:22).
Step 6: Deploy Spawn Vehicles for Passive XP Pools
While grinding Ural loops, layer in spawn vehicle (APC) deployments for passive income that continues after you leave the frontline.
Deploy an APC to the contested zone for an immediate $3,000 and 500 Driver XP. Every teammate who spawns from your vehicle pays $250 + 25 XP, plus +$250 + 75 XP if they survive 10 seconds. Critically, for the next 10 minutes, any kill they score grants you $375 and 25 Driver XP as an assist share — even while you are back at HQ loading pallets.
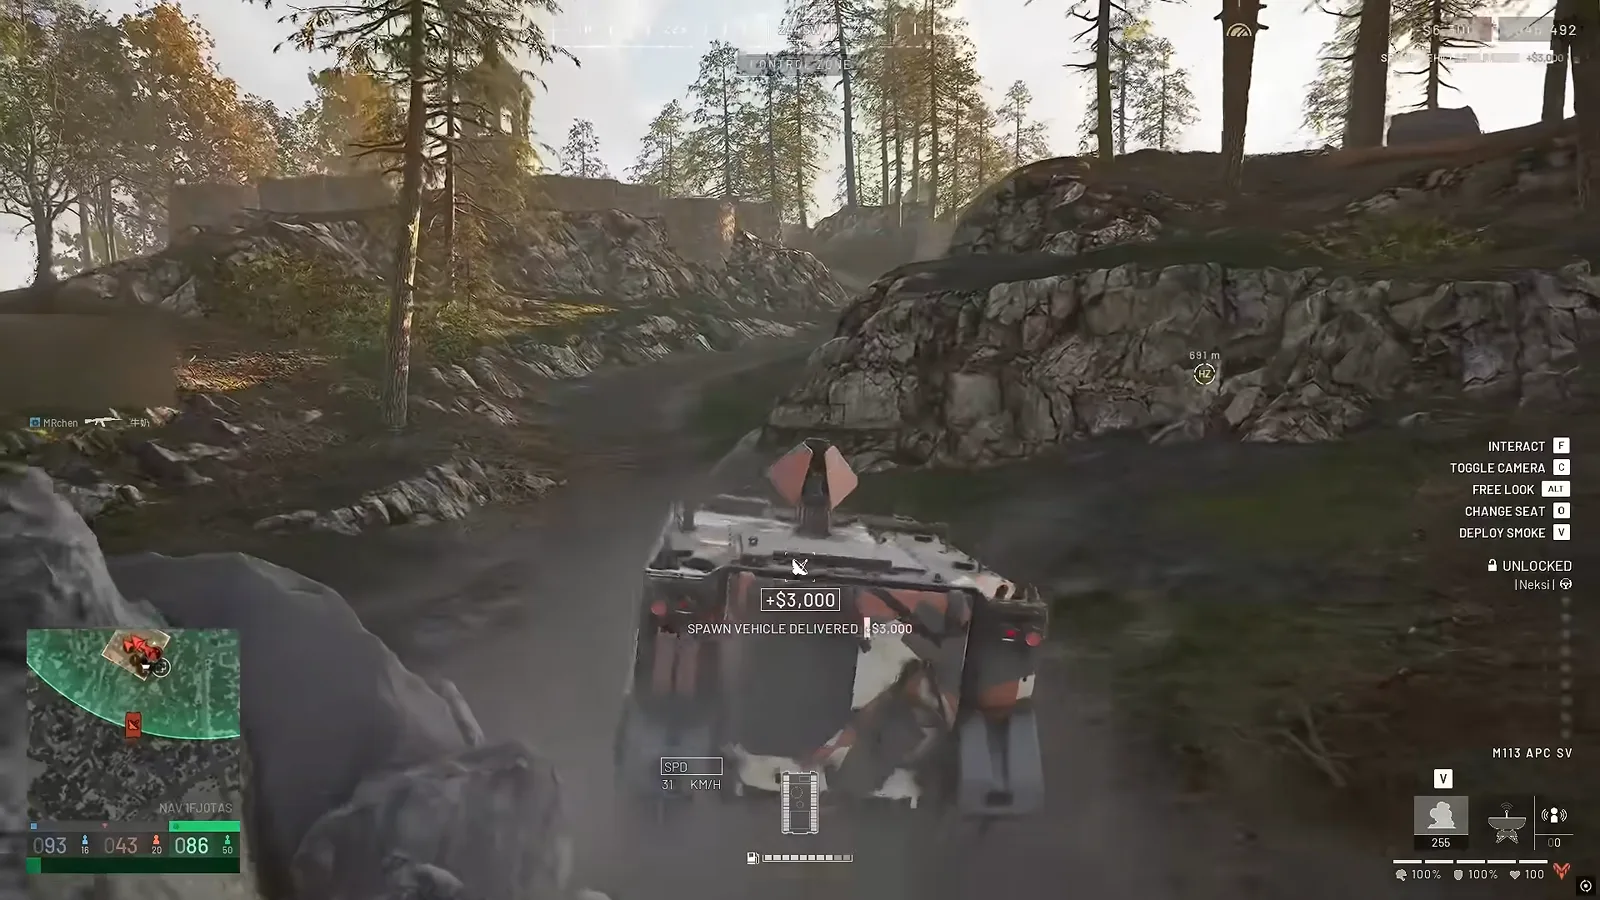
Deep link: Watch spawn vehicle deployment (3:12).
Step 7: Switch to Armed Vehicles for Shared Kills and Roadkills
In the late grind (Levels 15+), pivot to armed vehicles — Humvee M249, minigun variants, or any armored chassis with a turret seat.
Drive to the frontline with a gunner in the turret. Passenger kills share Driver XP with you as the driver, so a competent gunner turns your truck into a mobile XP printer. For solo play, roadkills (ramming enemies with the vehicle) pay $1,500 and 250 Driver XP per kill — the highest single-action XP burst outside of dual-pallet deliveries.
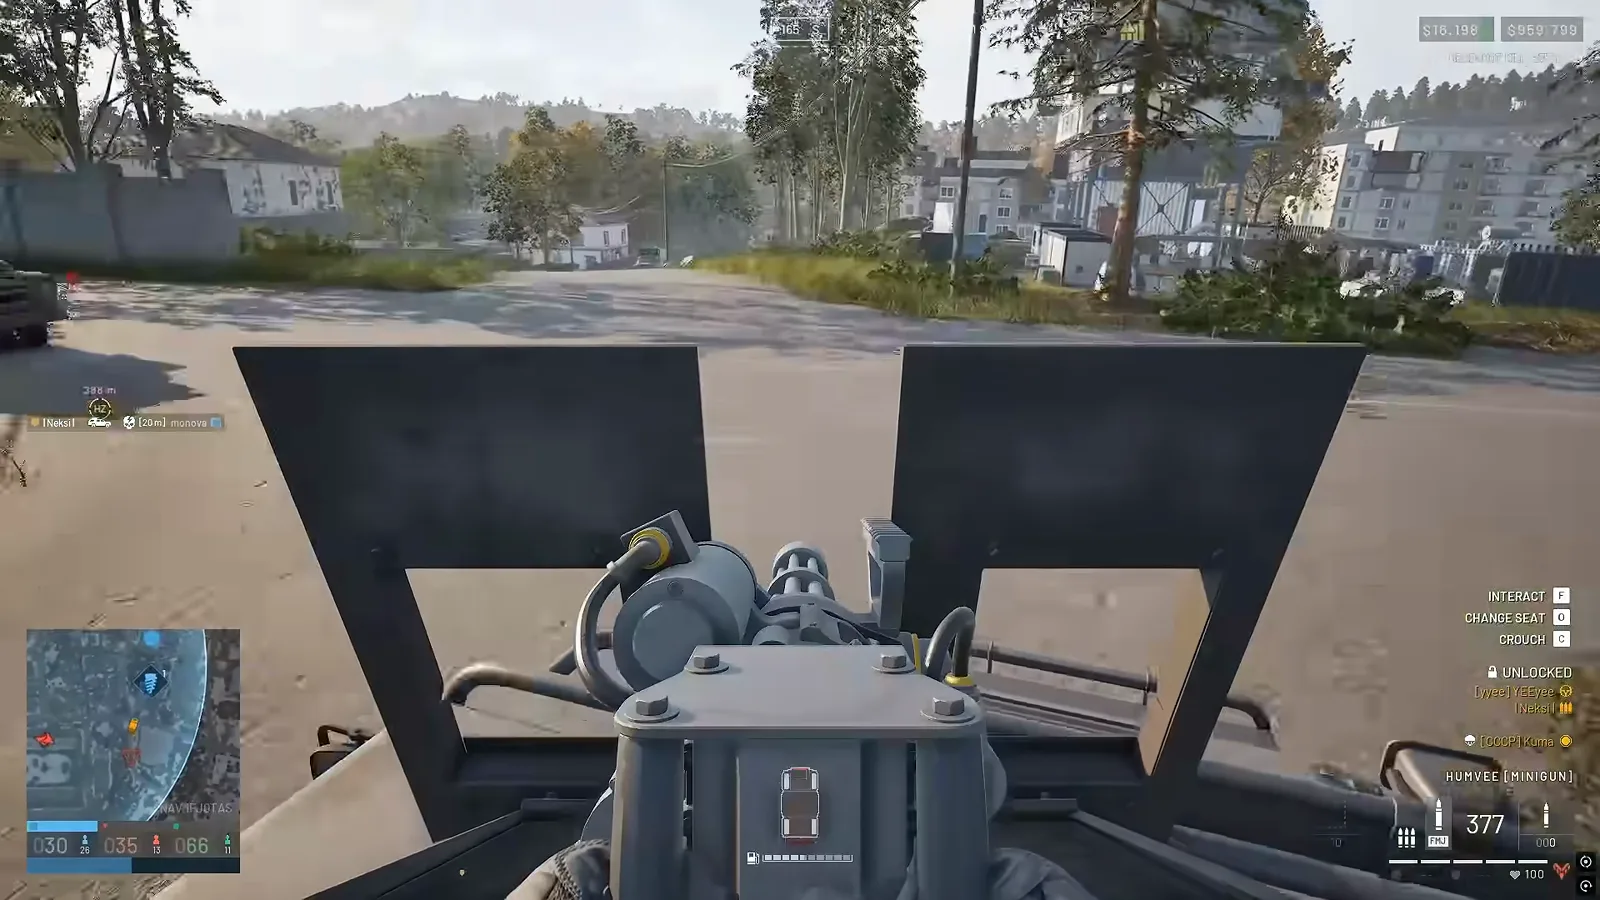
When you finally hit Driver Level 35, field the L2A6 and transition to tank crew tactics in our Driver tank guide.
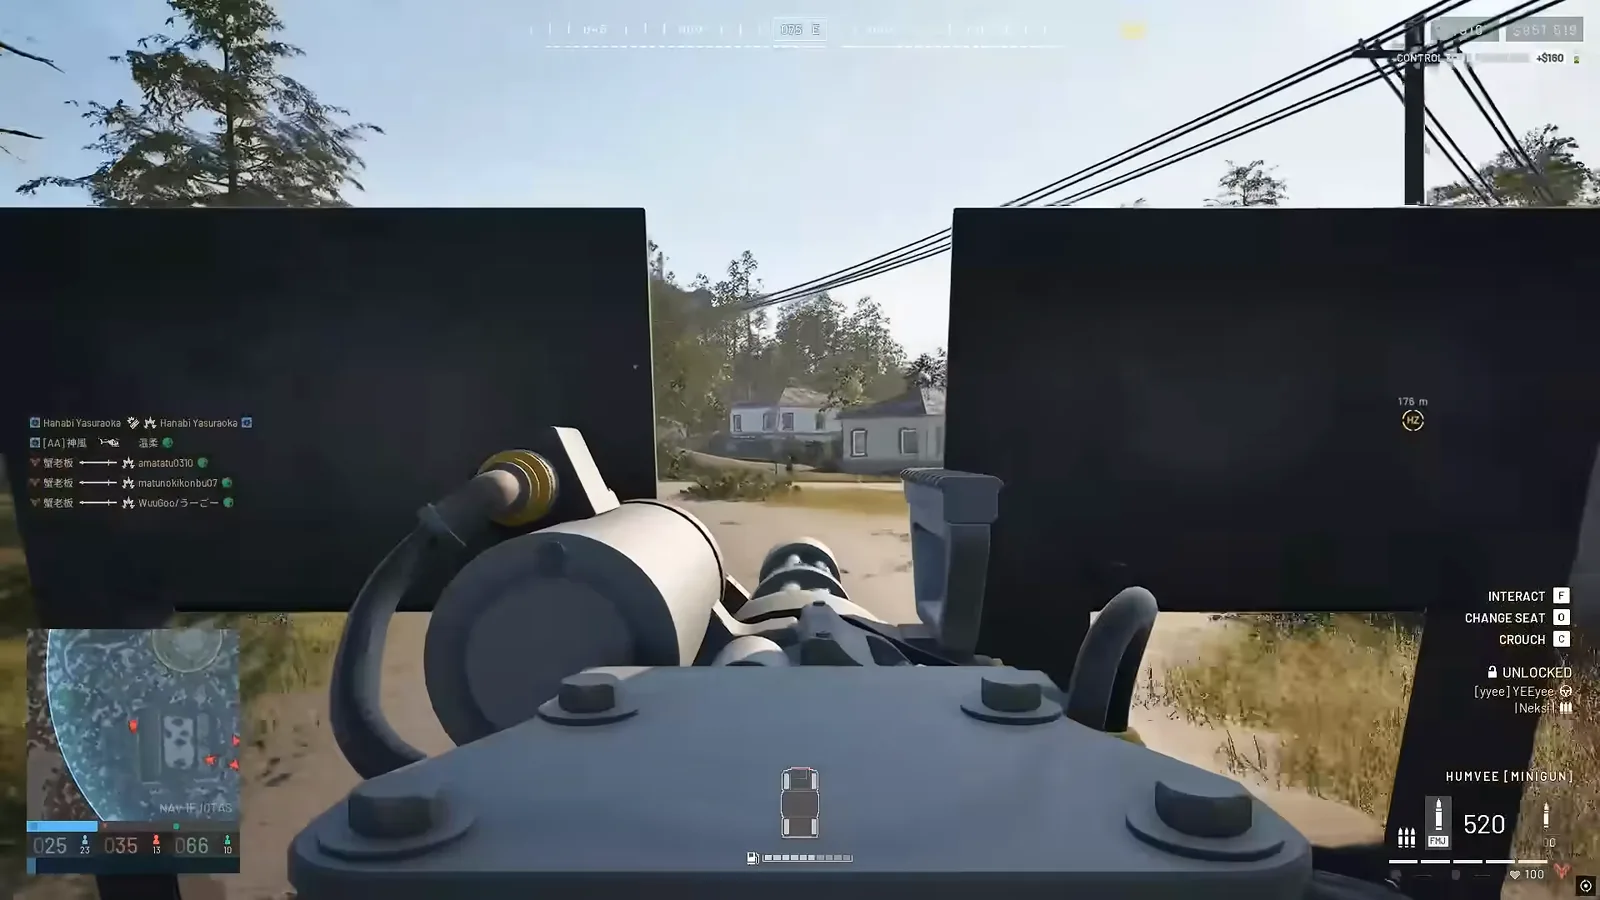
Deep link: Watch armed vehicle combat and roadkills (4:02).
Related Articles
fixes
WARDOGS Stuck on Loading Screen Fix: Infinite Loading & Black Screen
Fix WARDOGS stuck on loading screen, infinite logging in, and black screen on launch. Work this 5-step ladder from process cleanup to shader cache reset.
guides
WARDOGS Anti-Air FOB Guide: Build IIEKKO's Compact AA Nest
Build IIEKKO's compact anti-air FOB in WARDOGS: Recon Tower alignment, 8-block Brimstone walls, double blast doors, roof bunker, and jitter-free AA placement.
guides
WARDOGS APC Garage Build Guide: JayWayyGaming Quick Bunker Layout
Build JayWayyGaming's quick APC garage in WARDOGS: dual IDF shelter foundation, Hesco roof layers, satellite antenna protection, and a garage-door variant.
Was this helpful?
Thanks for the feedback!