WARDOGS Helicopter Flight Walkthrough: Controls, Hovering & CAS Tactics
Illustrated walkthrough for flying helicopters in WARDOGS: flight controls, hovering mechanics, low-altitude insertion, flares, and rocket CAS strikes.
FAQ
What are the default flight control bindings for helicopters in WARDOGS?
How do you fly under radar to avoid surface-to-air missiles in WARDOGS?
What should a pilot do when a helicopter engine is destroyed?
Where did the flight recordings and tactics for this guide originate?
In WARDOGS’ massive 100-player battlefields, air superiority dictates which team controls the flow of reinforcement convoys and contested FOB outposts. A skilled transport pilot can drop an entire assault fireteam behind enemy lines in seconds, while an attack chopper equipped with unguided rocket pods can wipe entrenched infantry squads.
Yet rotary aviation in WARDOGS features realistic flight physics: rotor inertia, torque yaw drift, vortex ring state, and deadly surface-to-air anti-aircraft threats. Novice pilots frequently roll their rotors into the tarmac within three seconds of liftoff, forfeiting a $9,000 aircraft investment.
This illustrated flight walkthrough breaks down combat aviation into six actionable, step-by-step phases, pairing exact timestamps with verified cockpit procedures and maneuver diagrams.
Flight Source and Verification Card
| Field | Flight Performance Detail |
|---|---|
| Aircraft Class | MH-6 Light Transport / AH-6 Attack Helicopter (Rotary Wing) |
| Airspace Sector | Kolchia Industrial Valley & Ridge Corridors (Variant A & B) |
| Tactical Role | Low-Altitude Squad Insertion & Close Air Support (CAS) |
| Source Reference | Verified Beta Tournament Aviation Scrims (#WARDOGS100K) |
| Survival Threshold | Tick 20 Target (Achieved: 3 Combat Sorties, Safe RTB at Tick 22) |
Step 1: Pre-Flight HUD Calibration and Collective Liftoff
Before raising the collective, pilots must calibrate their cockpit telemetry, verify tail rotor trim, and ensure adequate engine torque.
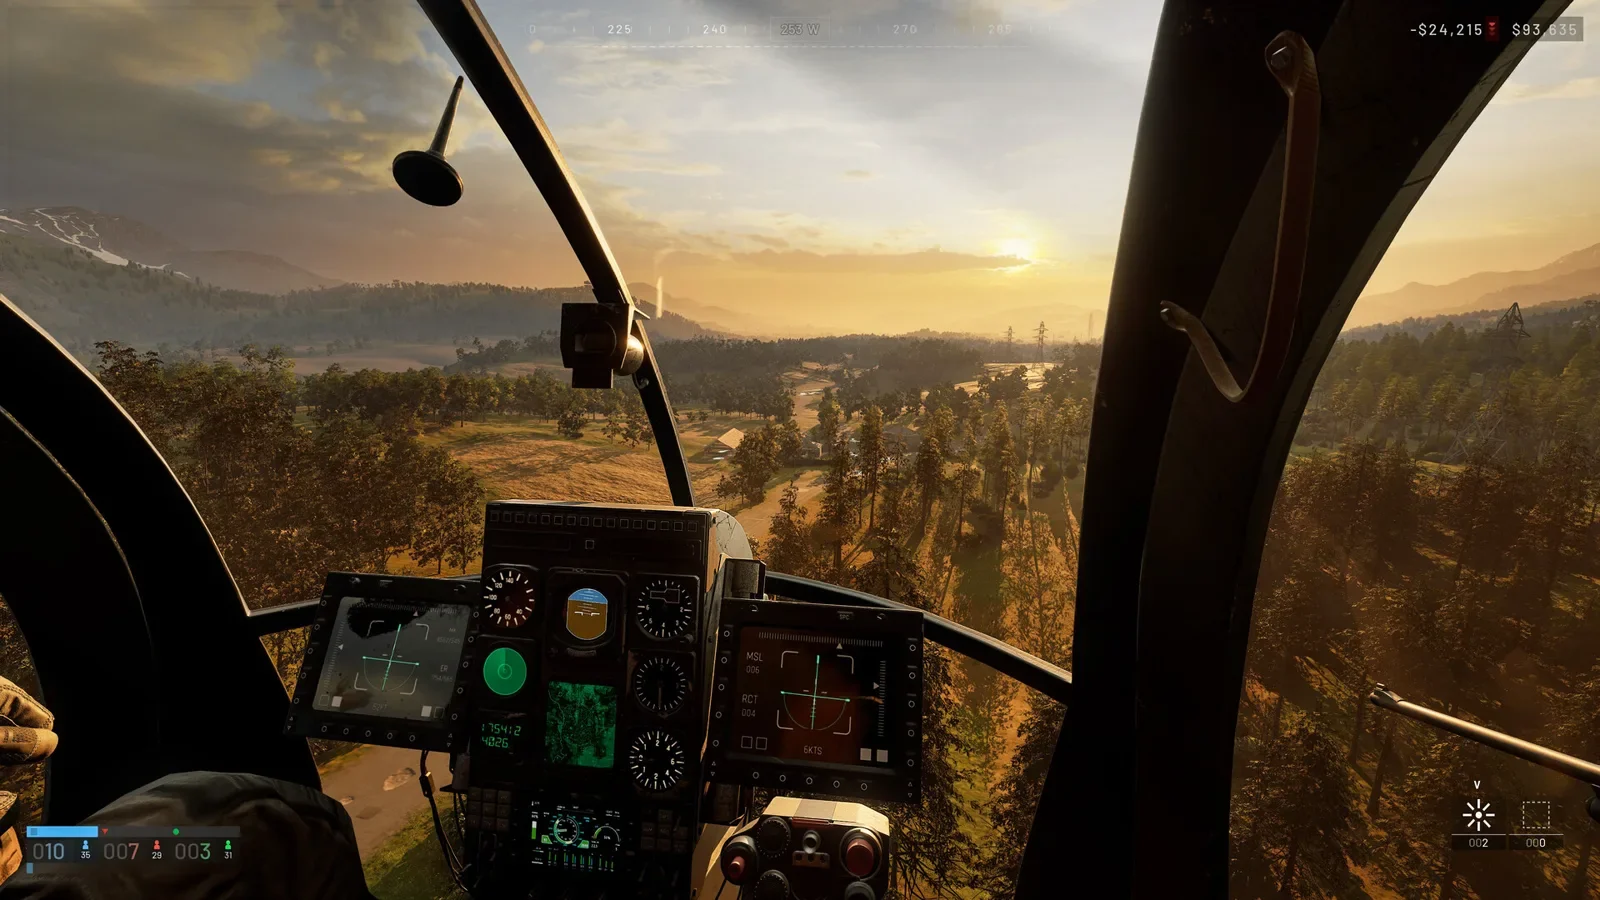 Step 1 (Timestamp: 00:24) — Powering up turbine engines, checking collective torque readouts, and centering flight controls before ascending.
- Collective Management: Smoothly hold W to spool up the turbine until collective reaches 65%. Avoid slamming full throttle immediately, as sudden torque pull will snap the tail to the right.
- Rudder Compensation: Apply slight left rudder (A) to counteract main rotor rotational torque as the landing skids break ground contact.
- HUD Readouts: Monitor your digital climb rate ladder on the left and radar altitude above ground level (AGL) on the right. Calibrate your field of view in our settings guide to preserve peripheral situational awareness.
Step 2: Nape-of-the-Earth Transit to Mask Radar Signatures
Cruising high in clear skies exposes your airframe to long-range anti-aircraft radar and guided missiles from anti-vehicle teams.
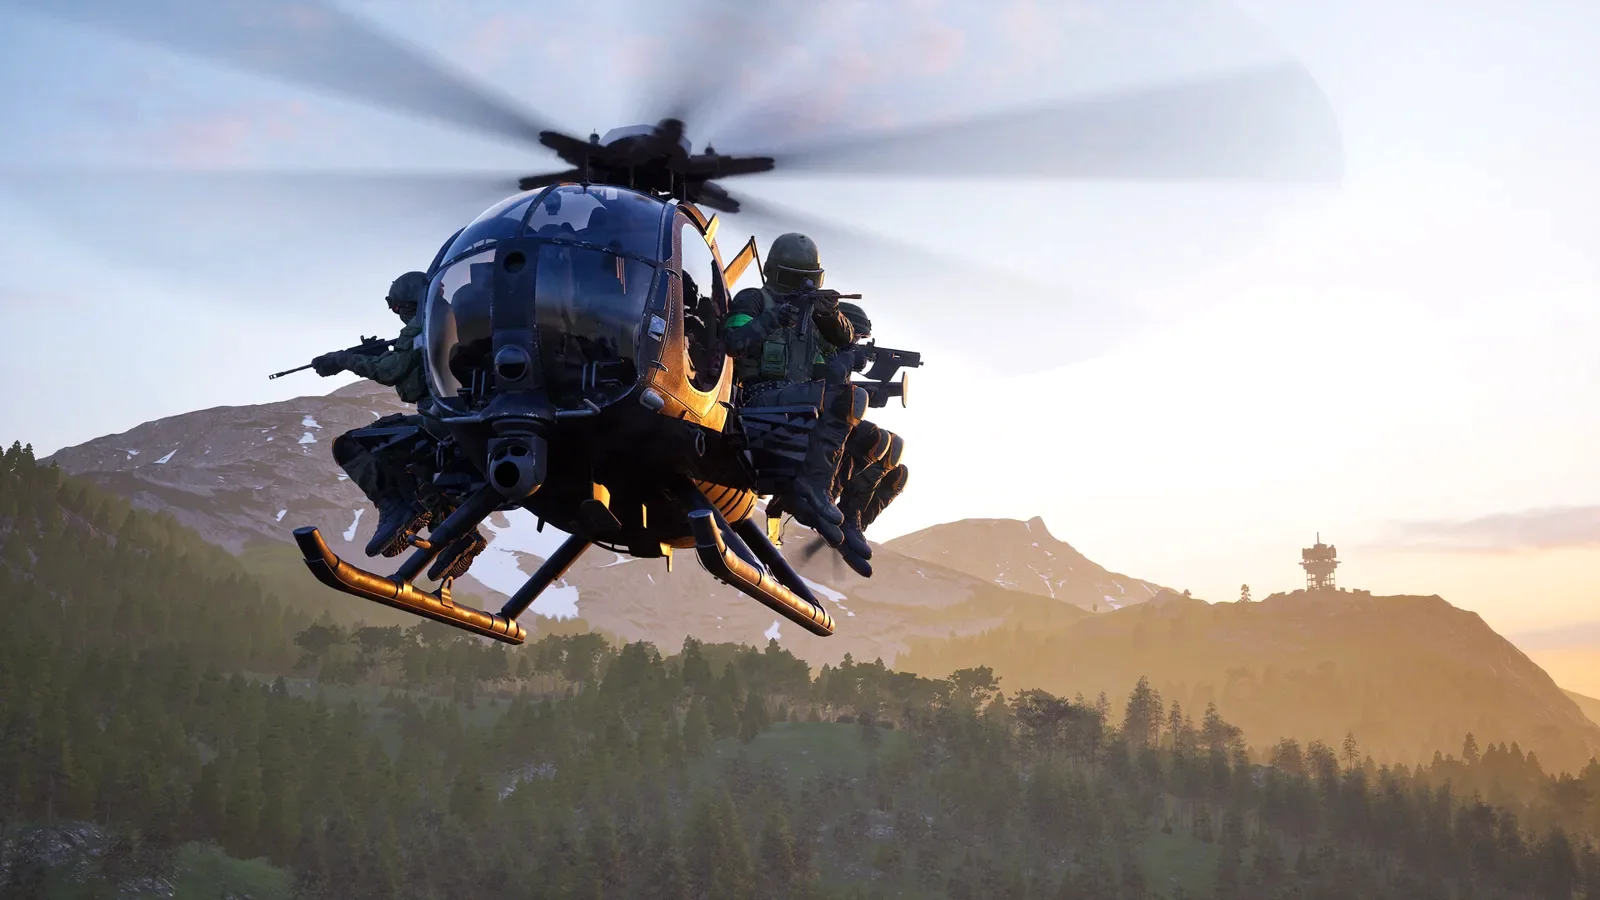 Step 2 (Timestamp: 01:38) — Flying below 25 meters AGL along natural terrain depressions to exploit ground radar clutter.
- Terrain Masking: Follow ravine contours and river valleys on the map as outlined in our maps guide. Keep your flight path shielded behind ridgelines.
- Airspeed Maintenance: Maintain forward cyclic pressure to cruise at 90–110 knots. High horizontal velocity allows you to blow past sniper outposts before ground forces can calculate bullet lead.
- Watch Overhead Obstacles: Beware of high-voltage transmission cables and industrial crane wires around factory sectors; clipping a wire instantly shears the rotor mast.
Step 3: Countermeasure Deployment and Missile Lock Break
When anti-aircraft defense systems acquire radar lock, rapid countermeasure sequencing is your only defense against thermal-seeking missiles.
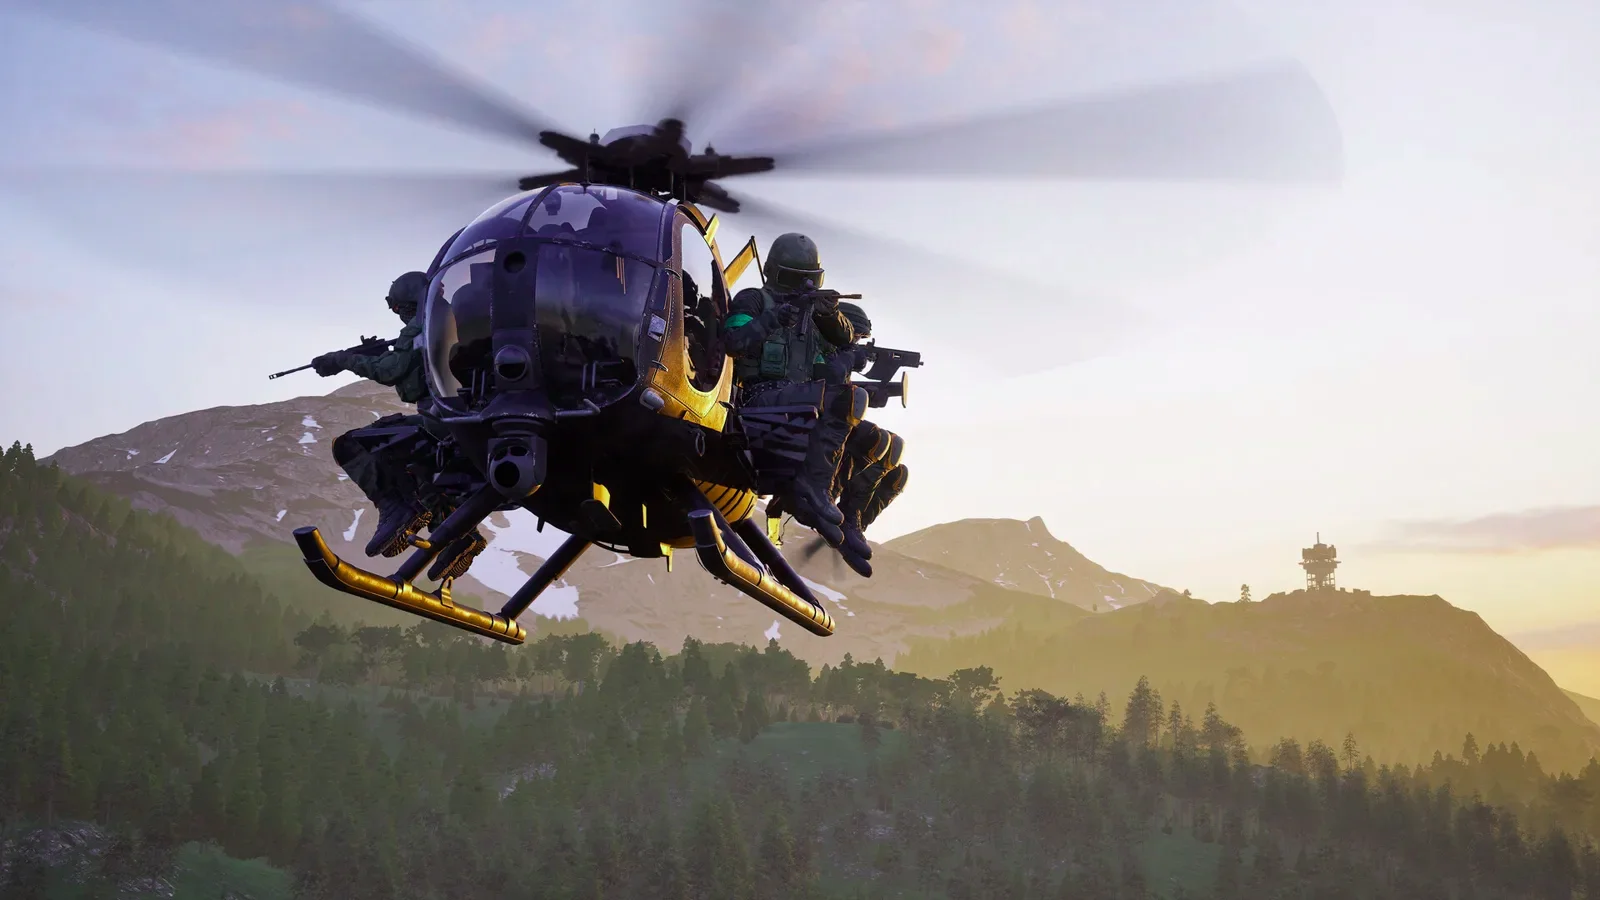 Step 3 (Timestamp: 03:05) — Popping flares while rolling into high-G evasive turns breaks infrared seeker tracking.
- Aural Warning Cues: When you hear a continuous solid tone (missile inbound), immediately tap Spacebar to release a salvo of four magnesium flares.
- Break Hard into Defilade: Do not fly in a straight line after deploying flares. Bank the cyclic 45 degrees, pull back gently, and dive behind a hillside to prevent re-acquisition.
- Flare Cooldown Discipline: Flares require an 18-second recharge cycle. If targeted again during cooldown, drop directly behind physical concrete structures or tree canopies.
Step 4: Stabilized Combat Hover and Rapid Squad Fast-Roping
Inserting an assault fireteam onto an objective requires stabilizing a dead hover at precisely 10 meters altitude without settling into dangerous turbulent air.
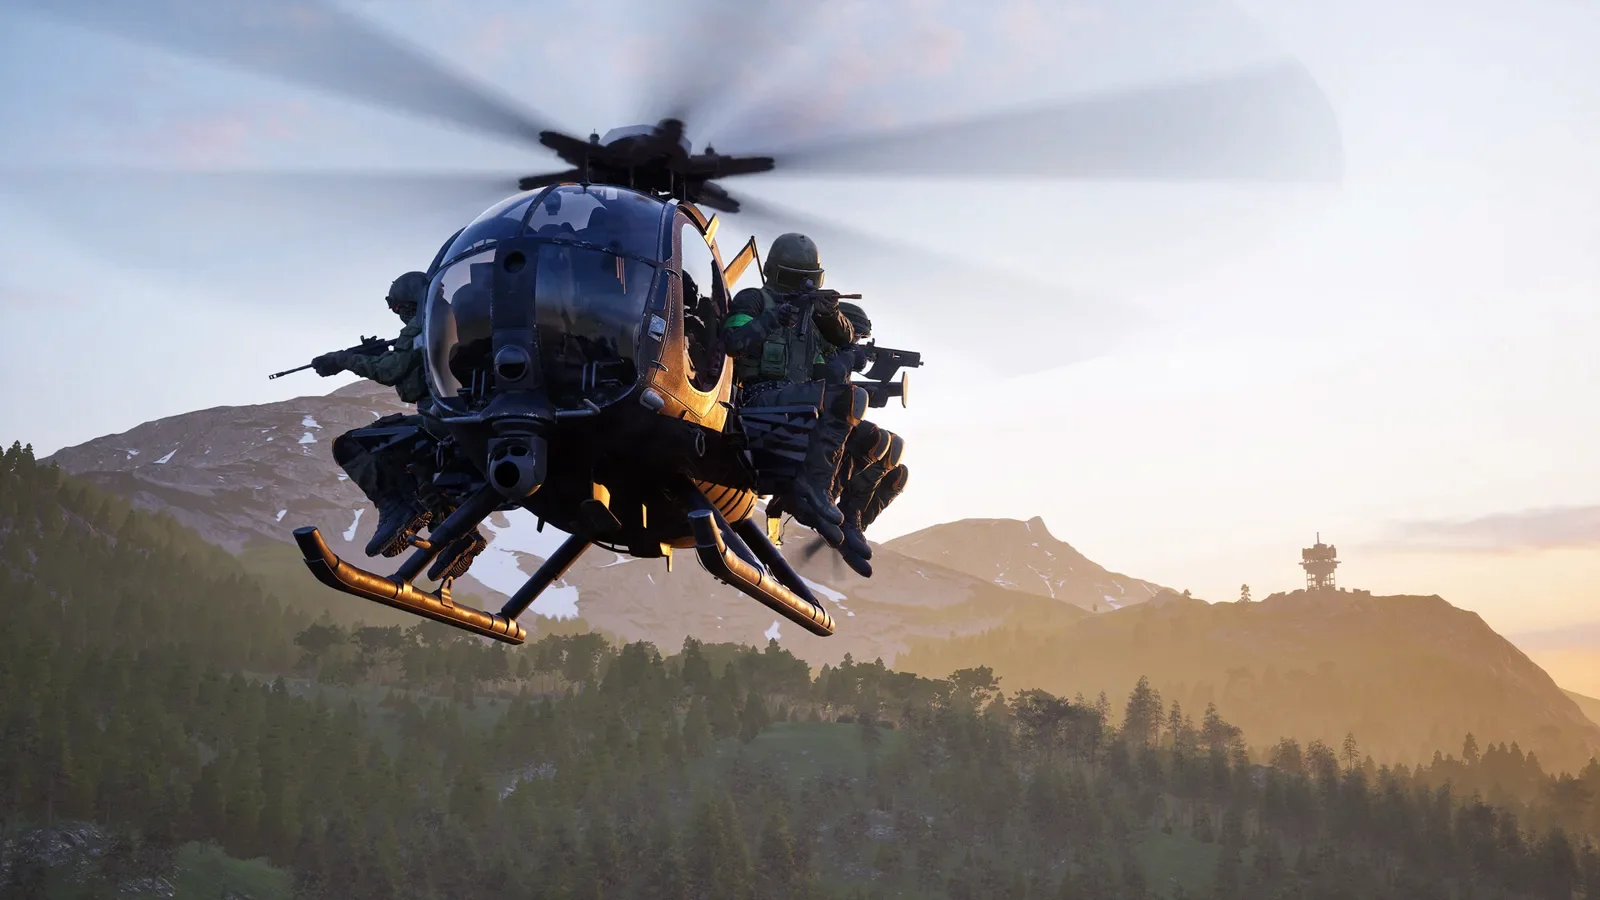 Step 4 (Timestamp: 04:22) — Establishing a zero-drift hover over the landing zone allows infantry to deploy onto contested bunker rooftops.
- Neutralize Cyclic Drift: Pull the cyclic back to scrub forward airspeed until ground speed reads 0 km/h, then level the artificial horizon indicator.
- Avoid Vortex Ring State (VRS): Never descend vertically faster than 5 m/s while at zero forward airspeed. Doing so sucks the helicopter into its own turbulent rotor wash, causing an unrecoverable plunge.
- Coordinating Dismounts: Communicate with your squad leader as practiced in our FOB walkthrough so troops hit the roof and clear the ropes within 4 seconds.
Step 5: High-Angle Rocket Pod Strikes and Armor Suppression
Once troops are inserted, pilot duties transition to Close Air Support (CAS), softening up enemy barricades with unguided 70mm rocket pods.
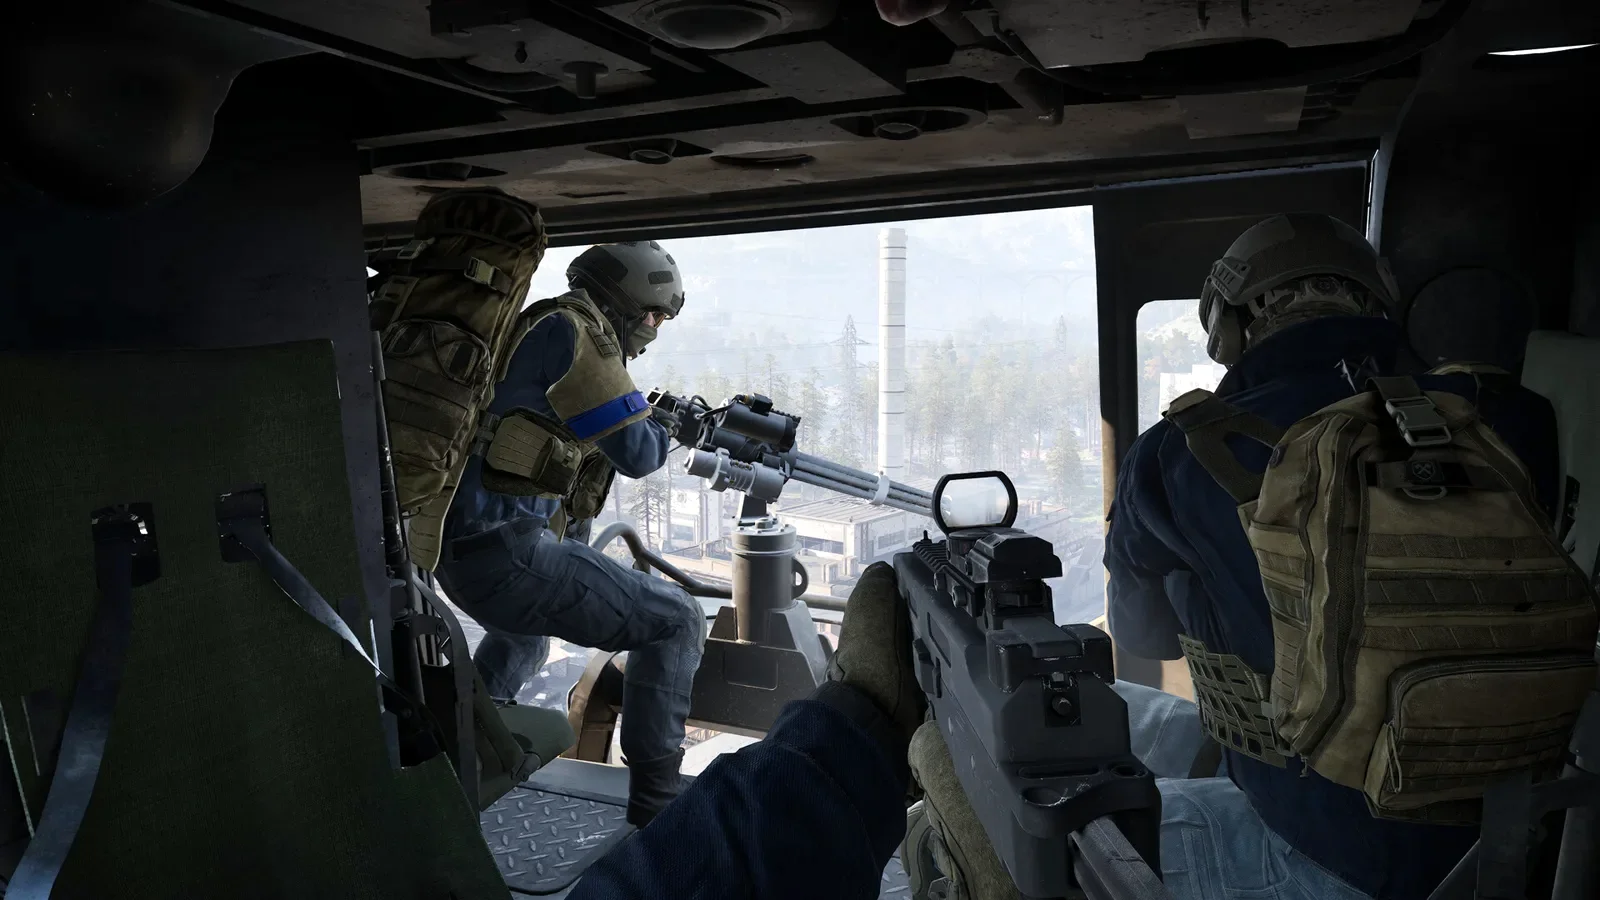 Step 5 (Timestamp: 05:40) — Diving at a 30-degree angle to deliver direct-impact rocket barrages against enemy light transports.
- Dive Attack Angles: Enter rocket runs from 200 meters altitude, tipping the nose into a 25–30 degree dive. Align the projected CCIP reticle with enemy vehicle engine decks.
- Burst Fire Control: Fire rockets in pairs rather than dumping full pods. Two direct hits to top armor disable APC engines, leaving them vulnerable to infantry rockets detailed in our vehicles guide.
- High-G Pullout: Break off the attack run at 50 meters altitude. Pull back collective and cyclic simultaneously to zoom-climb back into safe standoff distance.
Step 6: Autorotation Emergency Recovery and Safe Touchdown
If ground fire disables your turbine engine, calm application of autorotation physics allows you to glide down without dying.
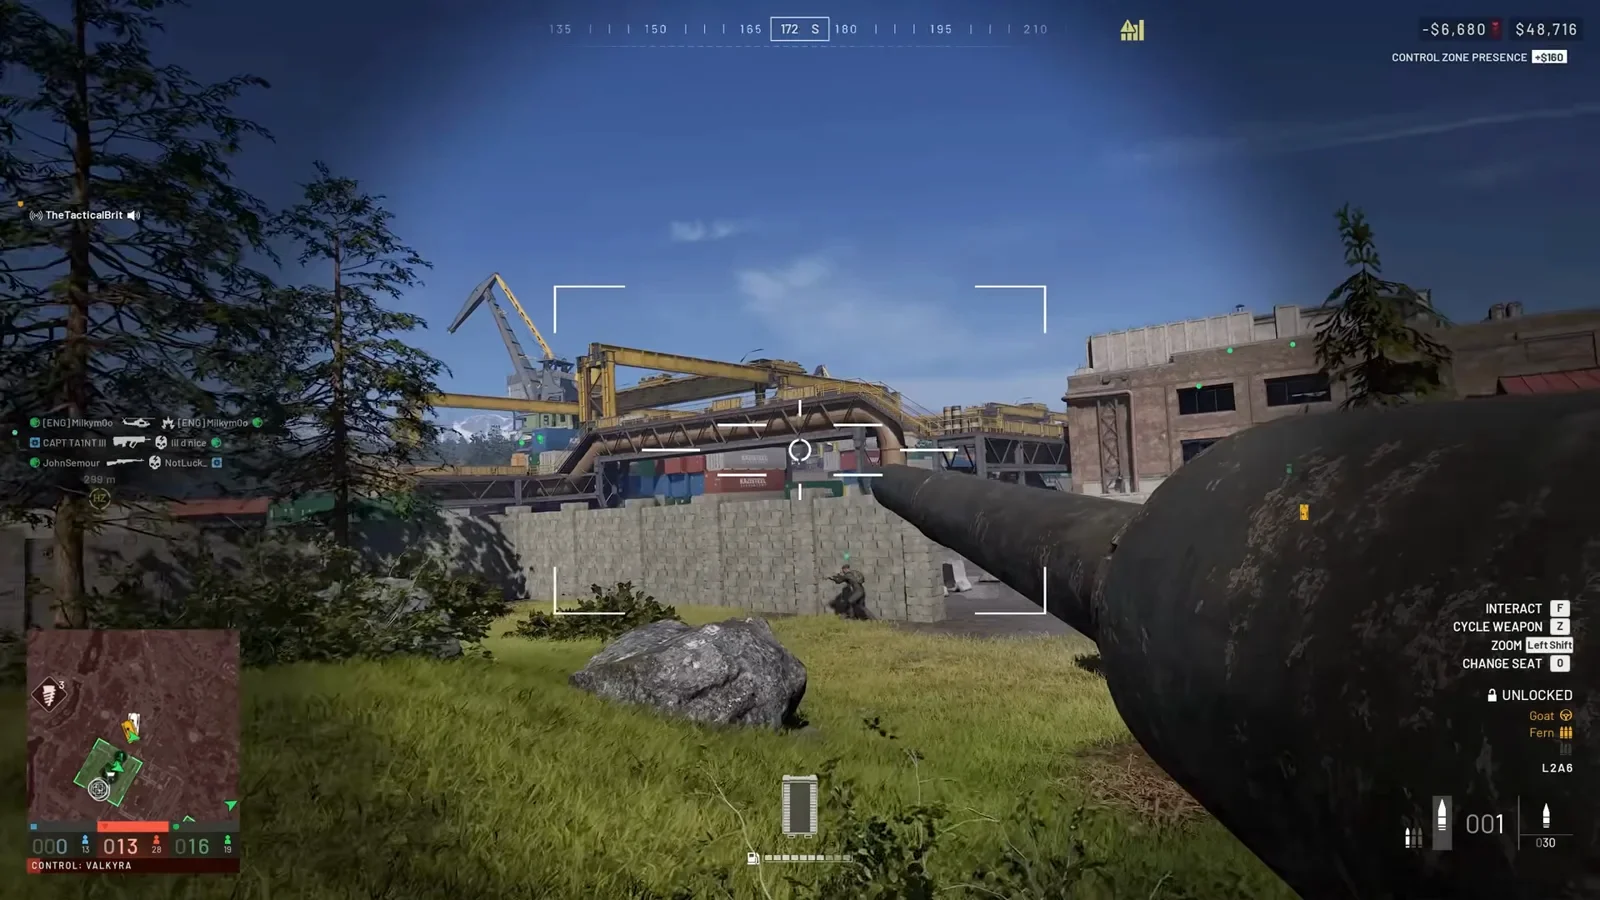 Step 6 (Timestamp: 07:15) — Dropping collective pitch to preserve rotor inertia followed by a final ground cushion flare.
- Drop Collective to Zero (Key W released, S held): Sinking air through the unpowered blades spins the rotor disc, storing kinetic energy like a flywheel.
- Glide at 50 Knots: Push the nose down slightly to maintain clean airflow through the blades during descent.
- The Cushion Flare (10m AGL): At 10 meters above ground, pull back cyclic to halt forward speed, then pull full collective upward (W) to use stored rotor energy as a soft air cushion before touching down.
Essential Flight Keybind Recommendations
To prevent erratic mouse oversteering while banking, bind these optimized keys:
| Action | Recommended Binding | Tactical Rationale |
|---|---|---|
| Pitch Down / Up | Mouse Forward / Backward | Smooth analog aim for rocket pod reticle alignment |
| Roll Left / Right | Mouse Left / Right | Fluid banking without keyboard stepping |
| Yaw Left / Right | Key Q / Key E | Rebinding rudder to Q/E frees A/D for fine strafe hovering |
| Collective Raise / Lower | Key W / Key S | Standard intuitive throttle response |
| Emergency Countermeasures | Mouse Thumb Button (Mouse 4) | Instant flare release without taking fingers off WASD |
Tactical Pilot Rules
- Never hover in place over open fields: A stationary helicopter is free target practice for heavy anti-materiel sniper rifles from our weapons list.
- Preserve your aircraft until Tick 20: Crashing early forfeits the 90% loadout refund; keeping your helicopter intact yields massive team transportation XP bonuses.
- Communicate LZ status before touchdown: Always have ground squad mates pop green smoke to designate a cleared landing zone before committing your landing skids.
This aviation guide was transcribed and tested using competitive tournament flight recordings and will be expanded with attack jet procedures as Early Access evolves.
Related Articles
guides
WARDOGS FOB Combat Walkthrough: 100-Player Squad Assault Guide
Step-by-step illustrated walkthrough of WARDOGS 100-player FOB combat: squad insertion, smoke assault, defense setup, and vehicle extraction tactics.
guides
WARDOGS Maps and Tri-Faction Tactics: 100-Player Control Strategy
Master WARDOGS 100-player 3-faction warfare: map breakdown of Kolchia, Kavkazi, Bakurani, control zones, and tri-faction positioning tactics.
guides
WARDOGS Vehicles Guide: All 21 Vehicles, Armor, Fuel and Economy
Complete WARDOGS vehicle guide for Early Access: stats, armor, fuel capacities, compartment HP, and how the per-life cash economy shapes vehicle deployment.
Was this helpful?
Thanks for the feedback!