WARDOGS Helicopter J-Hook Landing Guide: Fast Combat Touchdowns
Master the combat J-Hook in WARDOGS: enter at maximum speed, dump collective, snap yaw and roll, and land between cover before anti-air can lock on.
FAQ
What is a J-Hook maneuver in WARDOGS?
Why do normal helicopter landings get shot down so fast?
What controls do you use to perform a J-Hook?
Where is the safest place to land a transport chopper in WARDOGS?
In 100-player WARDOGS battles, a transport helicopter floating gently into a landing zone is nothing more than free XP for enemy rocket gunners. If you spend eight seconds bleeding speed in a straight flare, every anti-air vehicle and sniper in the sector will zero in on your cockpit.
The J-Hook is the foundational combat maneuver taught by real-world rotary-wing aviators: you fly in at maximum airspeed, pitch the rotor disc hard into the turn, drop collective to zero, and use pedal yaw to snap the nose onto your landing point. In under three seconds, 120 knots of forward momentum vanishes into a butter-smooth touchdown.
This illustrated walkthrough reconstructs Cologne TM’s real-pilot masterclass into seven clear steps, complete with verified in-game screenshots and deep links to exact timestamps.
Source and Verification Card
| Field | Detail |
|---|---|
| System | Rotary-wing combat flight physics (Transport & Scout choppers) |
| Key Maneuver | Decelerating snap J-Hook landing |
| Primary Controls | Collective (Shift/Ctrl), Cyclic roll (A/D), Yaw pedal (Mouse buttons) |
| Source Channel | Cologne TM (Real-life commercial & utility helicopter pilot) |
| Source Video | REAL PILOT Teaches J-HOOKS - Helicopter Tutorial WARDOGS |

Cologne TM — REAL PILOT Teaches J-HOOKS (Helicopter Tutorial WARDOGS)
Step 1: Master the Three Flight Axes and Terminology
Before attempting combat landings, align your mental model with rotary-wing physics:
- Collective (
Left Shift/Left Ctrl): Controls vertical lift by altering rotor blade pitch. Shift climbs; Ctrl descends. - Cyclic Roll & Pitch (
W/A/S/D): Tilts the rotor disc forward, backward, left, or right to dictate direction of travel. - Pedal Yaw (Tail Rotor): Rotates the aircraft fuselage left or right on its vertical axis.
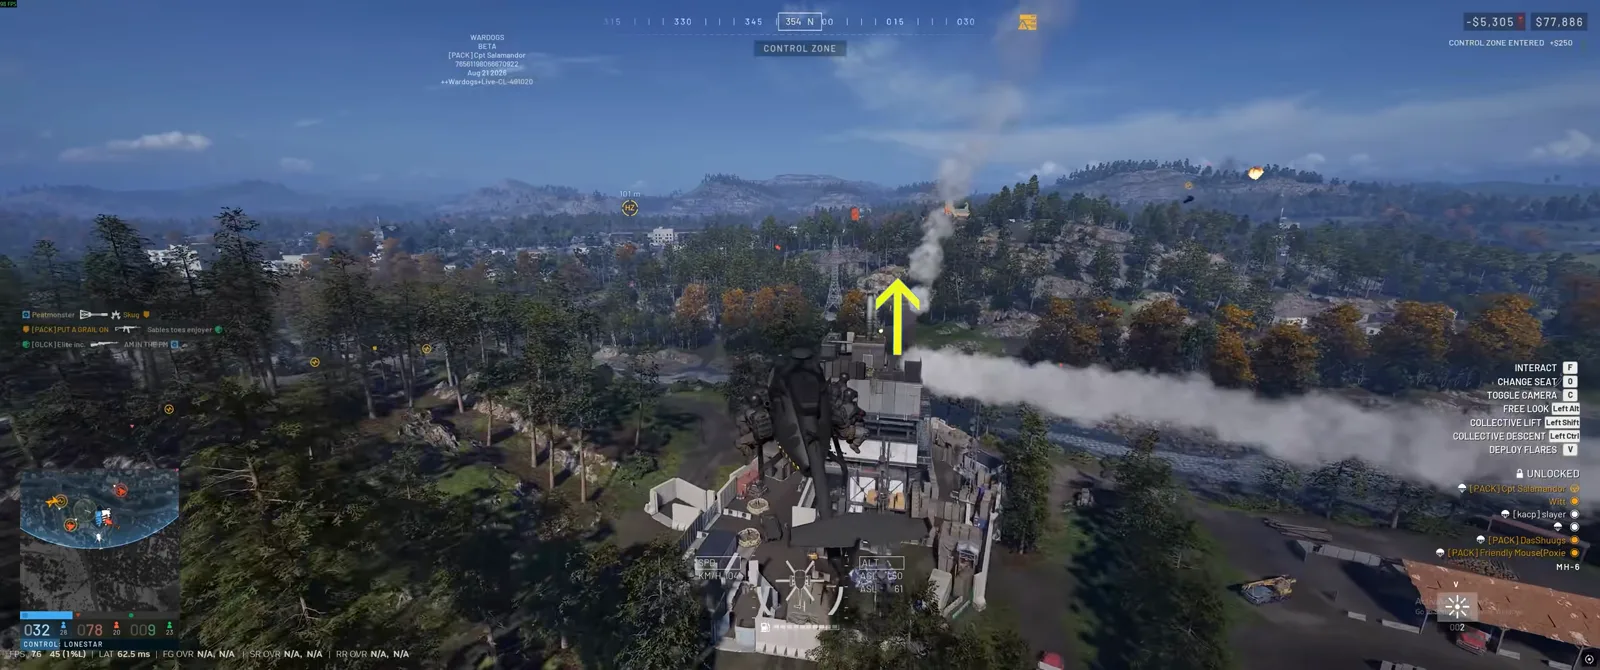
Step 2: Approach the Landing Zone at Maximum Airspeed
The entire survival philosophy of the J-Hook relies on maintaining top cruising speed until the very last second.
As you fly in low over tree canopies or ridgelines toward the target area, do not touch your airbrake or collective yet. Flying at full throttle below 15 meters denies enemy anti-air radar locks and prevents ground troops from leading their RPG shots.
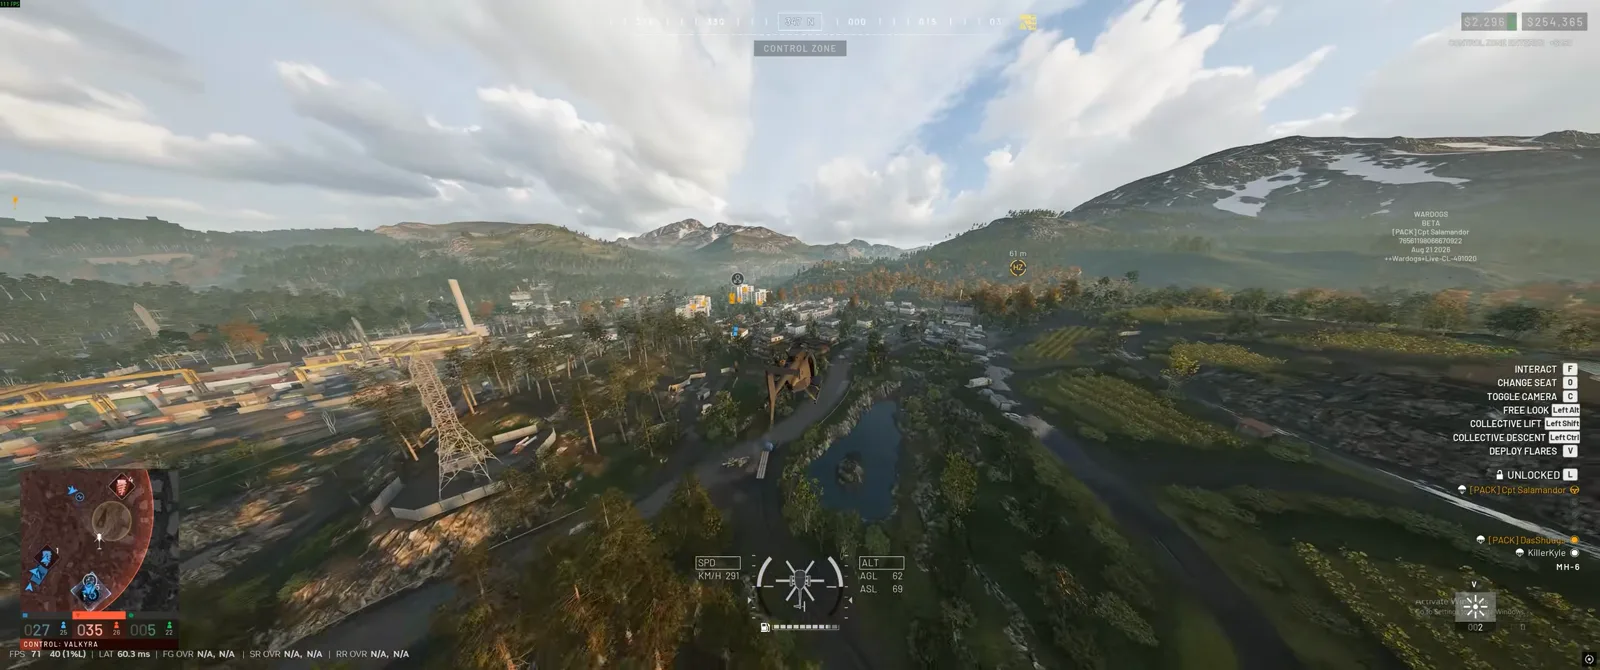
Deep link: Watch approach speed in the source video (0:58).
Step 3: Dump Collective to Zero and Bank Hard
Once your helicopter crosses the visual threshold of the designated LZ (roughly 70–100 meters out depending on weight class):
- Dump Collective Immediately: Press and hold
Left Ctrlall the way down to reduce blade lift to zero. Hold it down for the entirety of the turn. - Roll Towards the LZ: If your landing spot sits off your left wing, input full left roll (
A). Banking 60 to 75 degrees forces the underside of your rotor disc against the oncoming airflow, acting as an immense aerodynamic airbrake.
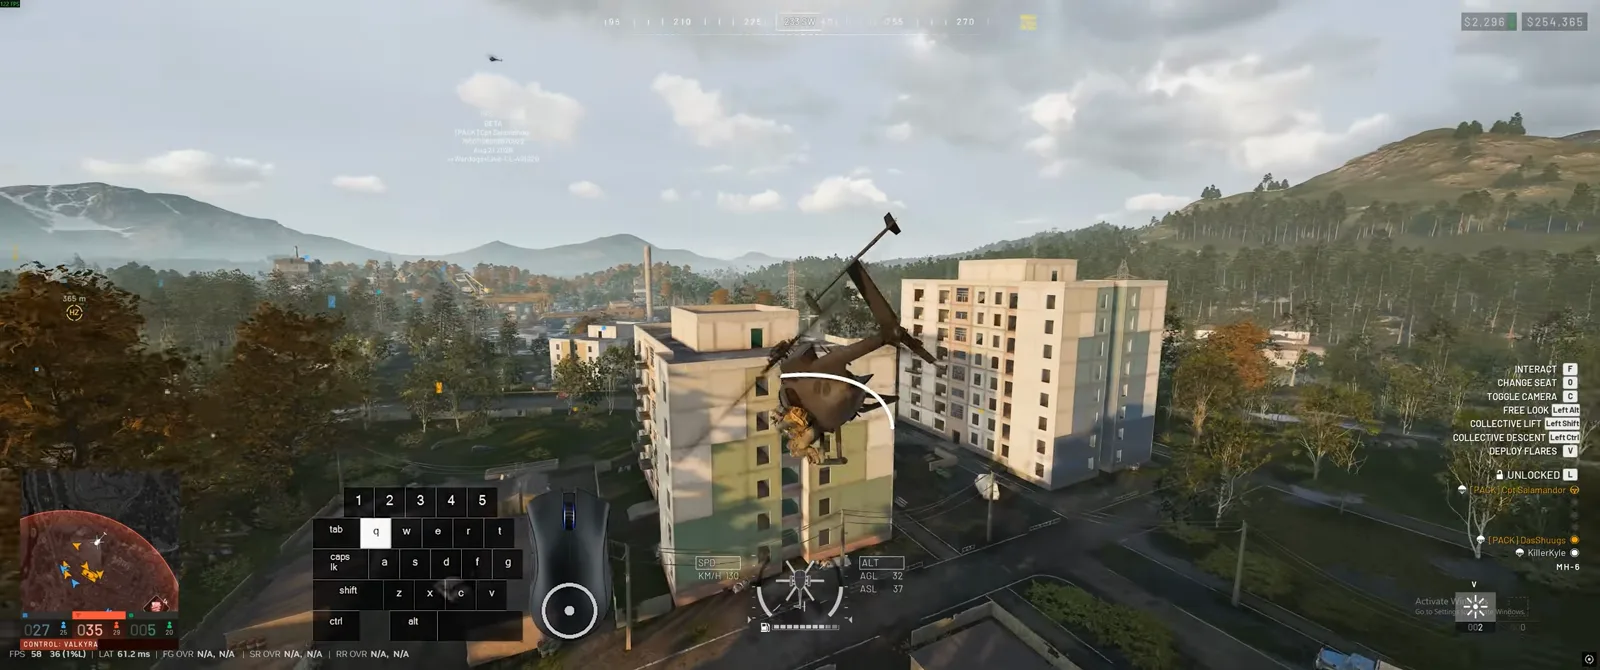
Deep link: Watch collective dump and roll initiation (1:15).
Step 4: Slew the Nose Onto Target with Counter-Yaw
Banking alone will make you skid in a wide circle. To convert the turn into a crisp hook, apply aggressive pedal yaw in the direction of the LZ:
- As you bank left, press your left tail-rotor pedal (or mouse thumb button).
- Keep your crosshair and cockpit nose locked directly onto the exact patch of dirt or tarmac where you intend to touch down.
- The combination of zero collective, steep bank angle, and aggressive yaw scrubs 100+ knots of forward velocity in under two seconds.
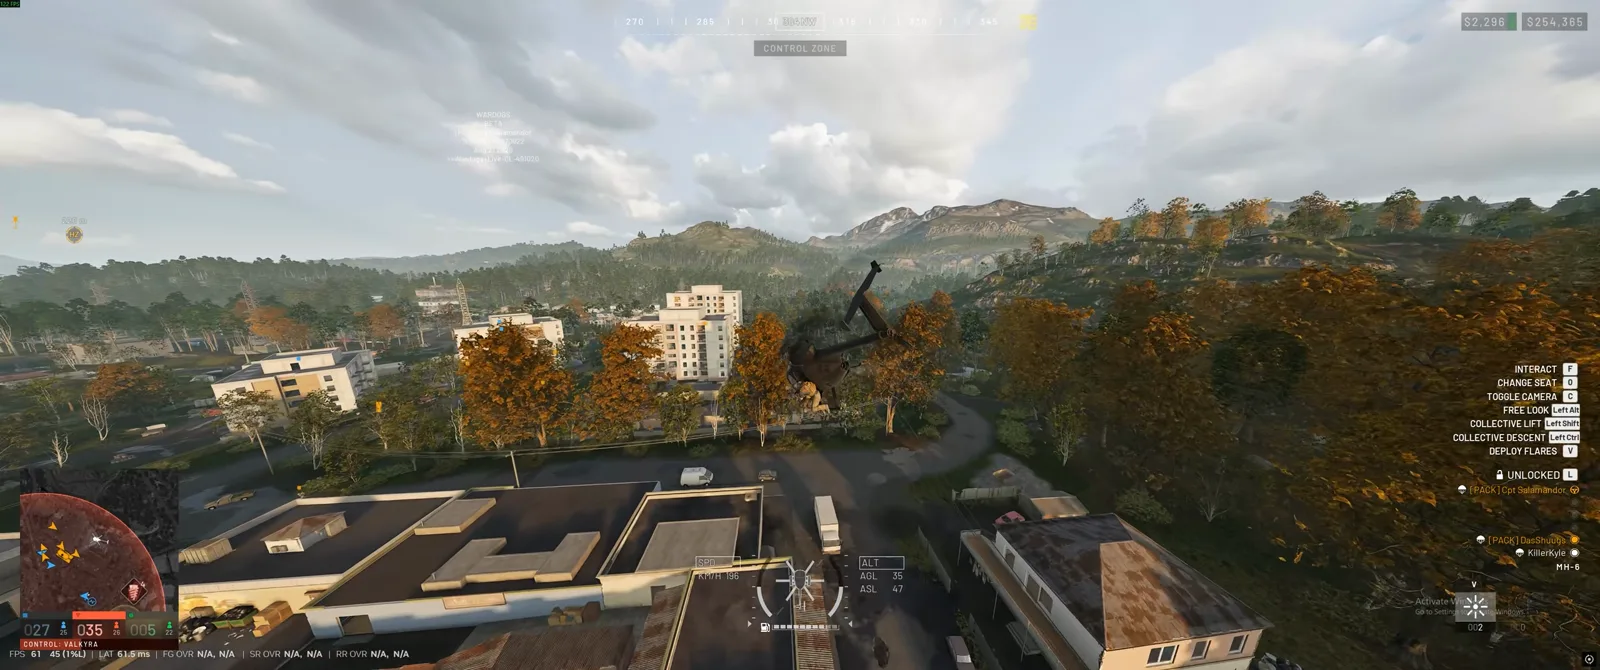
Deep link: Watch yaw tracking and nose alignment (1:28).
Step 5: Level the Disc and Cushion the Touchdown
As your airspeed indicator plummets toward zero:
- Center Your Cyclic: Roll back to level horizon.
- Cushion with Collective: Pull upward collective (
Left Shift) right as your skids come within 2 meters of the surface. This catches your descent rate and eliminates ground bounce, setting the helicopter down without taking hull damage. - Your squad can disembark instantly while your rotors remain spooled for an immediate takeoff.
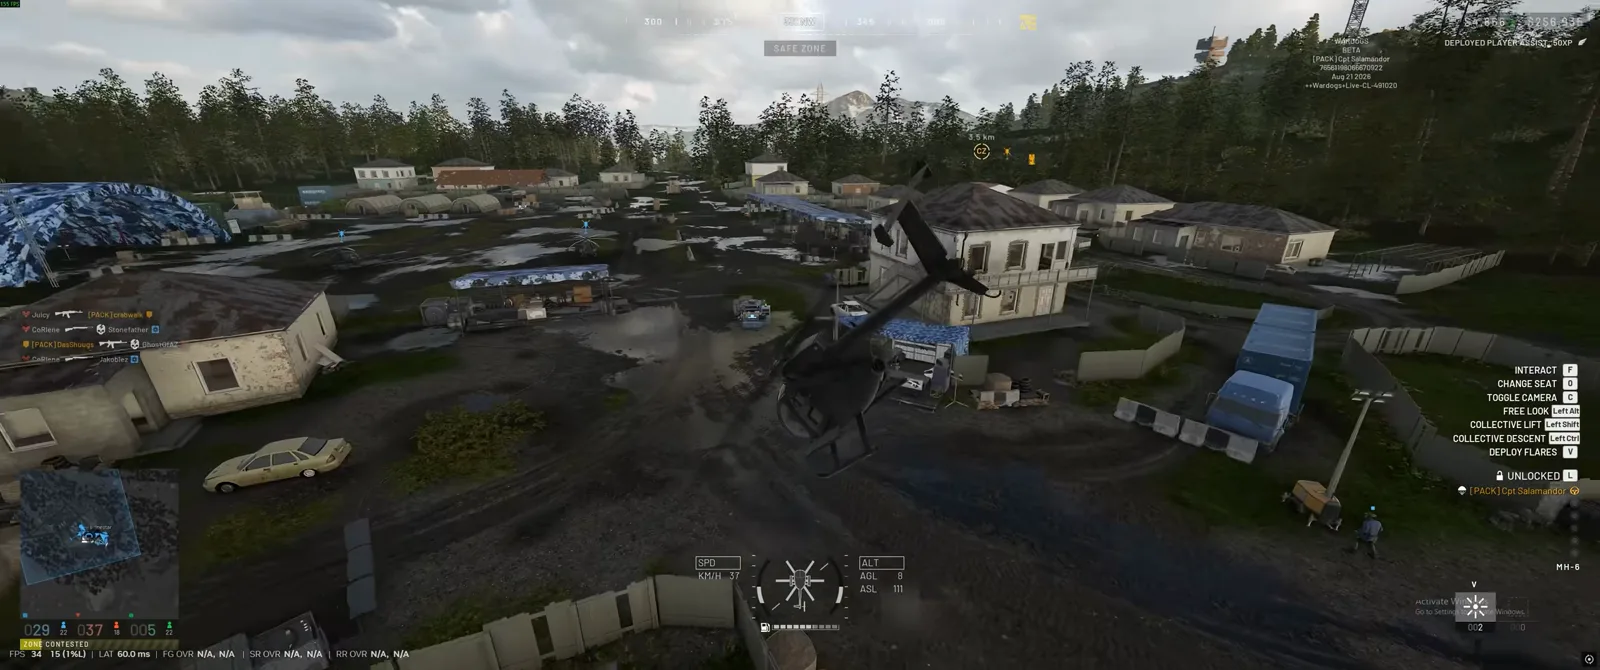
Deep link: Watch the touchdown and collective cushion (1:45).
Step 6: Smart LZ Selection Behind Friendly Frontlines
Executing a mechanically perfect J-Hook inside an open field will still get your squad wiped. Proper LZ selection is half the pilot’s job:
- Follow Team Momentum: Check your tactical map before takeoff. Land immediately behind the forward line of friendly infantry who have already cleared defensive corners.
- Hug Physical Obstacles: Industrial shipping container yards, warehouse alleys, and high berms provide physical cover against enemy sniper overwatch and vehicle cannons.
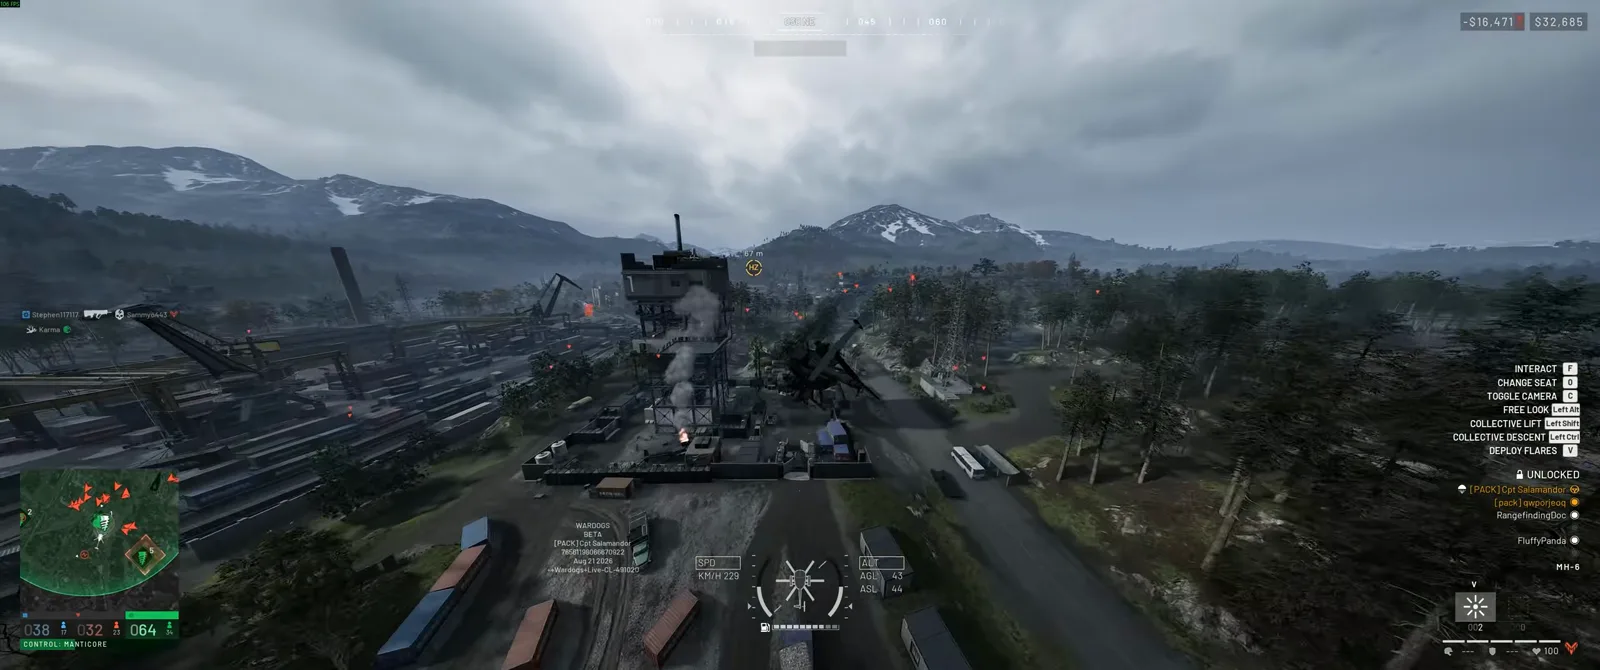
For broader tactical movement across map variants, review our maps and tactics guide and FOB building guide.
Step 7: Advanced Rooftop and Tower Insertion Tactics
The ultimate combat application of the J-Hook is seizing contested communication towers and oil derrick platforms:
- Enemy squads often mount anti-air cannons on upper platforms.
- By executing a high-speed J-Hook around the reverse blindside of the tower structure, your approach speed is so rapid that the anti-air gunner cannot traverse the turret in time.
- Your squad lands on the upper helipad, disembarks, and breaches the staircase from the top down.
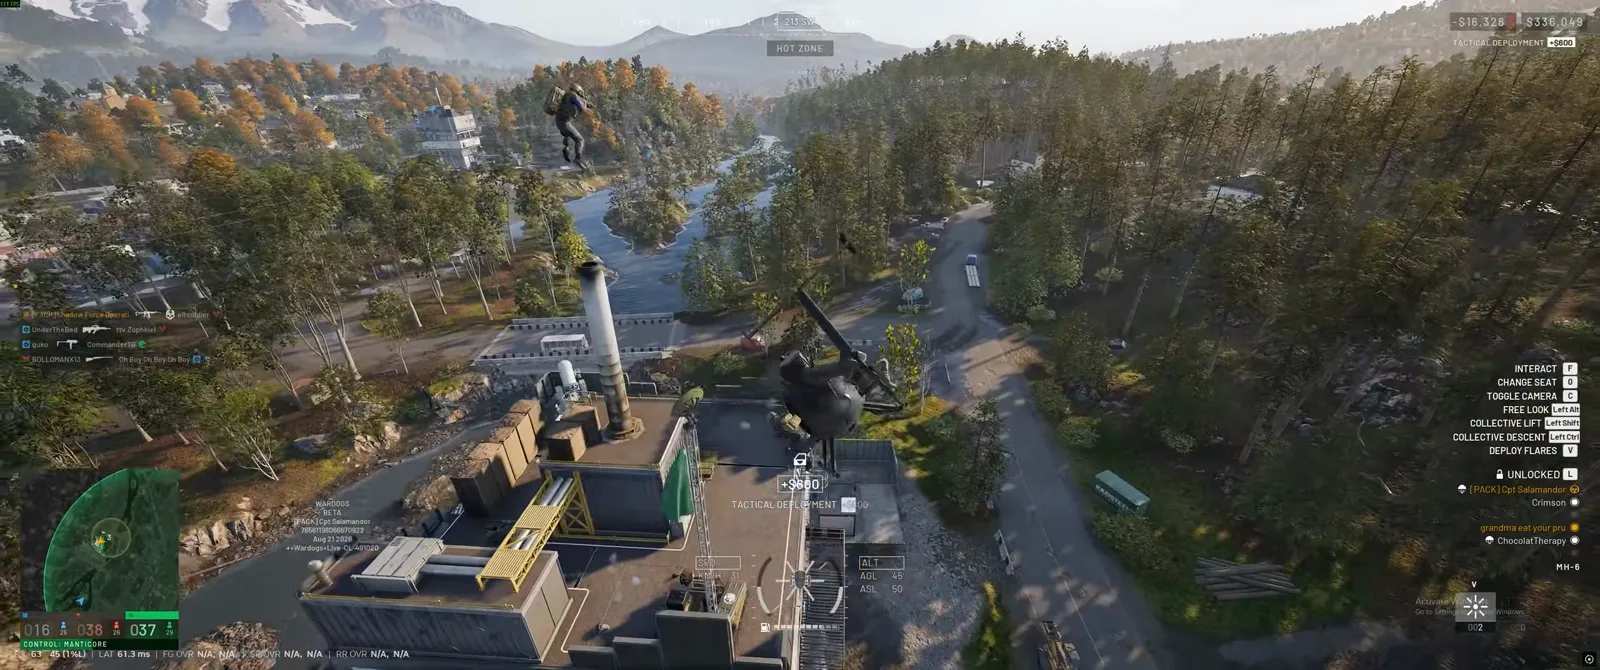
Deep link: Watch the tower top J-hook breach (3:15).
Recommended Pilot Keybinds Setup
Standard keyboard setups make yaw control clumsy. Cologne TM recommends this custom control scheme for maximum dexterity:
| Function | Primary Keybind | Why It Matters |
|---|---|---|
| Ascend (Collective Up) | Left Shift | Immediate index finger access |
| Descend (Collective Down) | Left Ctrl | Pinky hold without shifting hand position |
| Roll & Pitch (Cyclic) | W / A / S / D | Dedicated pure keyboard directional control |
| Yaw Left (Tail Rotor) | Mouse Button 4 (Thumb) | Instant analogue response without steering conflict |
| Yaw Right (Tail Rotor) | Mouse Button 5 (Thumb) | Eliminates rudder hunting on the keyboard |
| Free Look | Left Alt | Allows full 360-degree situational scan during landings |
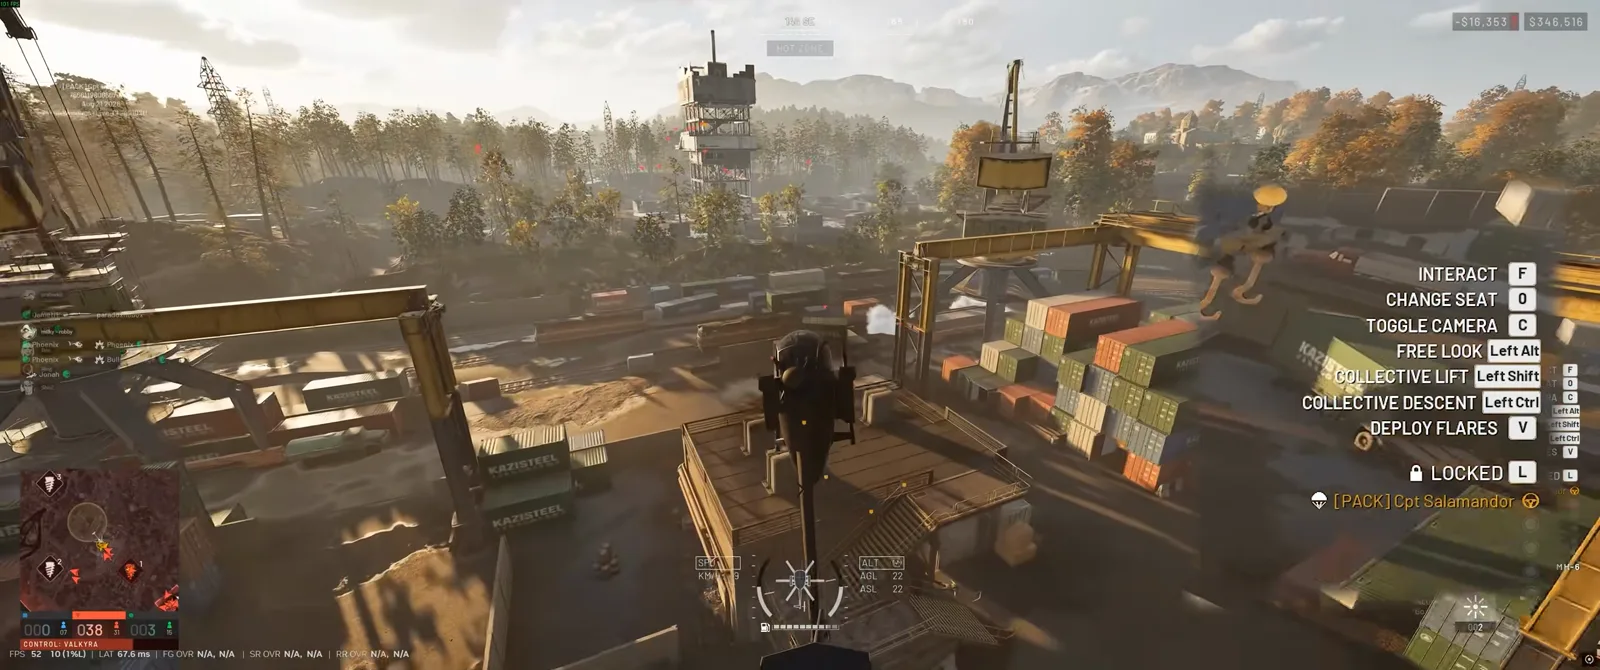
Pair these flight binds with our low FPS and stuttering fixes and best competitive graphics settings to eliminate frame pacing drops during fast low-altitude maneuvers. For foundational flight basics, refer to our beginner helicopter guide.
Related Articles
guides
WARDOGS Advanced Fortifications: Kill Boxes, Drill Rigs & Defenses
Advanced WARDOGS FOB building walkthrough: ladder kill boxes, double IDF vehicle shelters, hedgehog mortar blast roofs, and 4-drill fuel rotation.
fixes
WARDOGS Low FPS & Stuttering Fix: 100-Player Performance Guide
Fix WARDOGS low FPS, sudden frame drops and micro-stuttering in 100-player battles with a hardware-first performance troubleshooting ladder.
guides
WARDOGS Sniper Unlock Guide: Rapid Leveling & Zero-Kill Scout
Skip the useless starter rifle and unlock SKS, Mosin, and SVD snipers fast in WARDOGS with zero-shot spotting techniques, loadouts, and CQB survival.
Was this helpful?
Thanks for the feedback!