WARDOGS L81 Mortar Walkthrough: Build, Aim & Range Calls
Illustrated WARDOGS L81 mortar walkthrough: build with a level 3 hammer, fortify the pit, read the range and mils HUD, and dial targets using map coordinates.
FAQ
What hammer do you need to build a mortar in WARDOGS?
How far can a mortar shoot in WARDOGS?
How do you calculate mortar range without a calculator?
How do you resupply mortar ammunition in WARDOGS?
Indirect fire wins or loses 100-player WARDOGS matches, and the L81 mortar is the cheapest way for a single engineer to make a whole enemy squad miserable. The problem is that a mortar is not a “point and shoot” weapon: you have to build it, then solve a small geometry problem before every shot or you will burn expensive rounds on wild impacts.
This illustrated walkthrough reconstructs SC Haulers’ complete mortar tutorial into seven actionable steps, pairing each with a verified in-game screenshot and a deep link to the exact moment it is demonstrated.
Source and Verification Card
| Field | Detail |
|---|---|
| Weapon | L81 Mortar (infantry indirect fire) |
| Class / Tool | Engineer, level 3 hammer |
| Max range | ~700 m (last ladder tick ≈ 684 m @ 150 mils) |
| Source channel | SC Haulers (“Sax”) |
| Source video | How to Use Mortars in WARDOGS — Complete Tutorial |

SC Haulers — How to Use Mortars in WARDOGS (full tutorial)
Step 1: Build the L81 with the Right Hammer
You cannot place a mortar with a starter hammer — the level 3 hammer is mandatory, and the L81 is on the third page of the build menu, left-hand side. Once it is set down, start construction and watch for the yellow X marks: hovering turns them white, and hitting an X raises build progress by about 10% versus roughly 1–2% per normal hit.
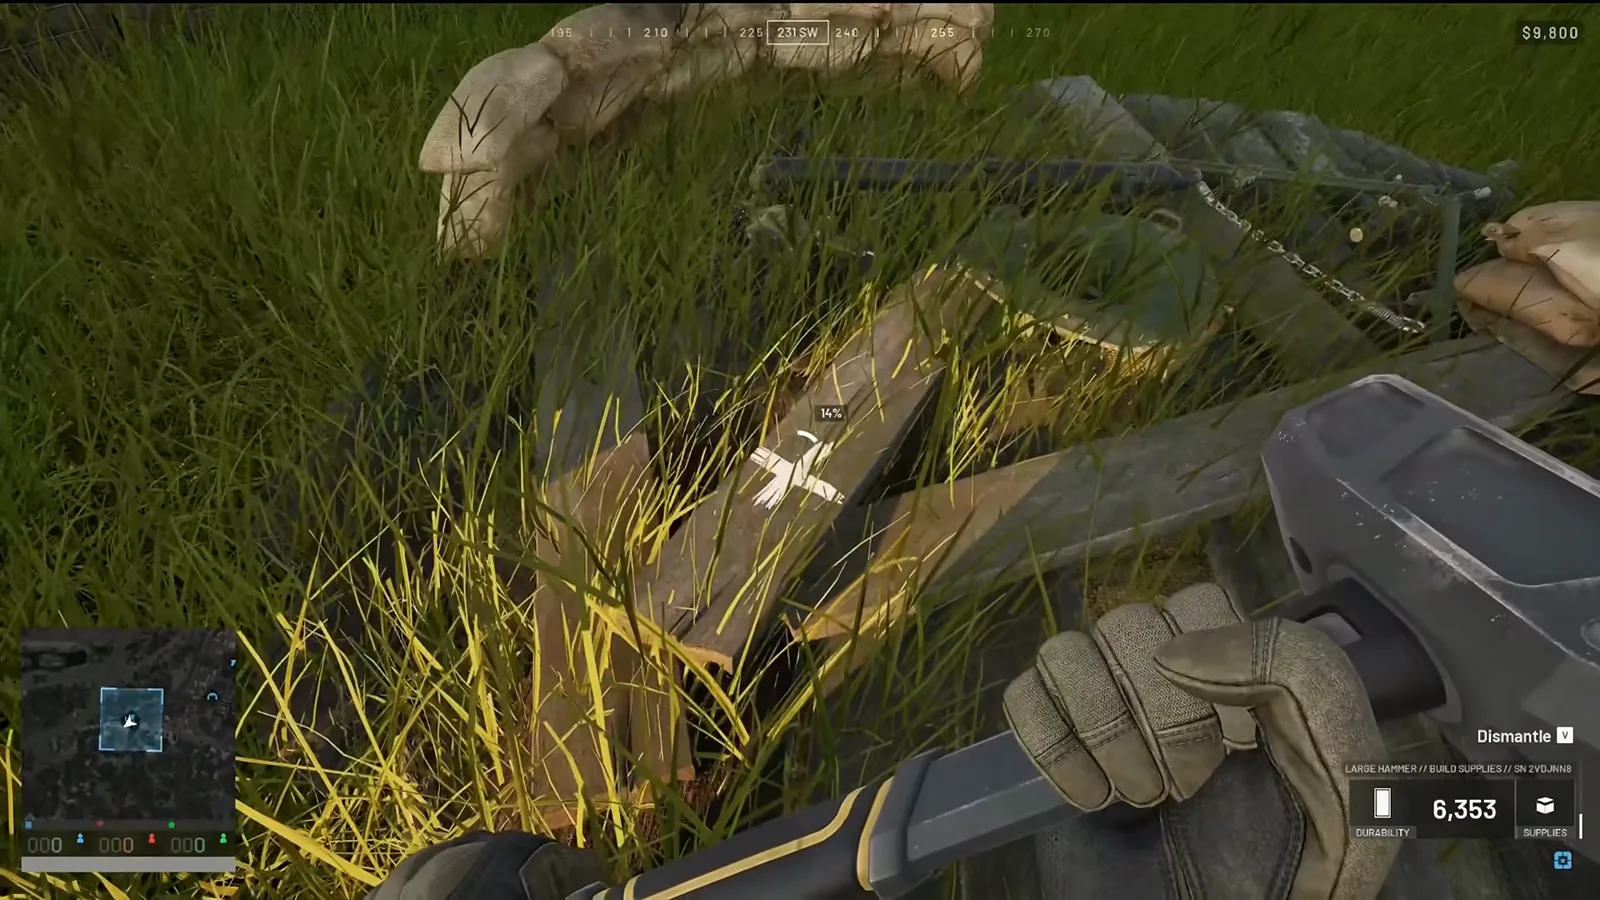 Step 1 (0:40) — Tap the white X marks as they appear; it is a Fortnite-style build shortcut that finishes the tube far faster.
Step 2: Fortify the Pit Before You Fight From It
A bare mortar is a dead mortar. The default sandbag ring gives only token protection, so open the build wheel and pull Bag Walls around the tube, then upgrade to Hesco barriers or T-walls for real cover while you lay fires.
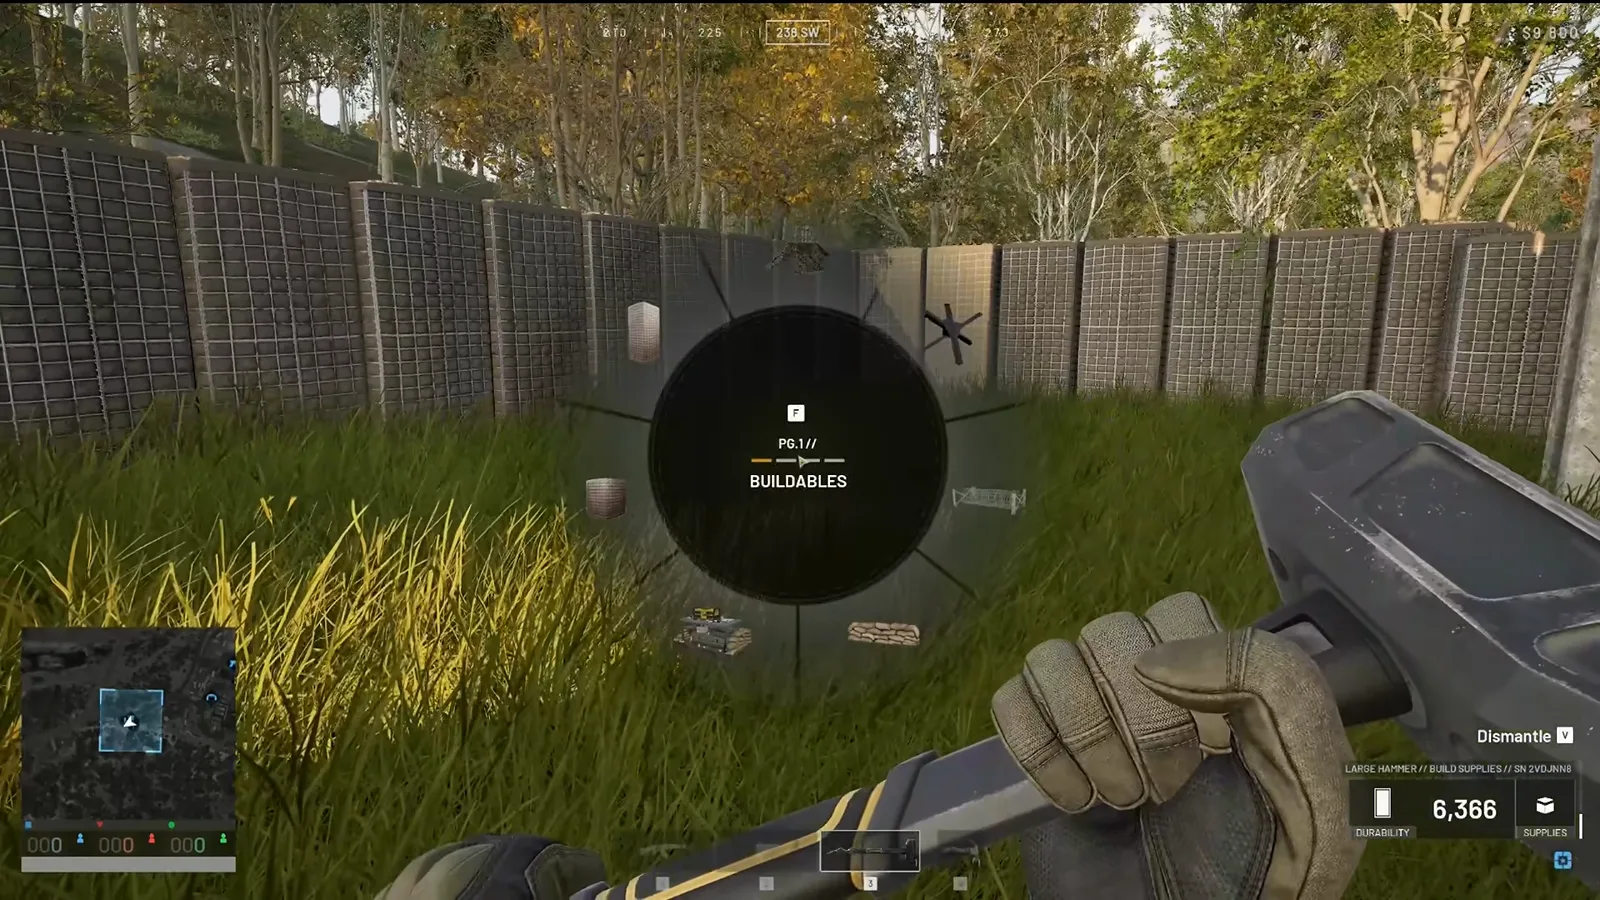 Step 2 (0:25) — Ring the tube with walls from the build wheel; treat the pit like a mini FOB, because it is one.
Watch the fortification (0:25)
Step 3: Learn the Zoomed Firing HUD
Press into the tube and zoom. The interface is the whole skill: top is the compass (it matches the white compass heading already on your HUD), left is range/RNG in metres, and right is elevation in mils. Higher mils drives the round shorter, lower mils sends it further. Out of zoom there is no UI at all, so all your numbers live in this view.
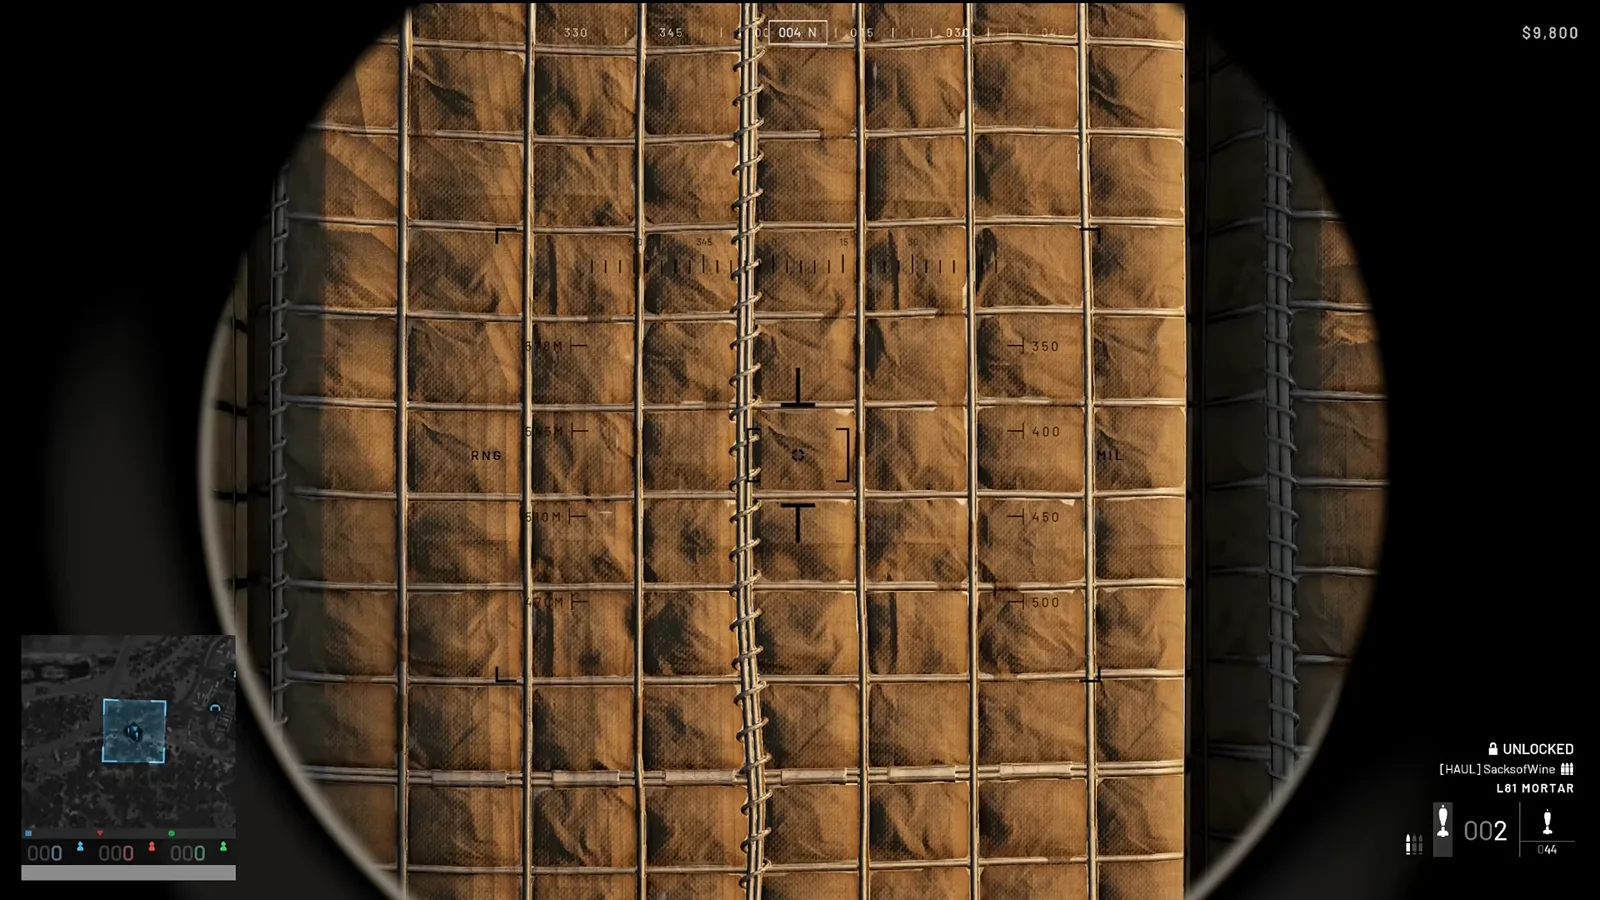 Step 3 (2:25) — WASD is your fast traverse up and down the tube; the mouse is a slow precision mode for one-click nudges.
Step 4: Ping the Target and Read Its Coordinates
The military protractor method is overkill. Simply middle-click to ping: the marker shows on screen and drops a small white diamond on the compass so you instantly know the bearing (for example, southwest). Open the map tool and hover the ping to read its X/Y grid coordinates, then hover your own mortar to read its coordinates.
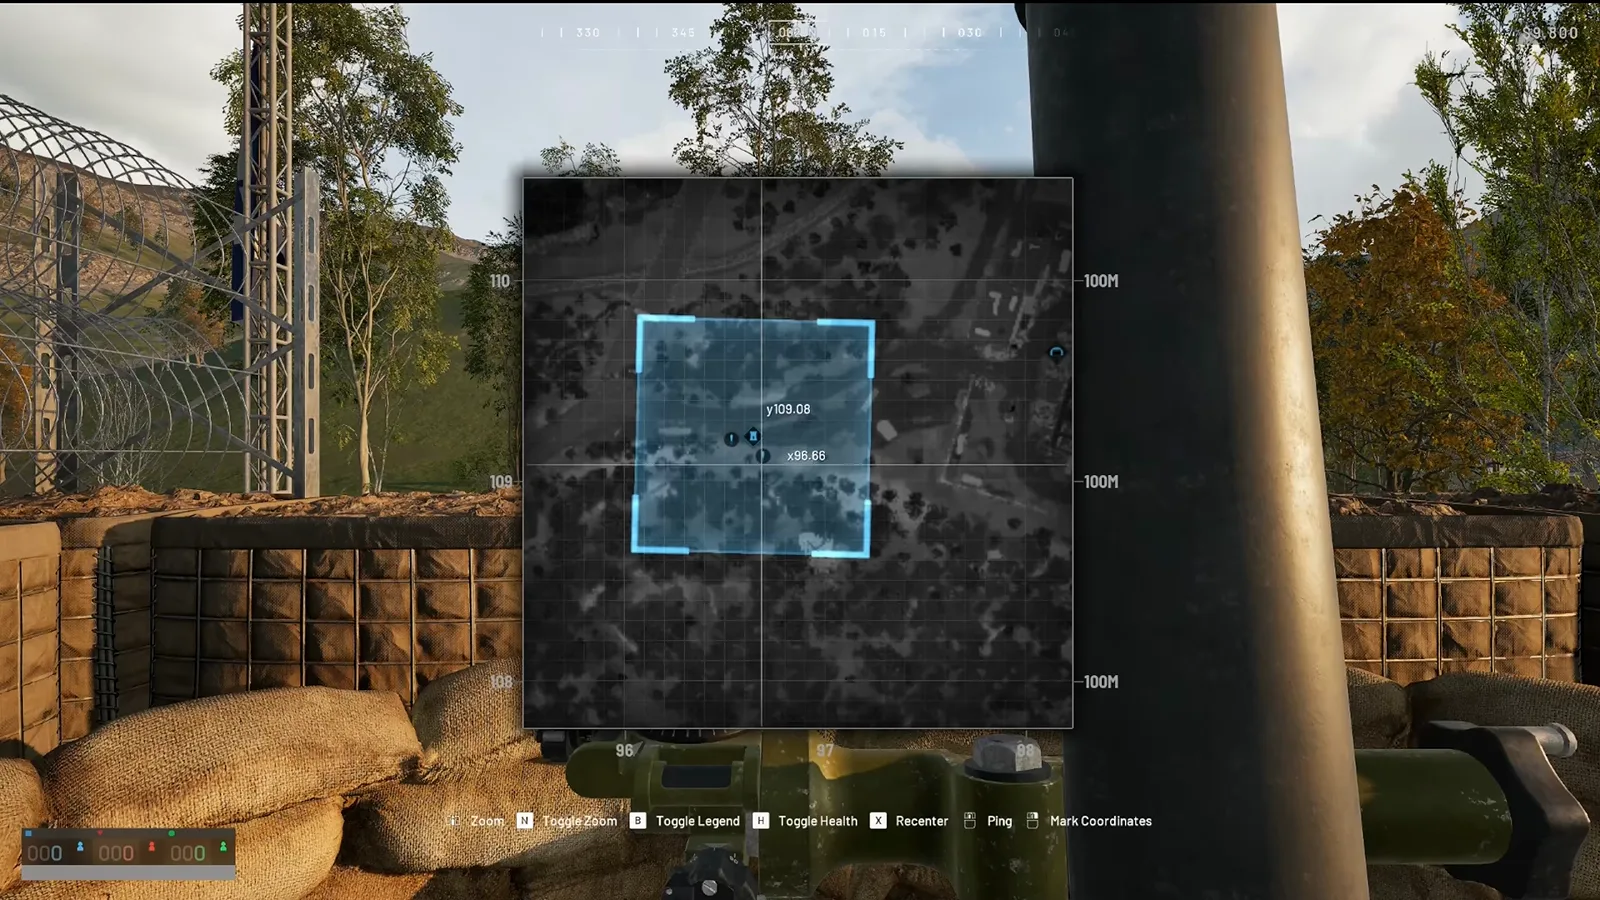 Step 4 (10:50) — The map toolbar carries Ping and Mark Coordinates; those grid values are the raw inputs for the range call.
Step 5: Turn the Grid Gap into True Range
Guessing wastes rounds, and rounds come off your FOB’s delivered ammo. Do the math instead:
- Y leg — subtract the smaller Y from the larger Y, multiply by 100.
- X leg — subtract the smaller X from the larger X, multiply by 100.
- Range — take the square root of (Y-leg² + X-leg²).
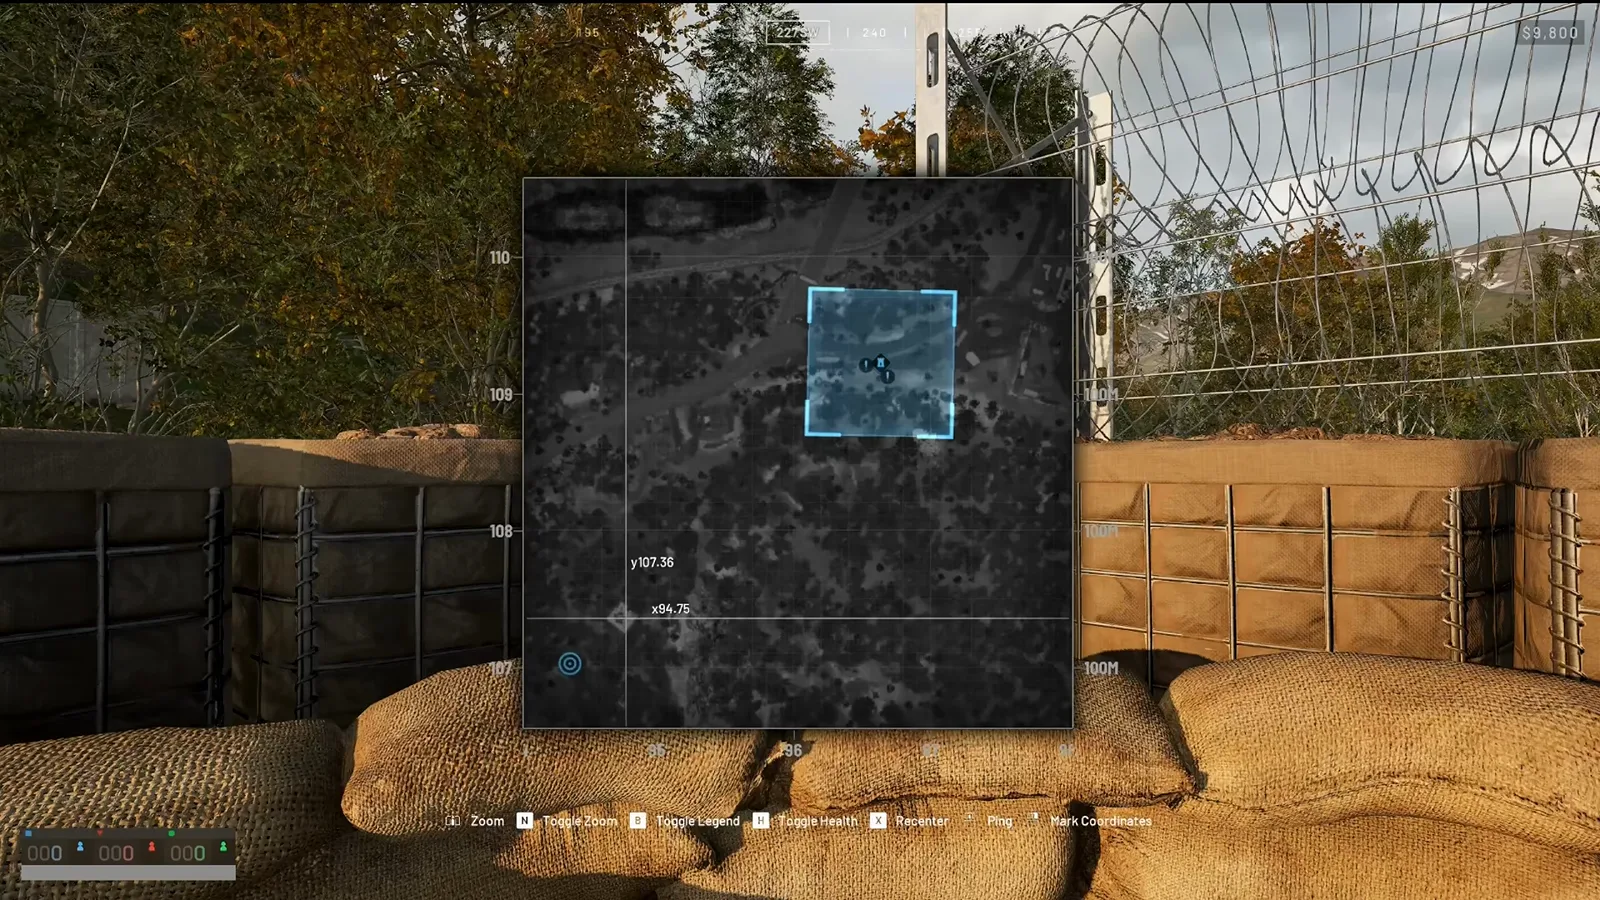 Step 5 (6:40) — Worked example from the video: 174 m and 195 m legs give a √(174² + 195²) ≈ 260 m shot.
Worked coordinate example (260 m and 602 m shots)
Shot one — target Y 107.36 / X 94.71, mortar Y 109.11 / X 96.67.
- Y: (109.11 − 107.36) × 100 ≈ 174 m
- X: (96.67 − 94.71) × 100 ≈ 195 m
- Range: √(174² + 195²) ≈ 260.67 m → set ~240 m, fire, hit on target.
Shot two — legs come out to 442 m and 409 m.
- Range: √(442² + 409²) ≈ 602.2 m → dial 602, hit on target again.
Watch the coordinate math (6:40)
Step 6: Lay the Bearing and Fire the Adjustment Round
Set the compass bearing you derived, then dial the range just under the target — in-game range ticks are coarse (they jump from ~510 to ~545), so you cannot hit an exact number. Fire, read the impact marker, and walk the next round onto the target with one- or two-click corrections on the mouse.
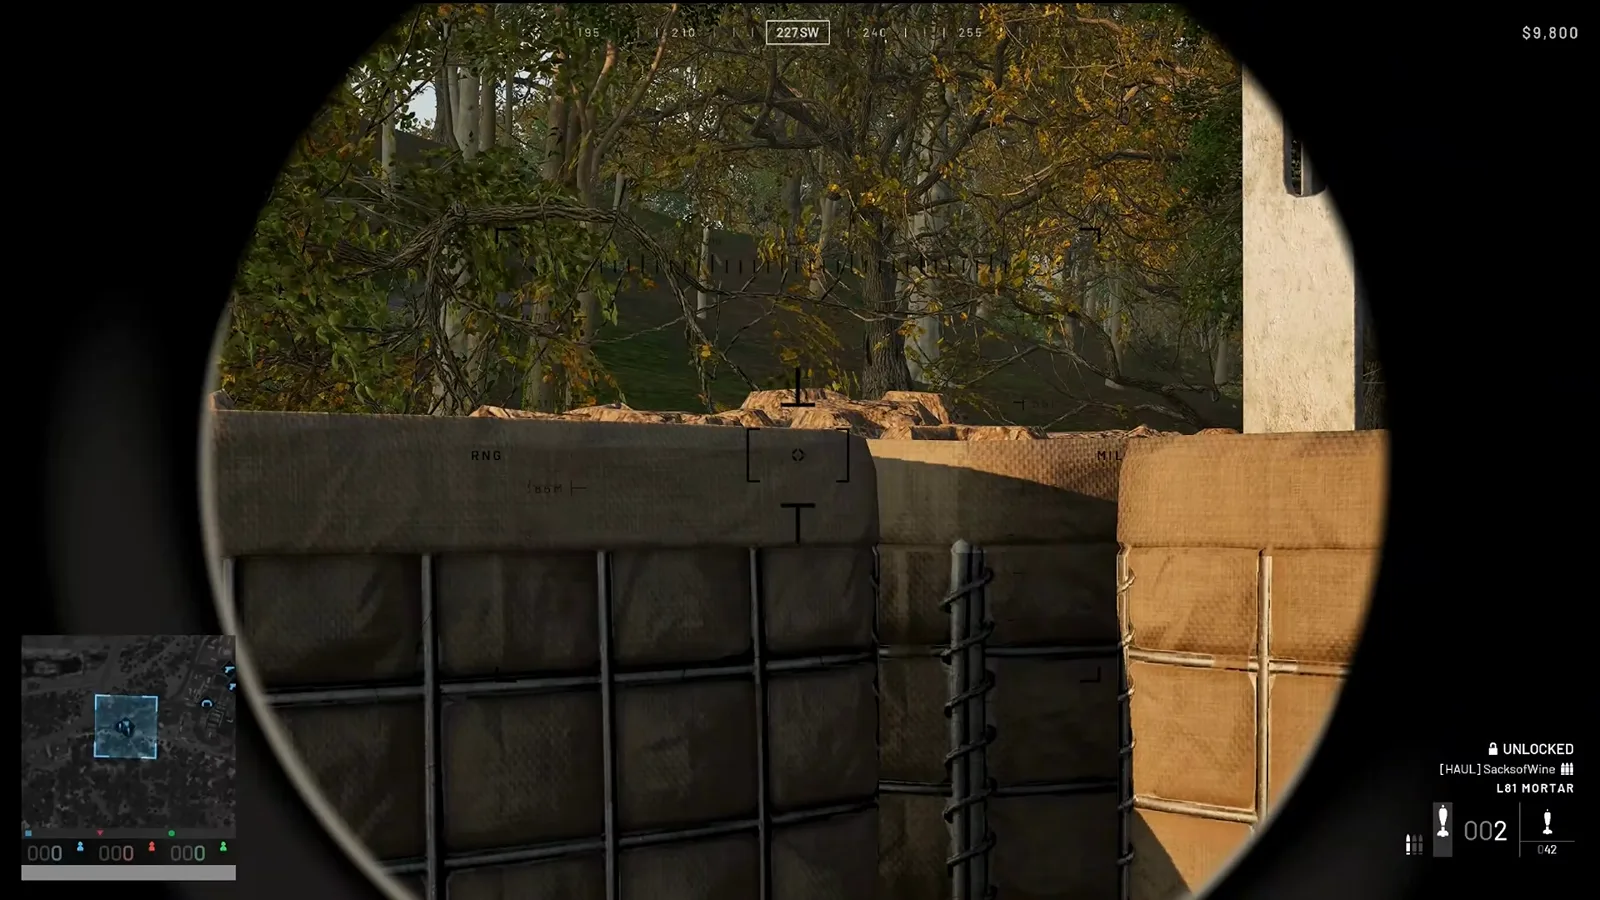 Step 6 (5:25) — Aim by the compass heading, then bracket: the first round is a walking shot, not the kill shot.
Step 7: Dismantle Cleanly and Keep the Ammo Fed
Placed the tube badly? Press and hold V to dismantle it — but note that dismantling returns none of the materials you spent, so commit to a site deliberately. Keep the pit supplied by calling ammunition deliveries into your FOB; a dry tube is worse than no tube at all.
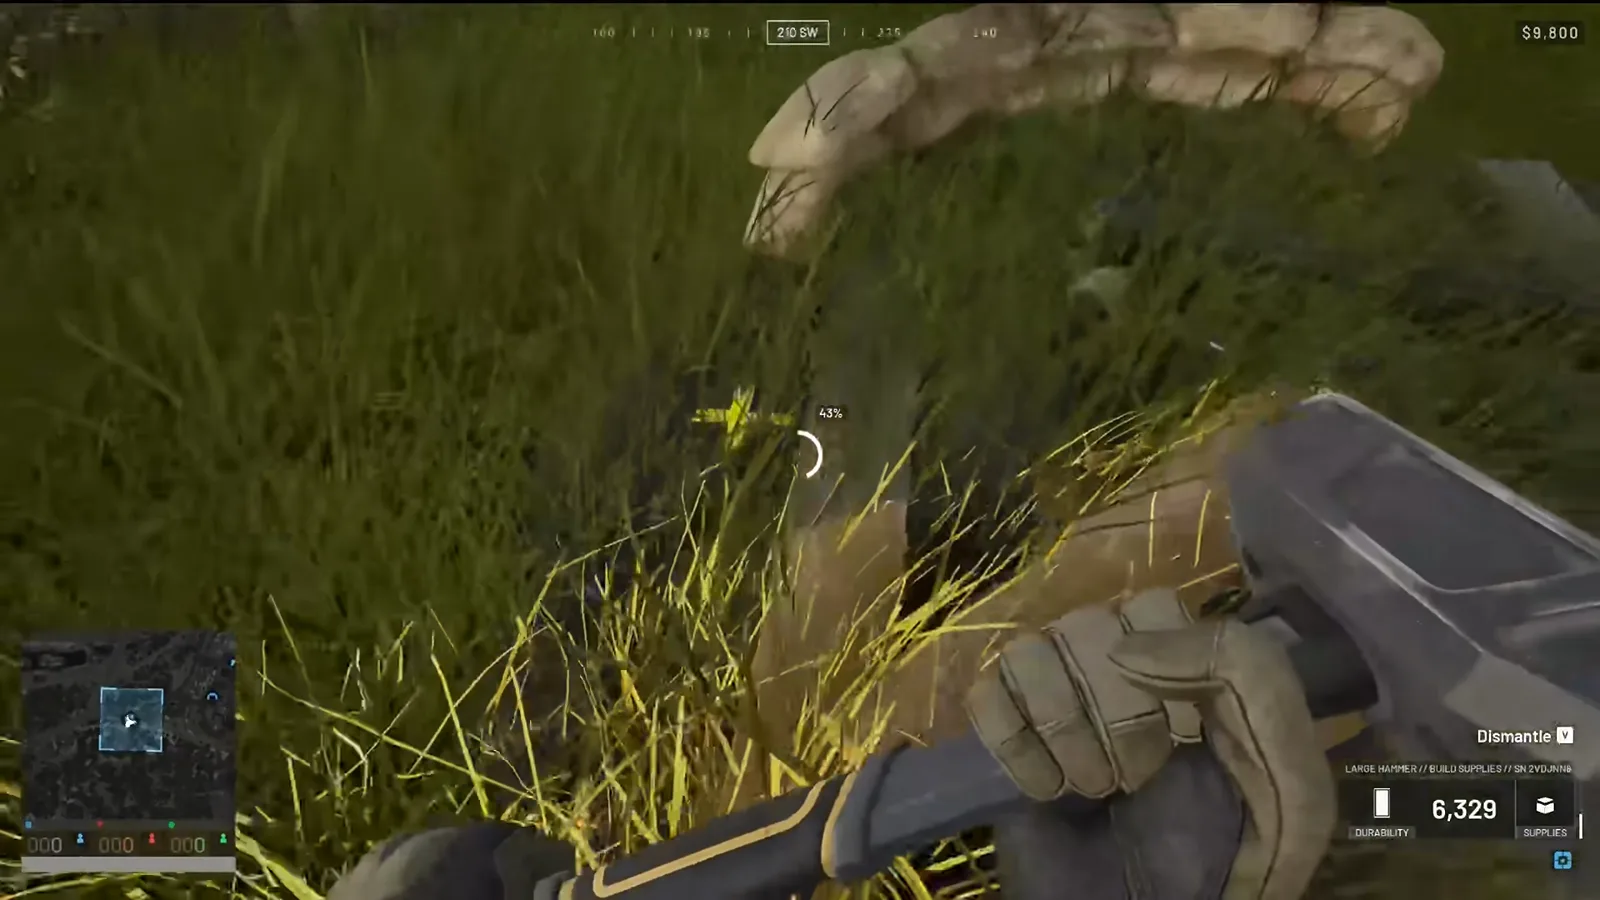 Step 7 (0:50) — Hold V to dismantle any built object; it is a sunk cost, so build where you actually intend to fight.
Mortar Rules of Thumb
- Bring the level 3 hammer — no mortar without it; grab it before you deploy a tube.
- Math saves money — one coordinate calculation is cheaper than two wild adjustment rounds off a limited FOB ammo stock.
- A mortar anchors a FOB — pair the tube with the defensive layout in our FOB combat walkthrough and read the grid system in our maps and tactics guide.
- Know the vehicle alternative — for mobile heavy fire, the SPH 2 artillery tracked gun in our vehicles guide uses the same IDF-calculator inputs.
This mortar guide was reconstructed frame-by-frame from SC Haulers’ tutorial and will be expanded as the L81 and SPH 2 balance shifts through Early Access. For related loadout economics, see our cash-making guide.
Related Articles
fixes
WARDOGS Connection Error and Server Down Fixes: Queue, Ping, Disconnects
Fix WARDOGS connection errors, stuck queues, high ping and match disconnects in Early Access with a server-first triage ladder before you touch your PC.
guides
WARDOGS Money Guide: Fastest Cash Methods in Early Access
Illustrated WARDOGS money guide: helicopter passenger drops, logistics pallets, supply crates, spawn-vehicle runs and medic income for fast early-game cash.
guides
WARDOGS Medic Revive Guide: Defibs, Bandages & Payouts
Illustrated WARDOGS medic guide: charge the defibrillator, bandage live teammates, drag downed players to cover, and bank revive payouts and tips.
Was this helpful?
Thanks for the feedback!