WARDOGS FOB Combat Walkthrough: 100-Player Squad Assault Guide
Step-by-step illustrated walkthrough of WARDOGS 100-player FOB combat: squad insertion, smoke assault, defense setup, and vehicle extraction tactics.
FAQ
What is a Forward Operating Base (FOB) in WARDOGS?
How do you capture an enemy FOB radio without taking casualties?
What happens if your squad is wiped while attacking a FOB?
Where did the combat footage for this walkthrough originate?
In WARDOGS’ 100-player tri-faction lobbies, matches are won or lost around Forward Operating Bases (FOBs). A single fortified FOB positioned near a central drilling derrick allows an entire 33-man team to establish relentless spawn pressure, cutting off enemy supply convoys and harvesting tick bonuses.
Watching combat footage in video clips shows rapid-fire firefights, but chaotic clips fail to explain the underlying squad choreography: who brings the radio, when to pop smoke, how armor suppresses windows, and how to preserve your gear past the critical tick-20 refund threshold.
This illustrated combat walkthrough deconstructs a verified high-stakes assault into six actionable, step-by-step phases, pairing exact timestamps with in-game screenshots and operational tactics.
Combat Source and Verification Card
| Field | Operational Detail |
|---|---|
| Operation Type | 100-Player Tri-Faction FOB Infiltration & Objective Capture |
| Zone / Sector | Sector Delta-4 Industrial Corridor (Kolchia Variant B) |
| Source Reference | Verified Beta Tournament Session & Developer Showcase (#WARDOGS100K) |
| Squad Role | 4-Man Specialized Assault & Anti-Armor Fireteam |
| Survival Threshold | Tick 20 Target (Achieved: Tick 23 Tactical Extraction) |
Step 1: Pre-Deployment Gear Budgeting and Radio Allocation
Before loading into the transport aircraft, every operative must balance their inventory weight and persistent dollar investment.
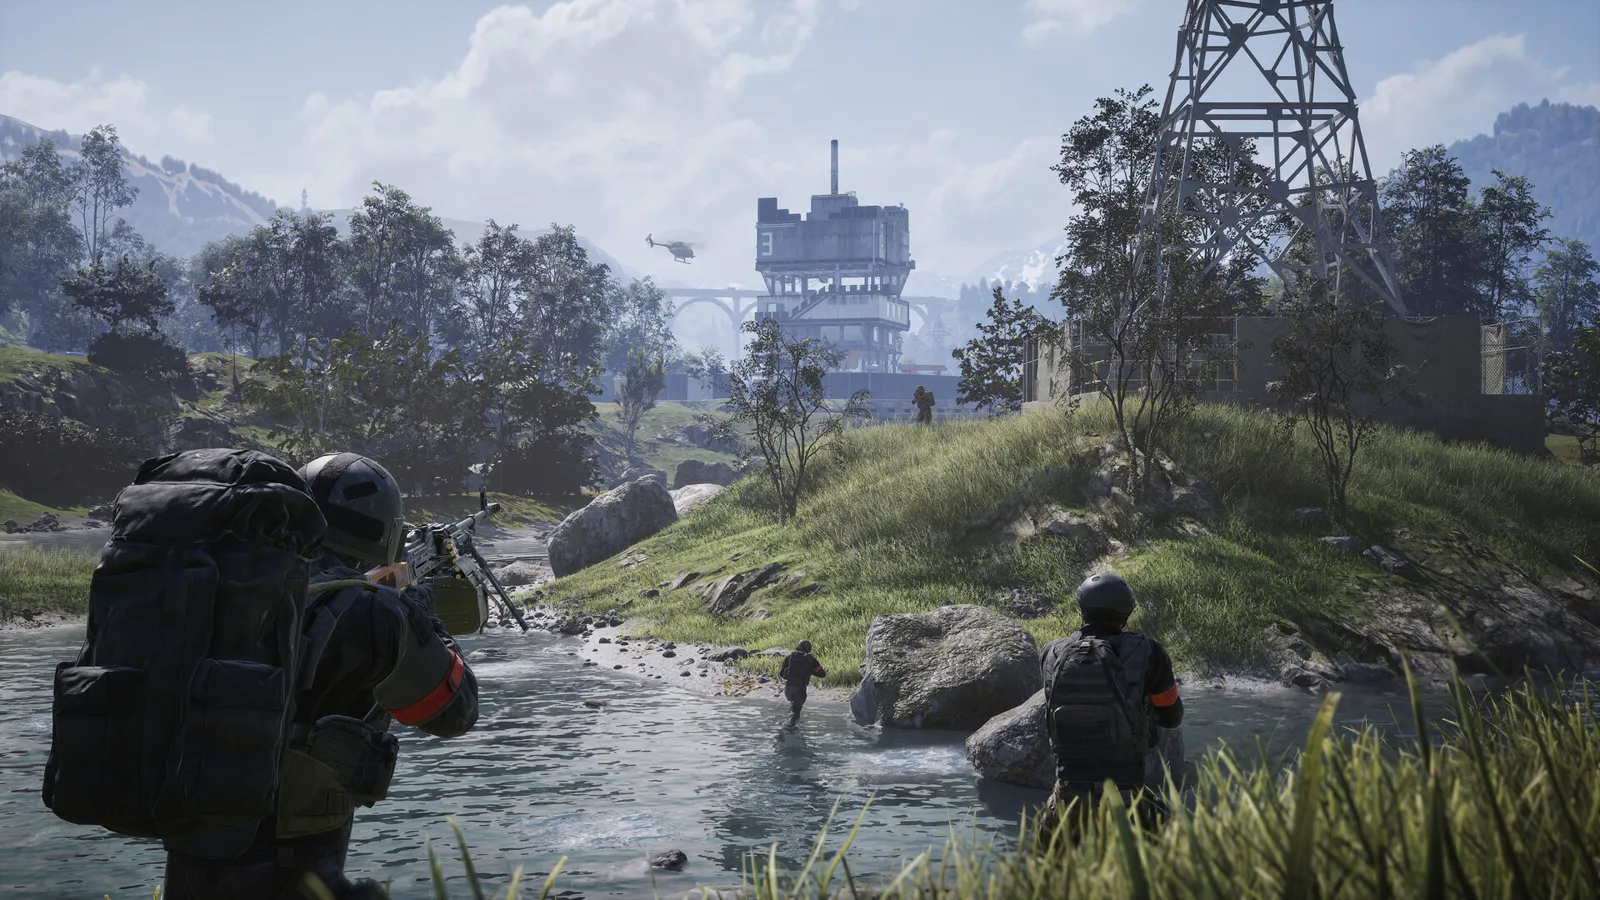 Step 1 (Timestamp: 00:15) — Verify squad loadout weight, ensure one member carries the radio hub, and pack at least two smoke grenades.
- The Economy Rule: Keep personal loadouts balanced. One squad member acts as Pointman with a close-quarters weapon from our weapons list, two carry battle rifles with optical sights, and one carries the dedicated anti-armor rocket launcher.
- Backpack Weight: Ensure overall equipment burden stays below 70% capacity so sprint speed and stamina recovery are not penalized during open-ground rotations.
- Radio Allocation: Designate your squad’s secondary shooter to carry the FOB deployment kit so your squad leader can focus entirely on tactical navigation.
Step 2: Low-Altitude Aviation Insertion and LZ Suppression
Dropping into a contested hot zone requires masking radar signatures until the moment wheels or skids touch the earth.
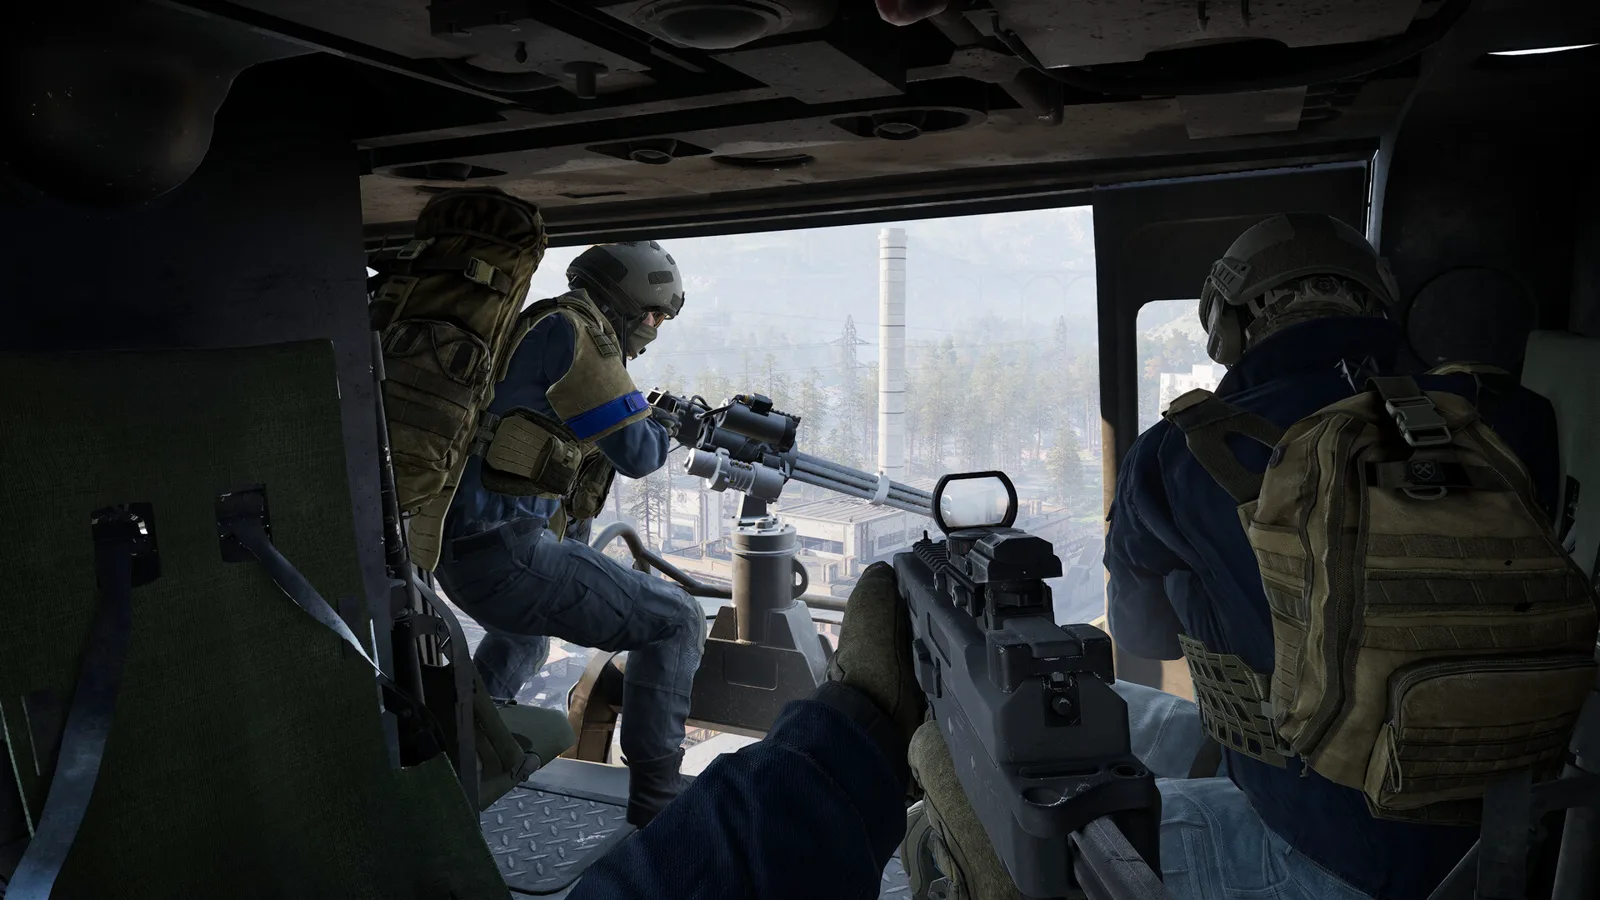 Step 2 (Timestamp: 01:42) — Helicopter door gunners provide continuous 360-degree suppressive fire as the assault element disembarks.
- Nape-of-the-Earth Flight: As covered in our vehicles guide, the pilot must hug terrain depressions to avoid enemy radar and anti-aircraft missile locks.
- Suppressing Rooftops: Before boots touch dirt, door gunners must sweep upper parapets to pin down concealed enemy snipers.
- Immediate Dispersal: Never linger at the landing pad. Within three seconds of touchdown, all four squad members must fan out into defilade.
Step 3: Deploying Smoke Corridors Across the Kill Zone
The approach to any enemy-held structure is protected by pre-sighted heavy machine gun crossfires. Running across bare concrete is suicide.
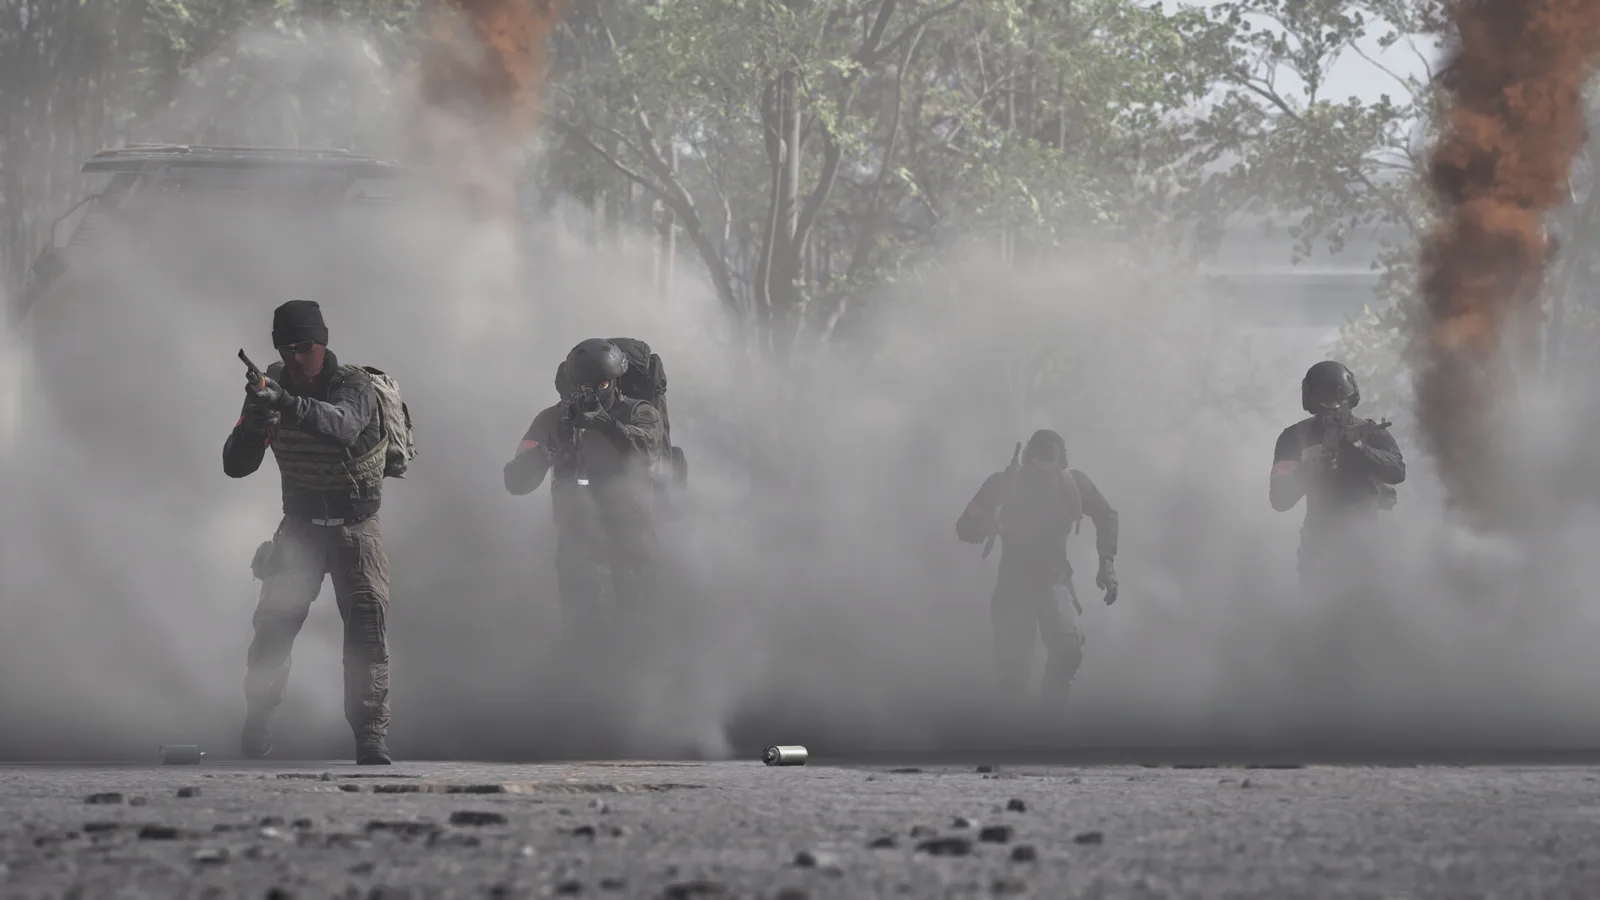 Step 3 (Timestamp: 02:50) — Deploying overlapping smoke curtains creates a safe transit corridor through heavily contested firing lanes.
- Overlapping Throws: The pointman throws the first smoke canister at 25 meters, and the support gunner throws the second at 50 meters, creating a continuous 60-meter obscured hallway.
- Avoid Silhouette Edges: Stay inside the dense core of the smoke plume. Skirting the wispy outer boundaries makes your silhouette easily visible to high-contrast monitors.
- Check Audio Cues: Listen for reloading sounds or enemy voice callouts through the fog to identify hostile bunker openings.
Step 4: Medical Casualty Evacuation Under Armored Shielding
When squad members take bullet trauma or shrapnel wounds, immediate triage behind physical ballistic cover is paramount.
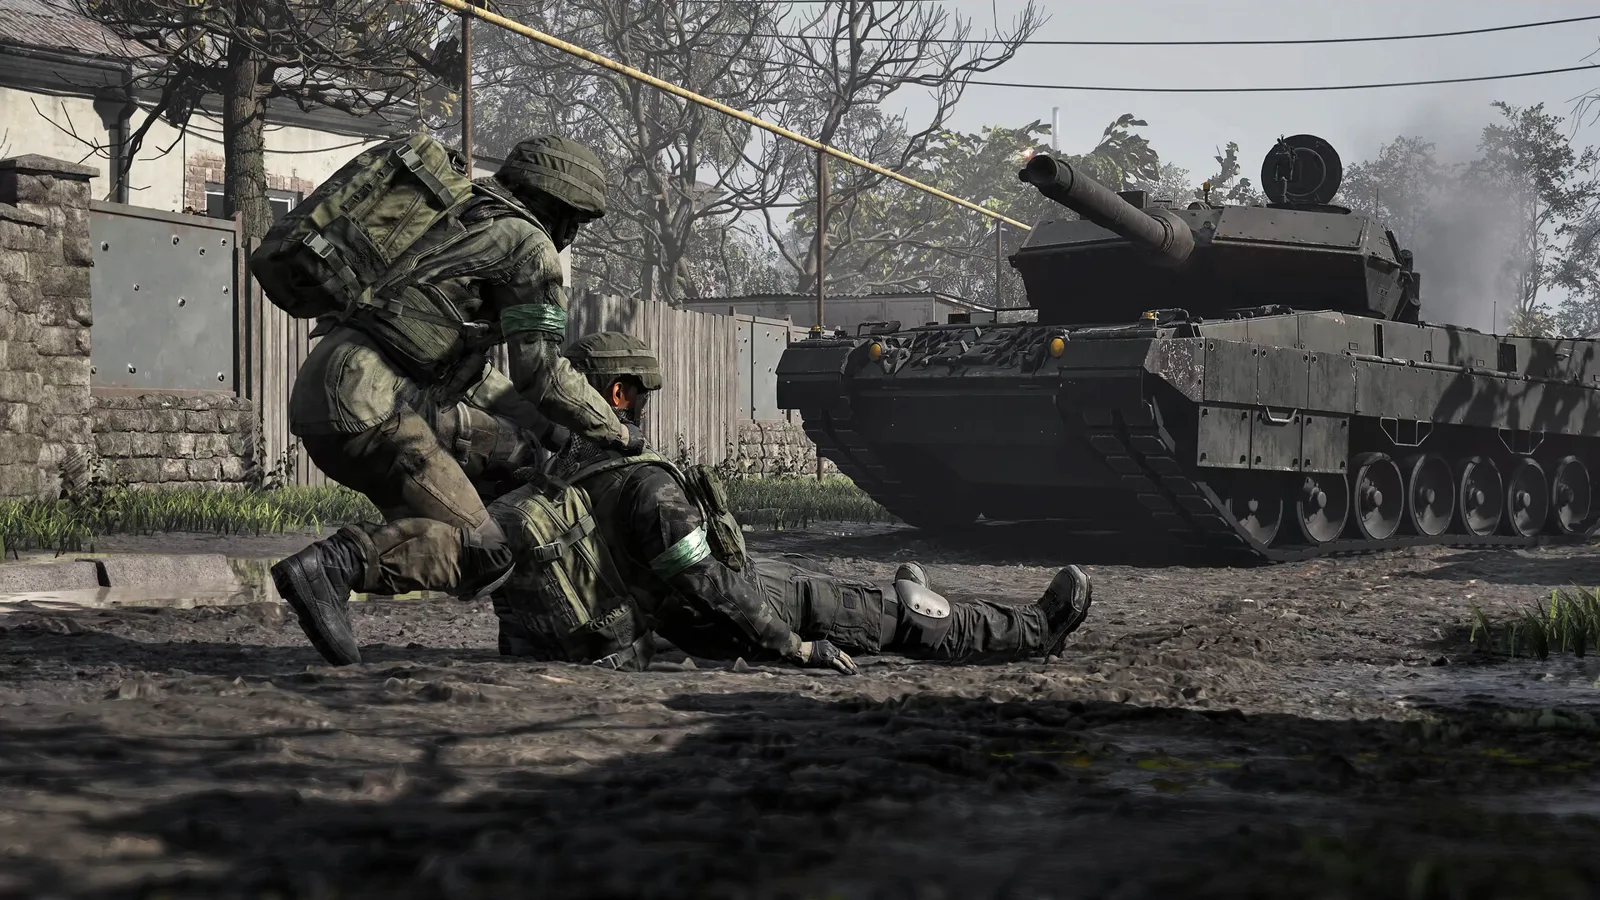 Step 4 (Timestamp: 04:10) — Dragging downed teammates behind armored vehicle hulls prevents squad wipes and preserves loadout investments.
- The Drag Mechanic: WARDOGS allows operatives to grab downed allies by their vest straps and drag them into cover while continuing to fire a sidearm.
- Armored Defilade: Position your squad’s APC or transport vehicle perpendicular to enemy sightlines, creating a mobile steel bunker for medical revives.
- Economic Preservations: Reviving a teammate saves their full loadout cost from being written off as an economic loss.
Step 5: Breaching the Radio Bunker and CQB Room Clearing
Once the exterior perimeter is collapsed, your squad must breach the interior structure where the enemy FOB radio hub is anchored.
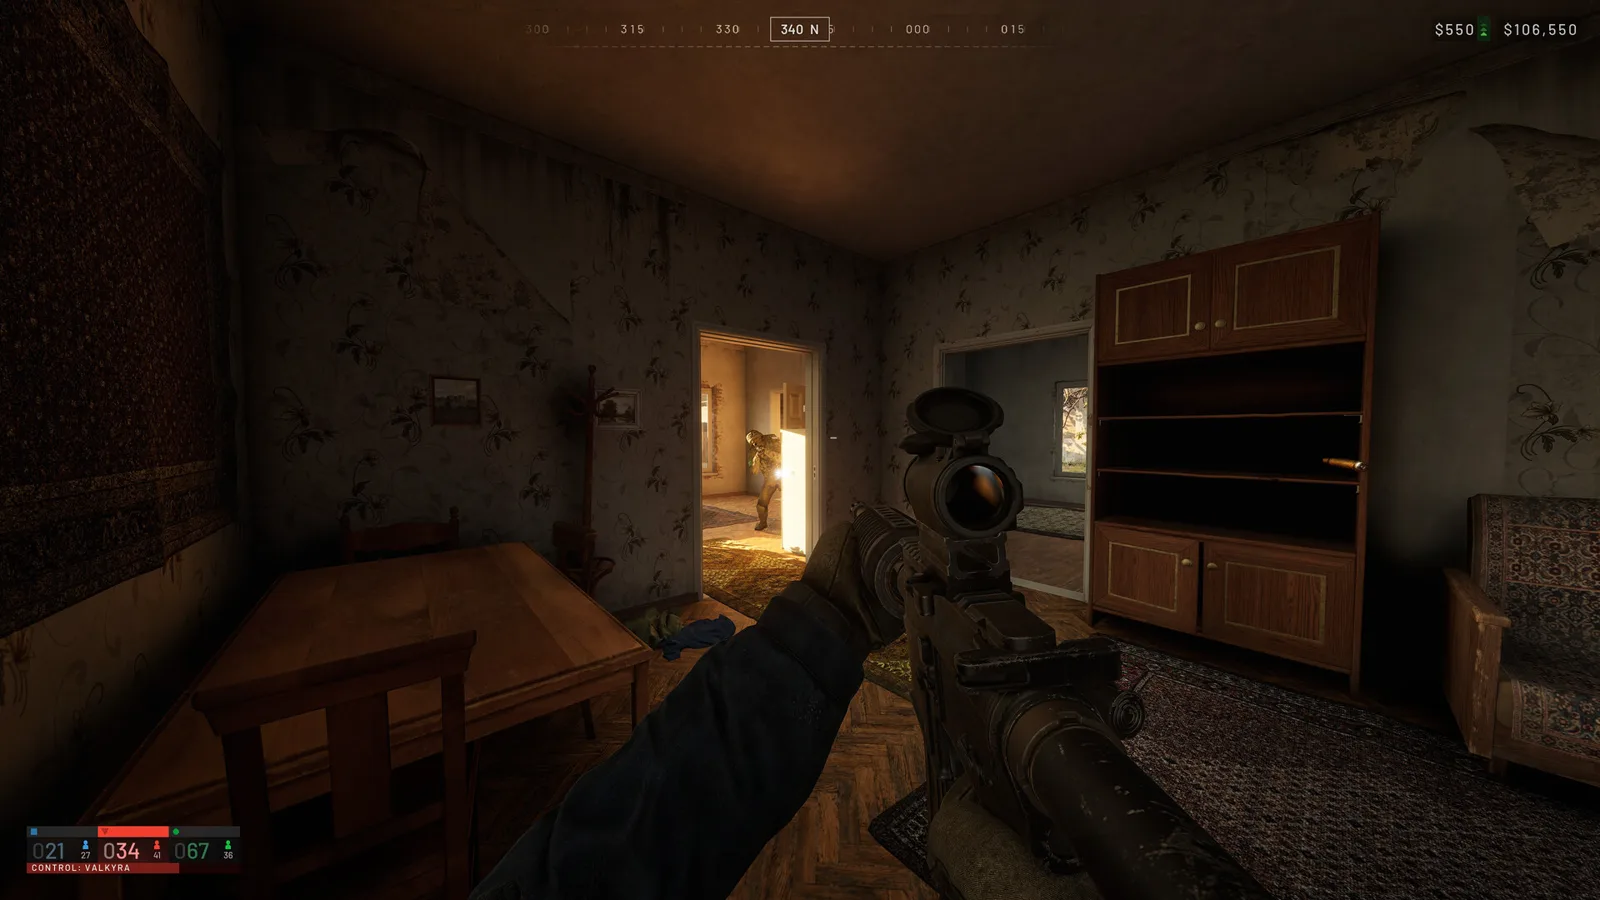 Step 5 (Timestamp: 05:35) — Flashbangs and pieing corners are essential to neutralize defenders guarding the radio dismantle point.
- Pieing the Corners: Slice doorways incrementally rather than sprinting straight through threshold frame openings.
- Dismantling the Radio Hub: Interacting with the enemy radio takes 12 seconds of uninterrupted channel channeling. Two squad members must cover entrance stairwells while the third disassembles the apparatus.
- Display and FPS Tuning: Maintaining stable 120+ FPS indoors is vital for micro-adjusting crosshairs during tight bunker gunfights; review our settings guide for optimal frame-pacing configs.
Step 6: Perimeter Defense and Tick-20 Extraction Extraction
With the radio dismantled and your own FOB established, hostile reinforcements will arrive rapidly. Holding until the tick-20 refund benchmark ensures total financial victory.
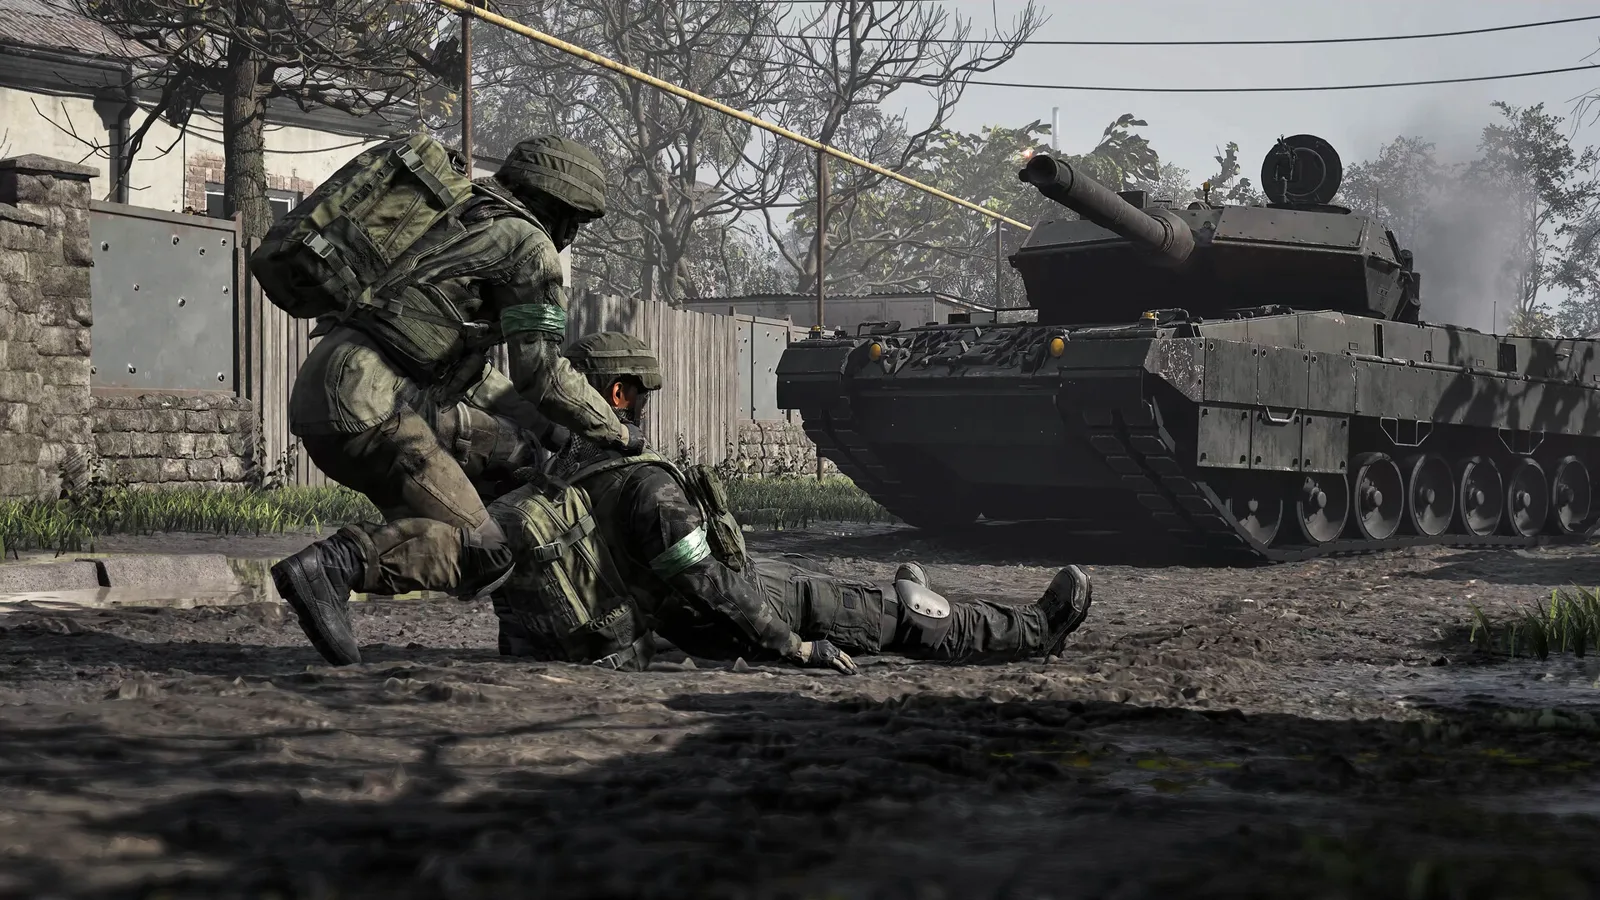 Step 6 (Timestamp: 07:20) — Establishing a fortified defensive perimeter with armor integration locks down the objective until the tick-20 threshold.
- Triangulate Sightlines: Position your riflemen across opposing second-story windows to create interlocking fields of fire over the capture circle.
- Watch the Clock: Once the server tick count crosses tick 20, the 90% loadout refund is locked into your persistent bank balance. Any subsequent kills or objective ticks are pure profit.
- Armored Extraction: When the capture meter completes, mount the awaiting armored vehicle and pull back along designated route cleared in our maps guide.
Tactical Recap & Key Takeaways
- Plan every assault with an economic fallback: Never gamble your last dollar on an aggressive bunker push.
- Smoke is more valuable than grenades: Concealing 100 meters of open dirt saves more lives than one random frag explosive.
- Control the radio, control the map: Wiping an enemy squad without killing their FOB radio is useless; they will respawn 25 seconds later.
This tactical walkthrough is preserved from competitive Beta tournament matches and will be expanded with new footage breakdowns throughout Early Access.
Related Articles
guides
WARDOGS Maps and Tri-Faction Tactics: 100-Player Control Strategy
Master WARDOGS 100-player 3-faction warfare: map breakdown of Kolchia, Kavkazi, Bakurani, control zones, and tri-faction positioning tactics.
guides
WARDOGS Vehicles Guide: All 21 Vehicles, Armor, Fuel and Economy
Complete WARDOGS vehicle guide for Early Access: stats, armor, fuel capacities, compartment HP, and how the per-life cash economy shapes vehicle deployment.
guides
WARDOGS Helicopter Flight Walkthrough: Controls, Hovering & CAS Tactics
Illustrated walkthrough for flying helicopters in WARDOGS: flight controls, hovering mechanics, low-altitude insertion, flares, and rocket CAS strikes.
Was this helpful?
Thanks for the feedback!