WARDOGS Sniper Guide: Rifle Choice, Spotting Economy & Positioning
A WARDOGS recon sniping playbook: which rifles to buy and skip, the binocular XP loop, 100 m ranging discipline, and concealment-first positioning.
FAQ
What is the best sniper rifle in WARDOGS?
Is the Scout Rifle good in WARDOGS?
How do you level up recon without an expensive rifle?
How does ranging work on WARDOGS sniper scopes?
A good WARDOGS recon player is a nuisance before they are a killer: someone who feeds the whole team enemy positions, farms assists on kills they never took, and only shoots when the shot actually counts. This guide is the play doctrine from SaucySurg’s complete recon breakdown — rifle choice, the spotting economy, ranging discipline and positioning — rewritten as a text page with the frames that prove the numbers.
It is deliberately not our other sniper pages: the unlock-ladder walkthrough covers what to buy when, the weapons tier list ranks the guns, and optics selection covers scopes per engagement range. This one covers how to actually play the role.

SaucySurg — How to Become a DEADLY Sniper in WARDOGS (Complete Recon Guide)
The Two Rifle Routes (and the One Buy to Skip)
The video splits sniping into two branches:
- Marksman semi-autos — SKS, SVD, BMR-308. Miss the first shot and you keep firing: no re-chambering, faster follow-ups. The price is one-shot power and reach, and, per the presenter, a higher sticker price early on.
- Bolt snipers — Scout Rifle, Mosin, SV-98, MK-22, AMR-50. Every shot must count; the payoff is power and range.
And one verdict, stated as the presenter’s opinion but structurally obvious on screen: skip the Scout Rifle. A 5.56 break-action weapon forces a full open-empty-close cycle after each shot — the presenter reports point-blank shots that failed to kill, and calls it the worst weapon in the game. That leaves a new recon player a problem: how to level the class before the good guns unlock.
The Binocular Loop: Level Recon While Broke
The video’s central trick is that the weapon is the least important part of leveling recon. The kit: any cheap pistol or shotgun you survive with, binoculars in the inventory, no backpack, no armor — a loadout whose total loss cost rounds to zero.
Then you mark everything: infantry, vehicles, FOBs, mortar emplacements. Each useful spot pops XP in the corner and paints the mark for your whole team. When a spotted target dies, you collect the assist — and cash:
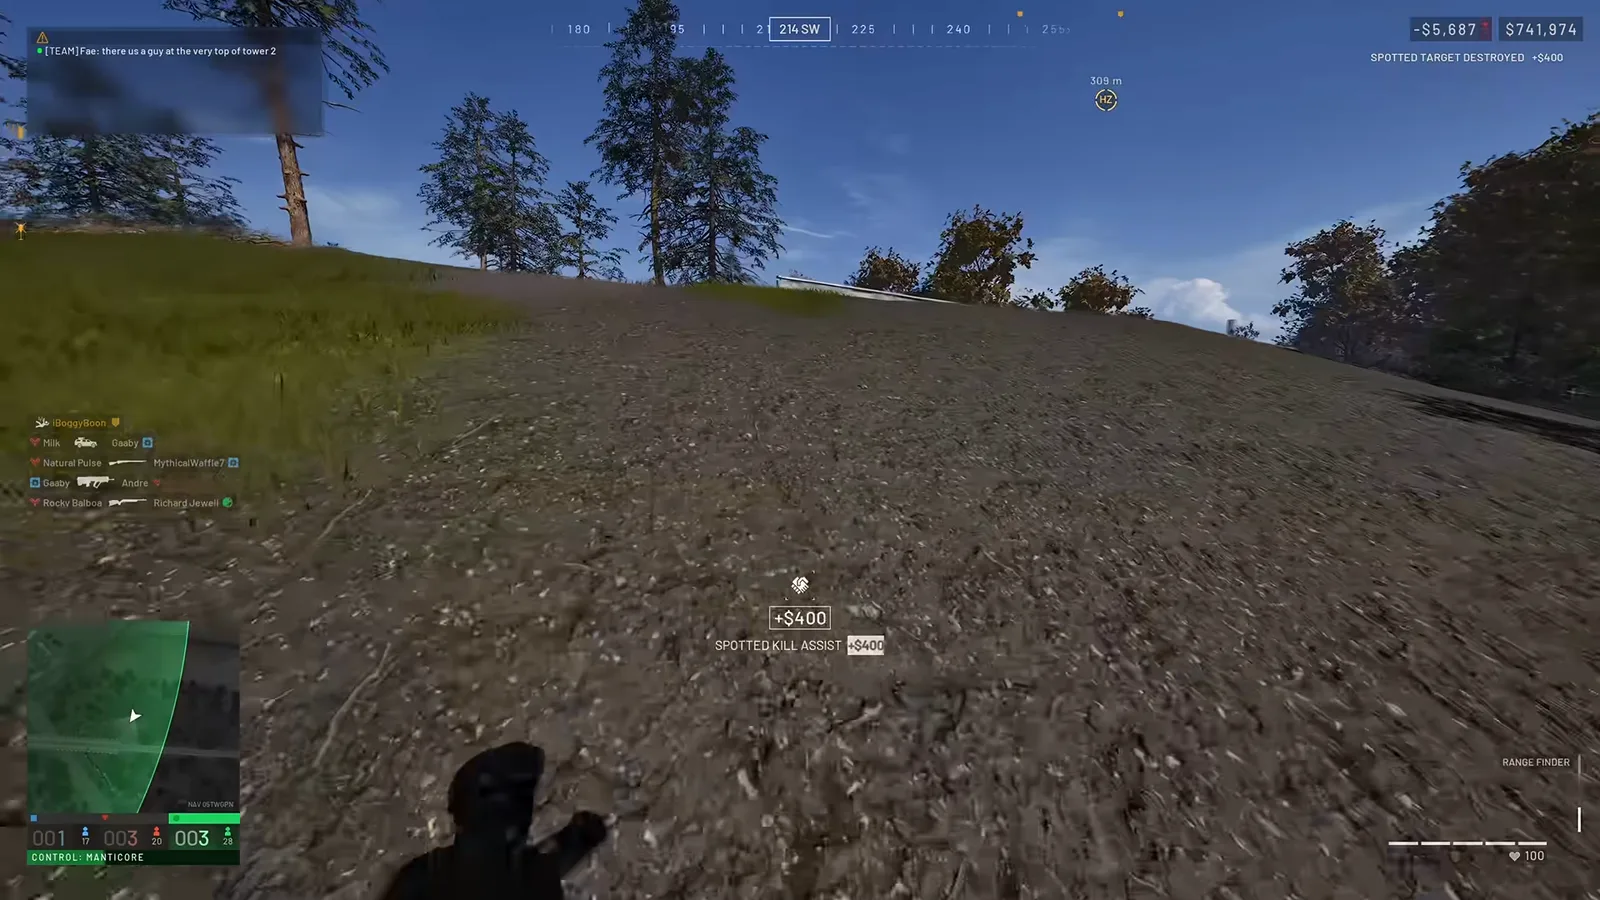 The spotting economy, on screen: +$400 SPOTTED KILL ASSIST for a kill a teammate took on your mark. You level the career, fund your team, and never fired. Frame: SaucySurg on YouTube.
Priorities inside the loop, per the video: mark infantry before vehicles — foot soldiers die more often than armored vehicles, and every death on a mark is your assist. Inside the hot zone, spots and payouts go double (presenter-reported). And press N on the map to review who and what is currently marked.
The Mosin: First Rifle Worth Buying
The presenter’s recommended first real sniper is the Mosin Nagant — the second sniper rifle in the unlock list — a bolt-action 7.62x54, four rounds before reload, optic rangable to 600 m. The loadout is deliberately minimal, and it is all visible in the vendor screen:
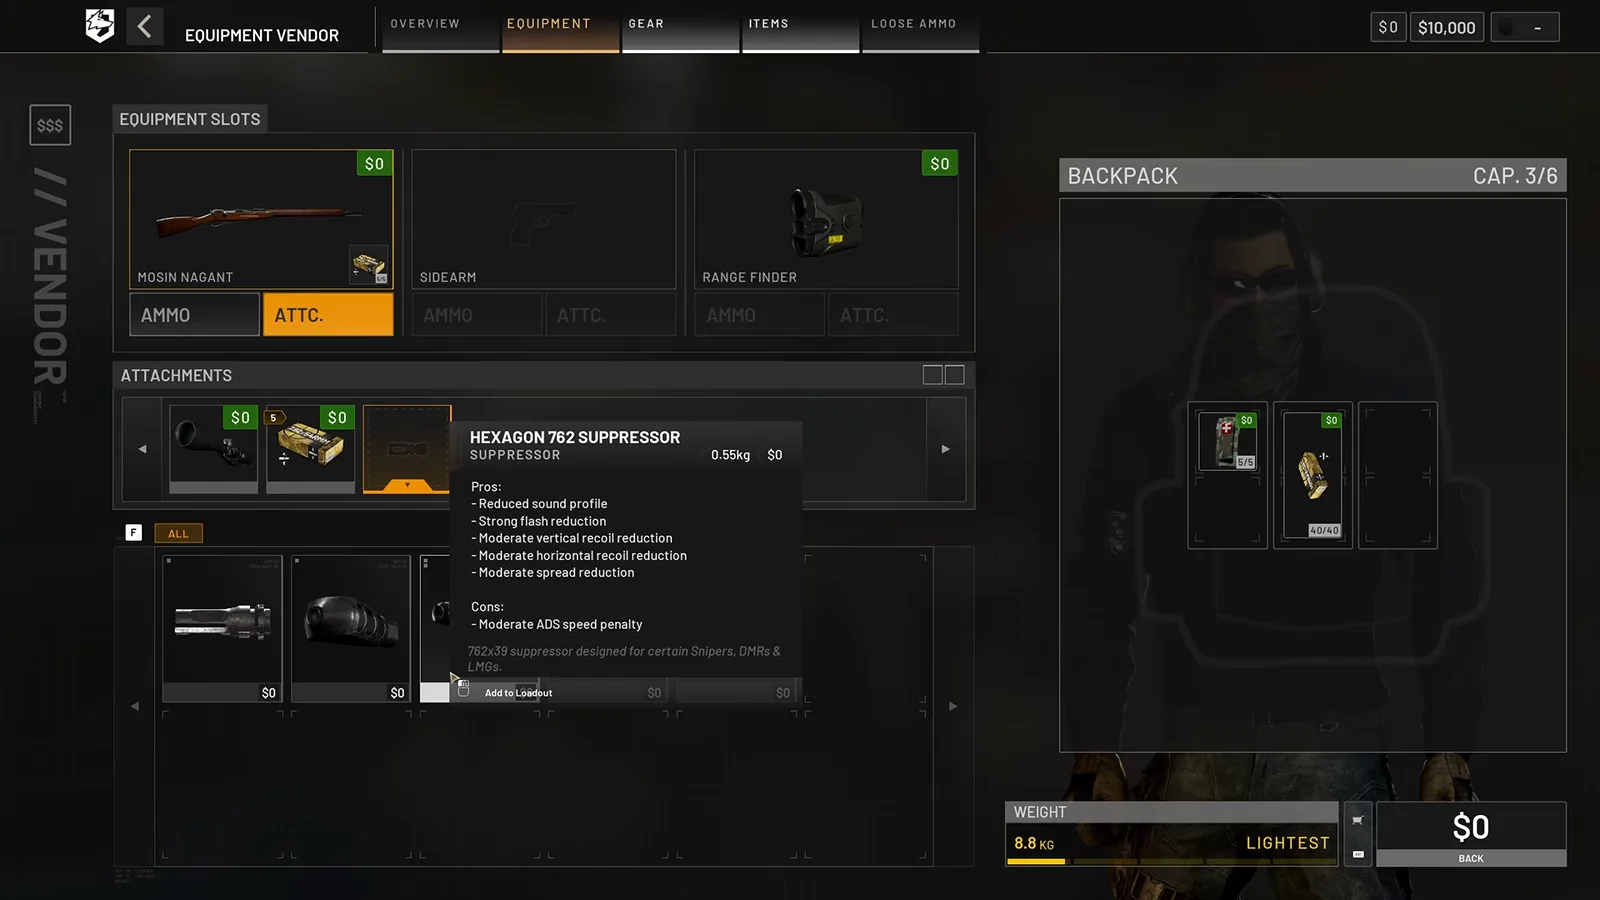 The recommended kit as bought: Mosin, first unlockable optic (6x precision), small ammo pouch, parachute, binoculars — with the Hexagon 7.62 suppressor in the attachment grid. Armor deliberately skipped: weight down, cost down, you are not storming FOBs. Frame: SaucySurg on YouTube.
- Mosin + 6x precision rifle scope (the first optic you unlock)
- ~40 rounds of basic ammo, smallest pouch, parachute, binoculars
- Optional: a couple of bandages and smokes — smokes buy you the reposition when you are pinned
- Hexagon 7.62 suppressor once unlocked: more shots before the whole area triangulates you. Helpful, not a deal-breaker.
The confidence claim: the presenter says they have personally landed Mosin headshots out to 700 m — presenter-reported testing, not a spec. The point stands either way: an early-game rifle already reaches past most fights, so there is no rush to the expensive tiers.
Positioning: Concealment Beats Cover
The video’s doctrine section, in order of how often new snipers break it:
- Get to the fight early and pick the sniping spot before the objective does — mark your own route to a tower, then take position fast rather than following the squad in.
- Concealment over cover. Cover hides bullets; concealment hides you. The presenter’s ghillie-era endgame is pure stealth, and they report enemies walking past a prone body repeatedly.
- Skip the obvious rooftops. Urban high windows are where every enemy sniper already looks. Side-of-road bushes and unexpected low angles hold up far better.
- Reposition after every shot. Once fired, you are read; move before the area decides where you are.
- Bait the rescue. When you drop one and the squad scrambles, do not hero-shot the movers — wait for the revive, then take the rescuer. The video chains several kills on exactly this pattern.
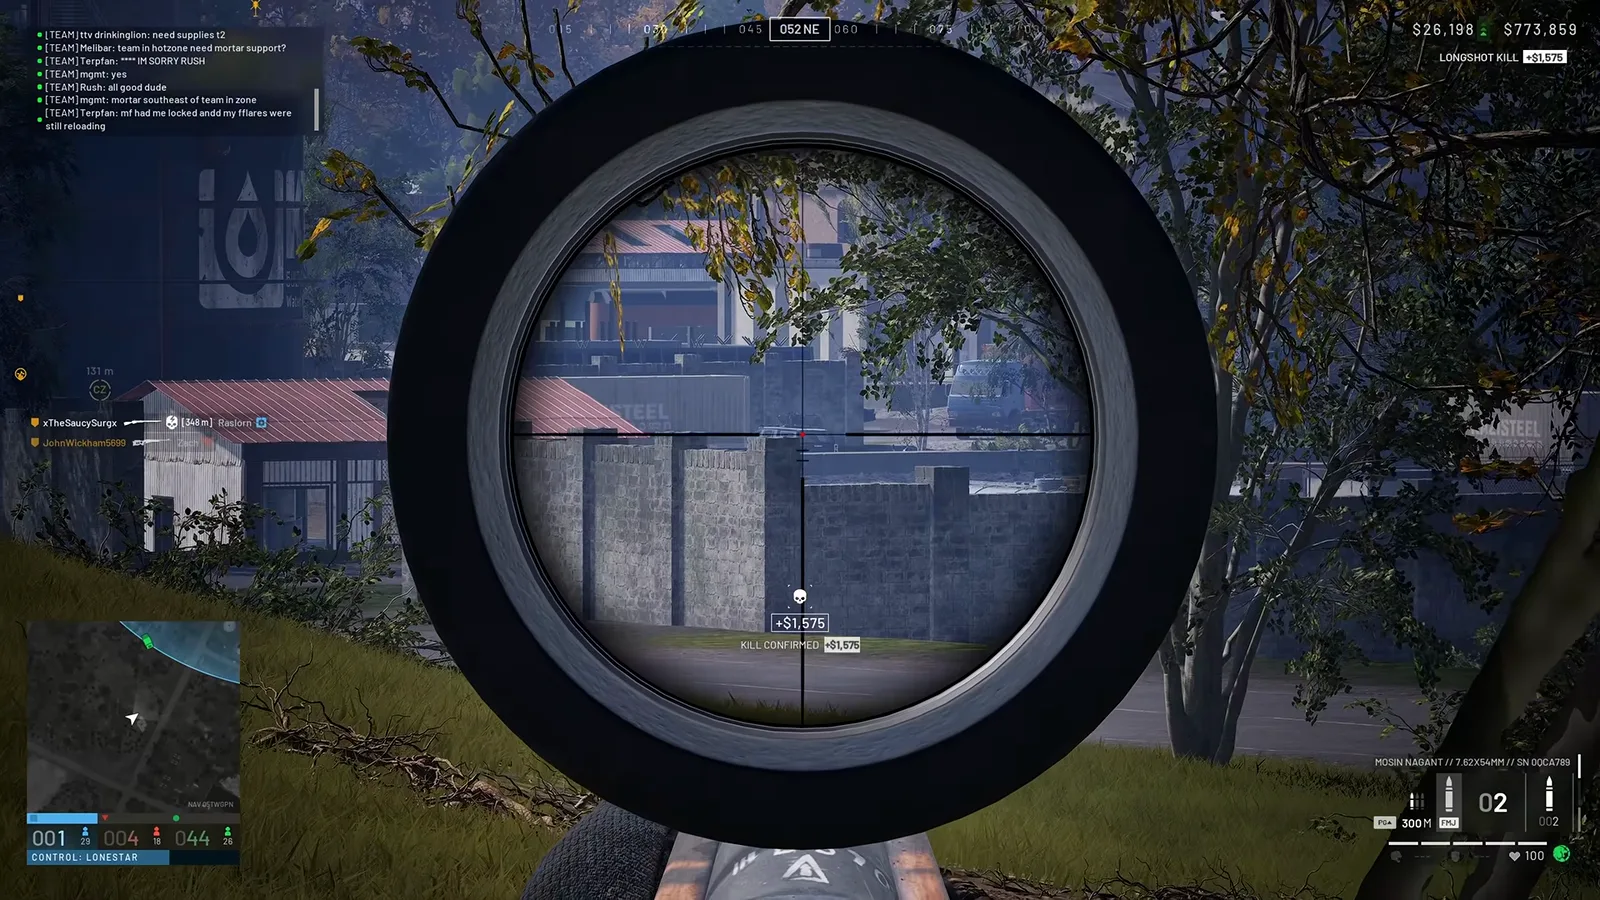 The shot nobody takes from a bush: prone, low angle, grass in the lens. The expected sniper is on the ridge — the guide’s whole positioning argument is that you should not be. Frame: SaucySurg on YouTube.
Ranging Discipline
Bolt-fire shots must count, and counting starts with the zero. The scope adjusts in 100 m steps only — the video demonstrates a 340 m target rounded to the 300 m setting with a head-top aim point. The drill that makes this fast: pre-range several landmarks in your firing lane when you set up — the wall at 300, the gate at 500 — so mid-fight you rotate a known dial instead of binocular-rangefinding between shots.
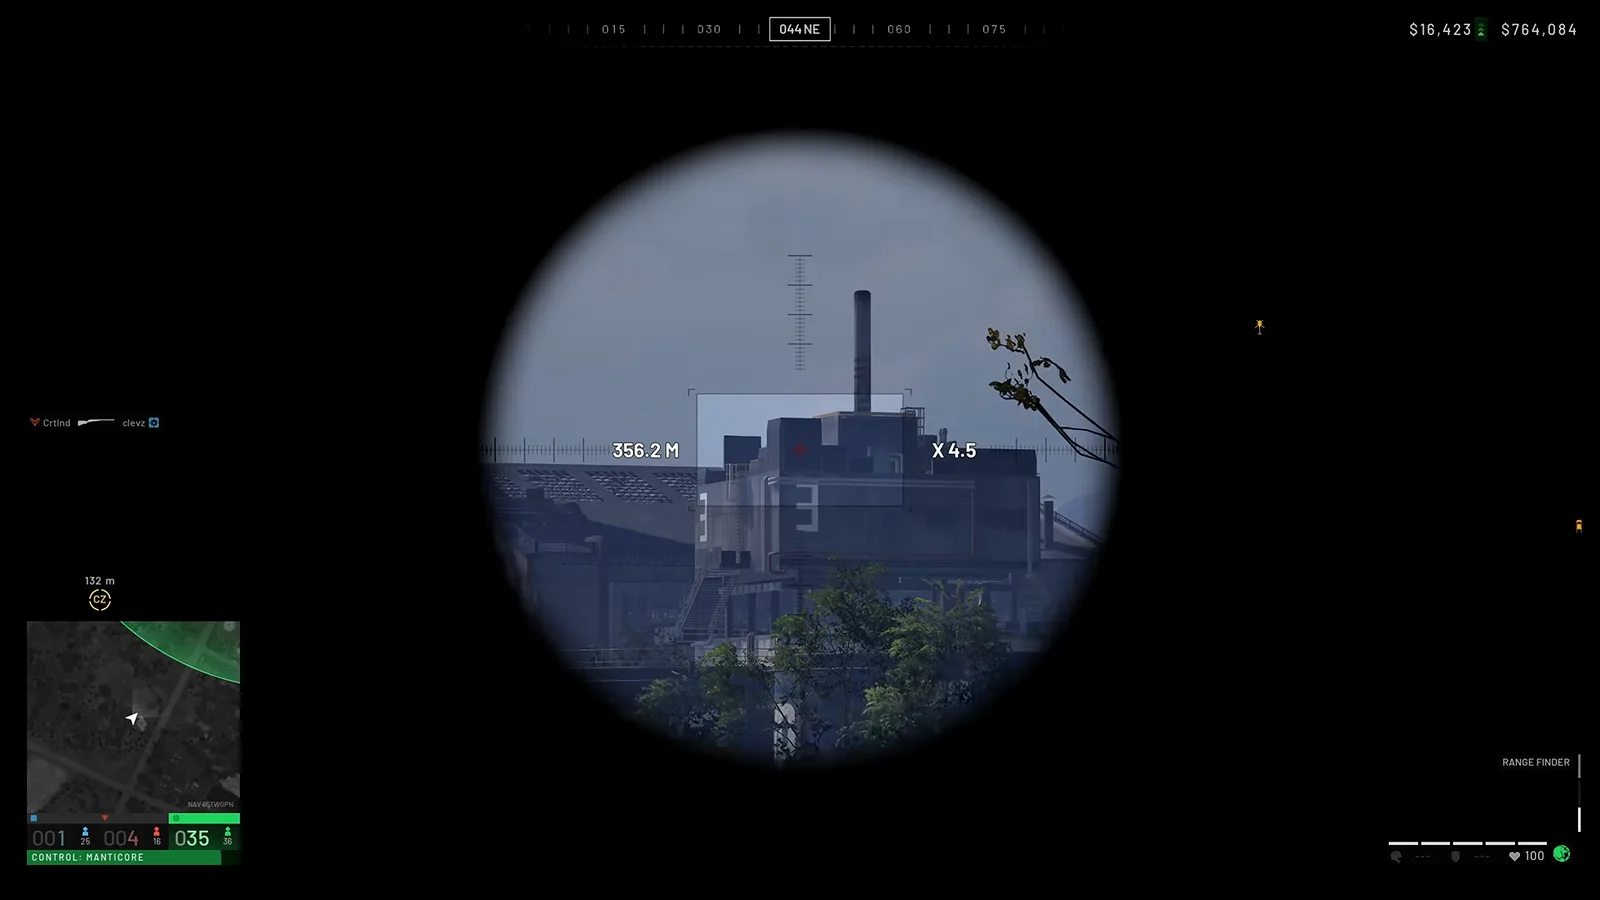 Pre-ranging a landmark: dial the known distant plant once on arrival, and every target crossing that line later inherits its range. Frame: SaucySurg on YouTube.
The opening of the video makes the same argument with a kill: a patient, ranged shot through a gap in the industrial yard lands before the target ever knows the lane is watched.
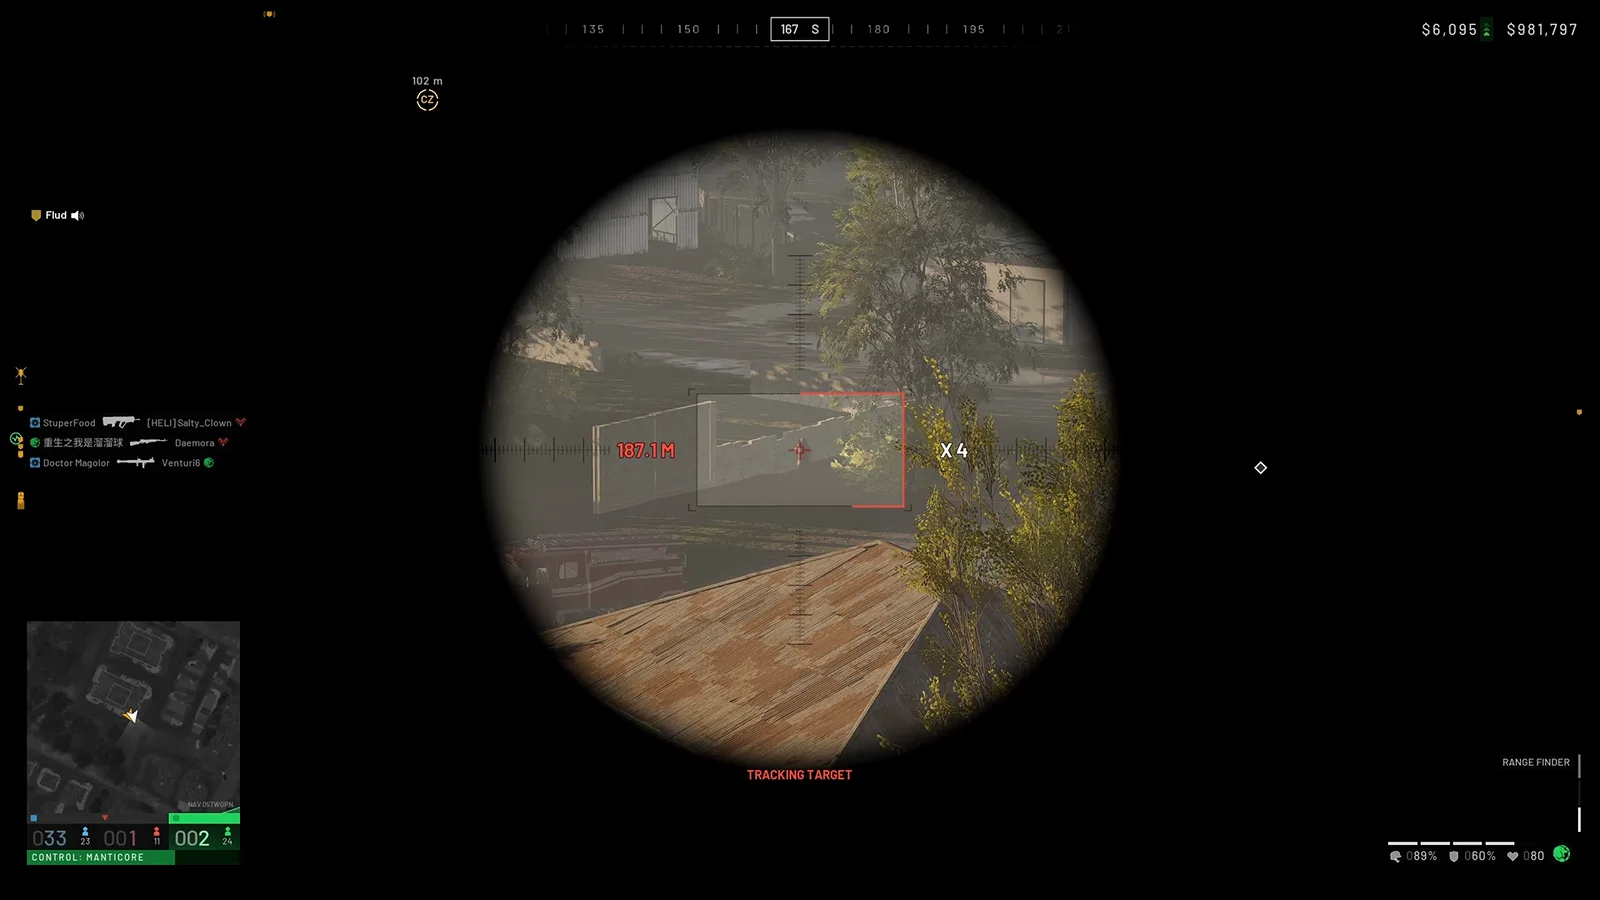 The hook shot from the video’s first minute: ranged, steady, and the only kind of shot the bolt-action route rewards. Frame: SaucySurg on YouTube.
What We Deliberately Do Not Claim
The 700 m headshots, double hot-zone spot payouts and the Scout Rifle verdict are the presenter’s reported experience and opinion, labeled in place — the ex-infantry background is his own introduction. Weapon prices and unlock order live on the unlock walkthrough and the tier list, and both move with seasonal balance — check the patch mirror before spending real cash on an old number.
Where to Go Next
Once the Mosin feels small, the TTK damage chart tells you what each bigger rifle actually buys per hit zone, and the maps and tactics guide puts your lanes into the circle’s geometry. Deciding whether recon is even your career? Start at best class.
Play doctrine from SaucySurg — How to Become a DEADLY Sniper in WARDOGS (125k views, Sep 2026); the +$400 spot-assist payout is screen-confirmed in the linked frame. Presenter-reported claims labeled in place; numbers are EA-launch-build and patch-sensitive.
Related Articles
fixes
WARDOGS Tutorial Not Loading: Fix the Training Hang & Post-Tutorial Crash
WARDOGS tutorial stuck on loading, black screen, or an Unexpected Error crash after the tutorial? A verified fix ladder from file verification to config reset.
guides
WARDOGS Helicopter Pilot Guide: What Your Team Needs Each Phase
The WARDOGS pilot playbook by match phase: passenger lifts early, FOB logistics mid, fuel for the drill, scouting and CAS late — with on-screen payouts.
guides
WARDOGS Support Class Guide: Weapons, Bipod Doctrine & Anti-Vehicle Play
The full WARDOGS Support career playbook: shotgun and LMG unlock ladder, the bipod recoil trick, XP sources beyond shooting, and vehicle kill data.
Was this helpful?
Thanks for the feedback!