WARDOGS Advanced Fortifications: Kill Boxes, Drill Rigs & Defenses
Advanced WARDOGS FOB building walkthrough: ladder kill boxes, double IDF vehicle shelters, hedgehog mortar blast roofs, and 4-drill fuel rotation.
FAQ
What is the "Ladder Tech" kill box in WARDOGS?
How do you protect FOB spawn vehicles from artillery and mortars?
How much fuel does a WARDOGS drill rig need to pull the objective?
How do you bypass the 5-to-10 minute drill rig cooldown?
Basic Forward Operating Bases (FOBs) in WARDOGS are square boxes of Hesco walls that collapse after two artillery strikes. Elite engineering squads build differently: they design deadly chokepoint funnels, shelter spawn trucks from plunging indirect fire, and rotate industrial machinery to pull the capture circle directly onto their base.
This advanced fortification walkthrough reconstructs the tactical building techniques pioneered by Bolt and the Wardogs Building Community (WBC) into eight actionable defensive systems.
Source and Verification Card
| Field | Detail |
|---|---|
| System | Advanced combat engineering & fortification mechanics |
| Key Innovations | Ladder kill box, dual IDF vehicle bunker, hedgehog blast screen, 4-drill rotation |
| Community | Wardogs Building Community (WBC) |
| Source Video | How To Build In WARDOGS - Episode 4 (Advanced Fortification) |

Wardogs Building Community — How To Build In WARDOGS (Advanced Fortification)
Step 1: Secure Corners with Bunkers and Recon Towers
Amateur engineers build perimeter corners out of pure Hesco blocks, which burns through building materials while leaving blind spots along the exterior walls:
- Corner Structures Save Resources: Placing a Recon Tower or Bunker at the perimeter corner covers more linear yardage per supply crate than stacking four separate Hesco tiers.
- Built-in Firing Slits: Pre-fabricated structures give defenders 270-degree elevated firing angles with built-in bullet-resistant window embrasures, preventing enemy infantry from setting satchel charges against dead zones.
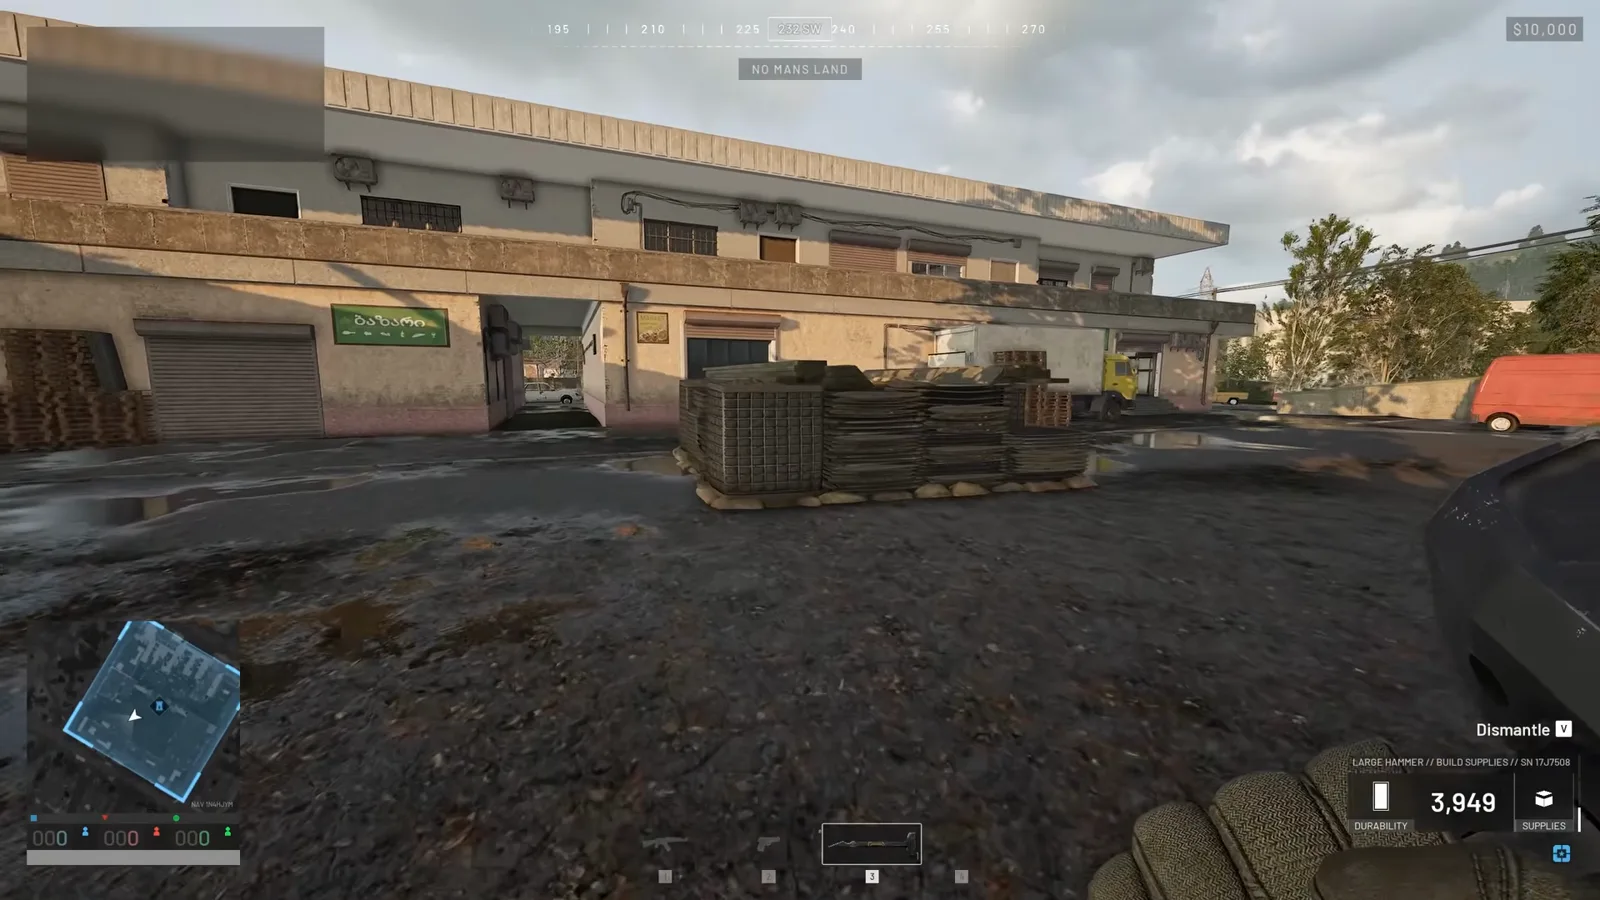
Deep link: Watch corner structure efficiency analysis (1:25).
Step 2: The “Ladder Tech” Floorboard Kill Box
Instead of building traditional airlocks with double wooden doors, the WBC community engineered the Ladder Tech Kill Box:
- Place an elevated Recon Structure with its exterior ladder facing outward toward enemy lines.
- Dismantle the initial sandbag row at the ladder threshold.
- Flank the aperture with small Hescos under the side windows and two tall Hescos framing the walkway.
- Mount inward-opening doors.
When enemy shock troops breach the doors, they walk onto the elevated grating. Defenders positioned on the ground floor below have a direct line of sight through the floorboards to eliminate incoming attackers before they can enter the courtyard.
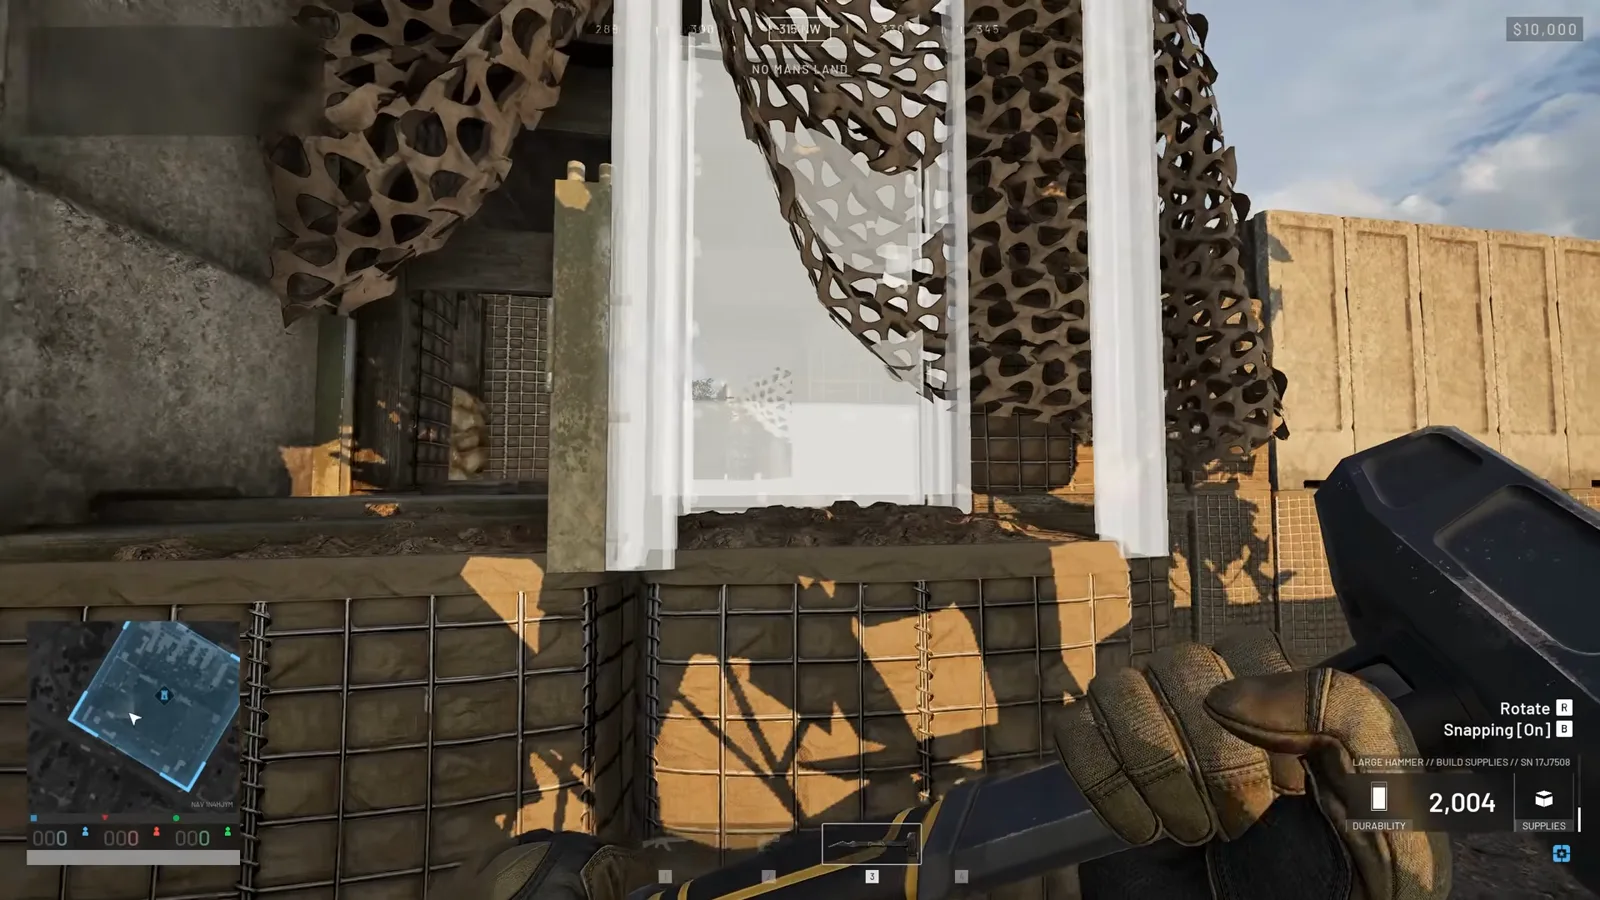
Deep link: Watch the Ladder Tech kill box demonstration (2:05).
Step 3: Construct Bremer Wall Blast Tunnels
Tank high-explosive (HE) shells and RPG rounds can wipe an entire squad walking through a standard gate. Constructing a Bremer Wall Blast Tunnel stops direct kinetic penetrations:
- Position tall Bremer concrete blocks in a staggered chicane outside the main infantry ingress point.
- Explosives impacting the exterior concrete dissipate their blast wave against the outer baffle, leaving the inner courtyard completely safe for friendly troop movement.
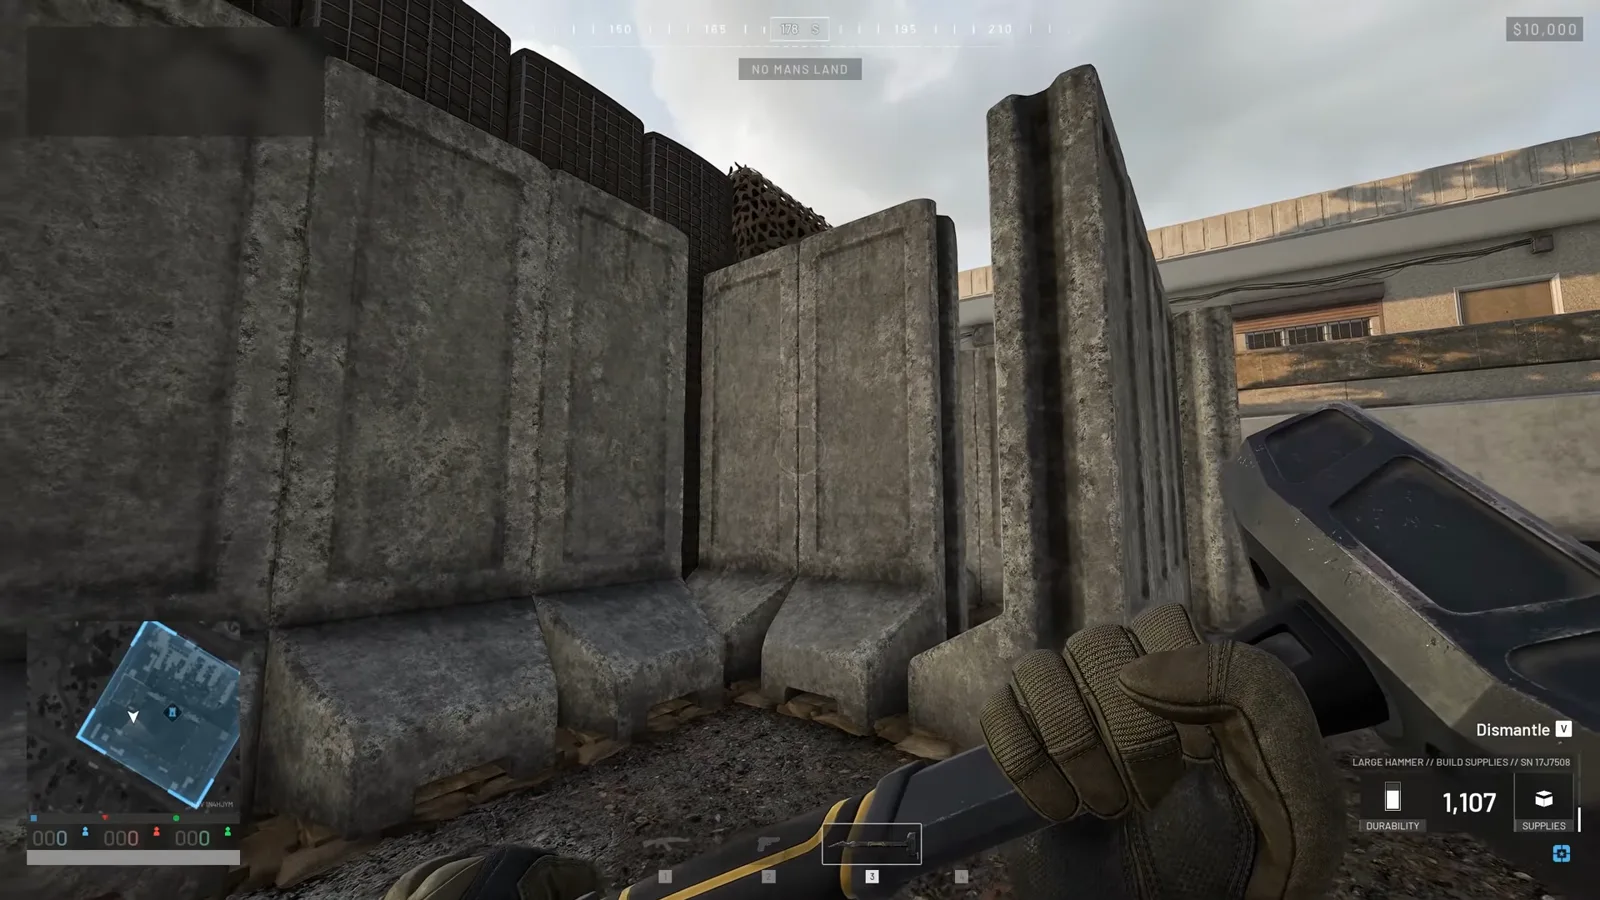
Deep link: Watch the blast tunnel construction (2:35).
Step 4: Protect the Spawn Vehicle with Dual IDF Shelters
Your FOB dies the instant your spawn truck is destroyed. Stacking Hescos around the vehicle leaves the roof completely exposed to plunging fire from mortars and CAS helicopters:
- Erect two overlapping Indirect Fire (IDF) Shelters directly above the spawn vehicle.
- The dual vaulted roofs completely shield the vehicle chassis from top-attack munitions, while allowing friendly infantry to spawn inside full overhead cover.
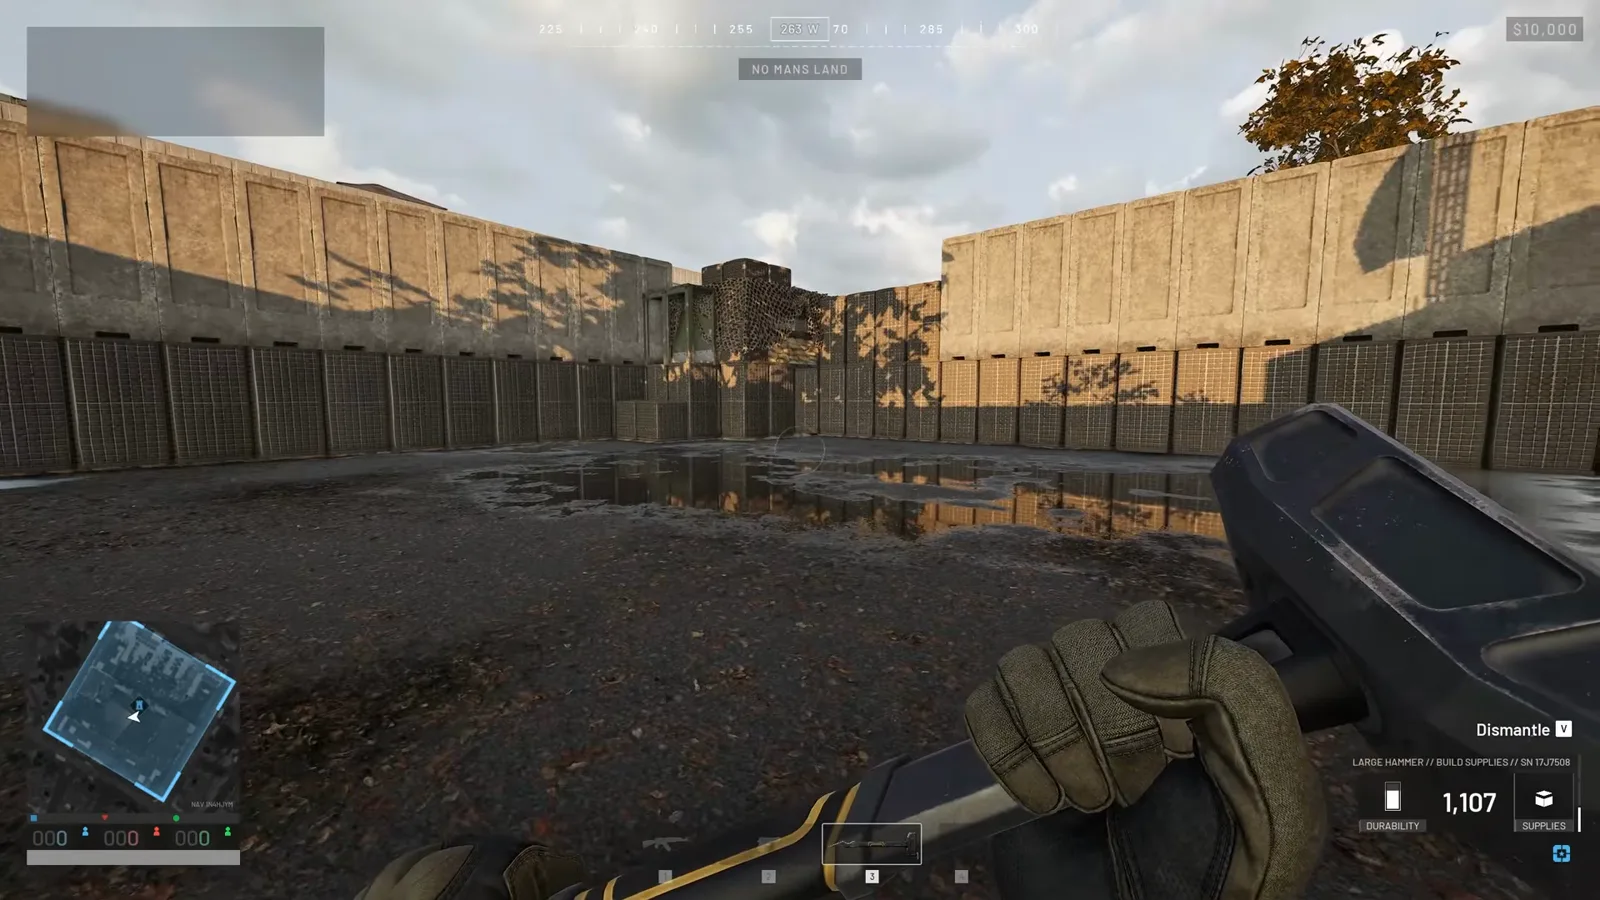
Deep link: Watch the dual IDF shelter placement (2:55).
Step 5: Stack Hedgehogs on Roofs to Pre-Detonate Mortar Shells
Plunging mortar rounds (like the L81 mortar) and artillery shells can gradually wear down bunker roof HP.
- Place Czech Hedgehogs directly on top of the IDF shelter roofs.
- The steel beams physically catch incoming rockets and mortar shells several feet above the concrete roof, triggering the detonation early and drastically mitigating impact damage to the structures below.
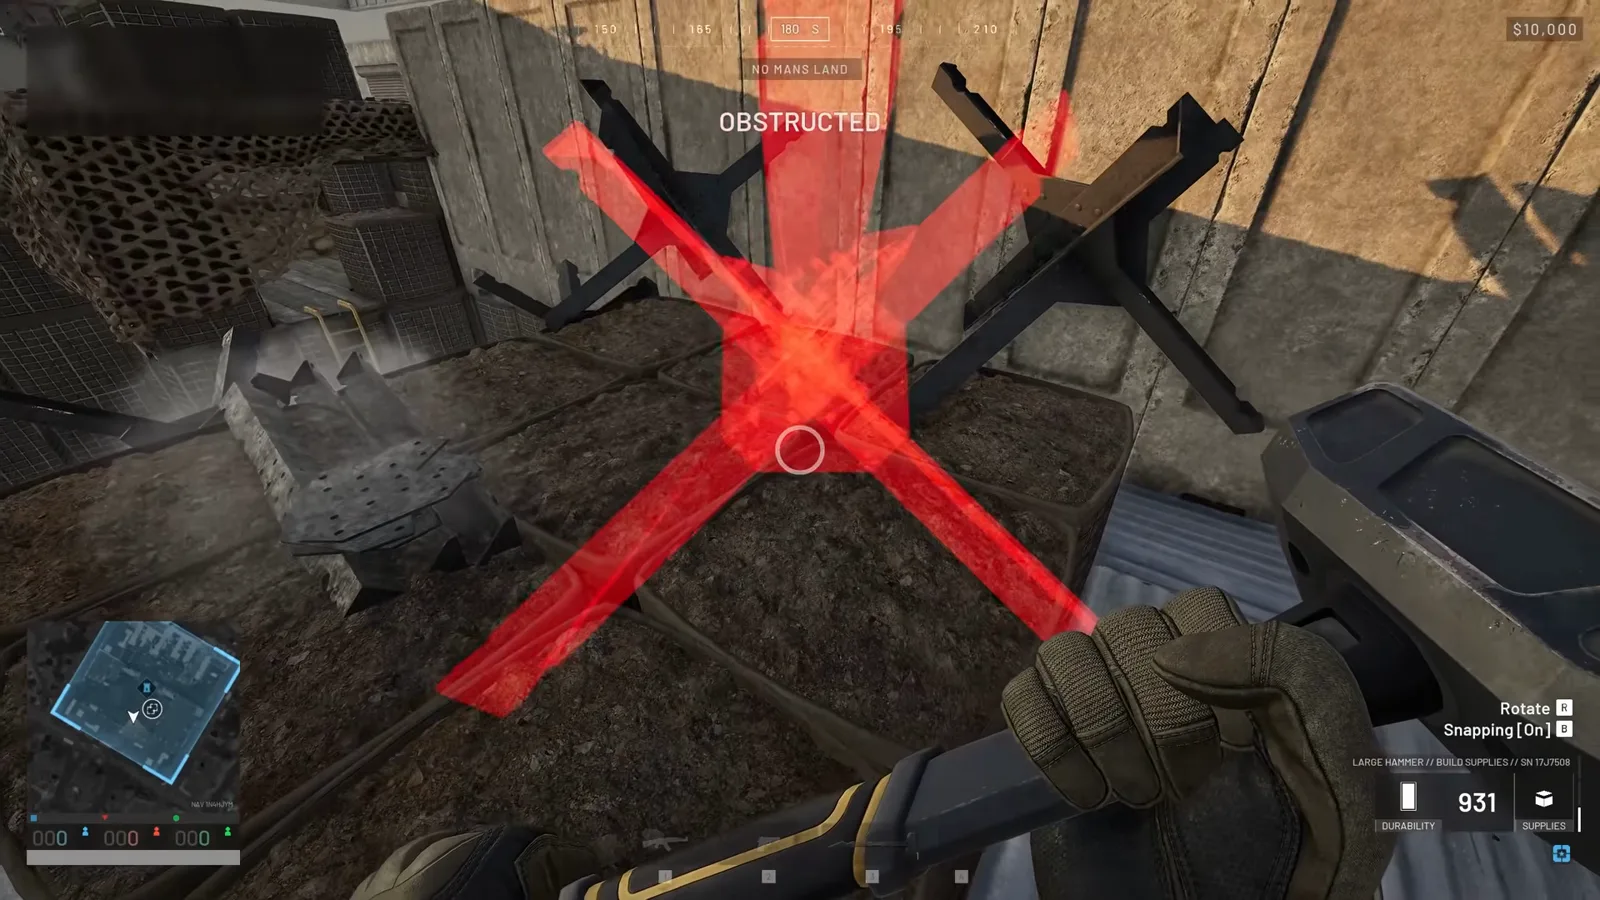
Deep link: Watch hedgehog placement against indirect fire (3:25).
Step 6: Master Hammer Animation Canceling for 2× Speed
Hammer construction in WARDOGS normally has a slow recovery animation between swings:
- Press
Left Clickto start your hammer swing. - The exact frame the hammer connects with the buildable (and the audio “thud” plays), release
Left Click. - Immediately press
Left Clickagain to queue the next swing. - Catching this rhythmic cadence cancels the recoil wind-down, doubling your construction rate.
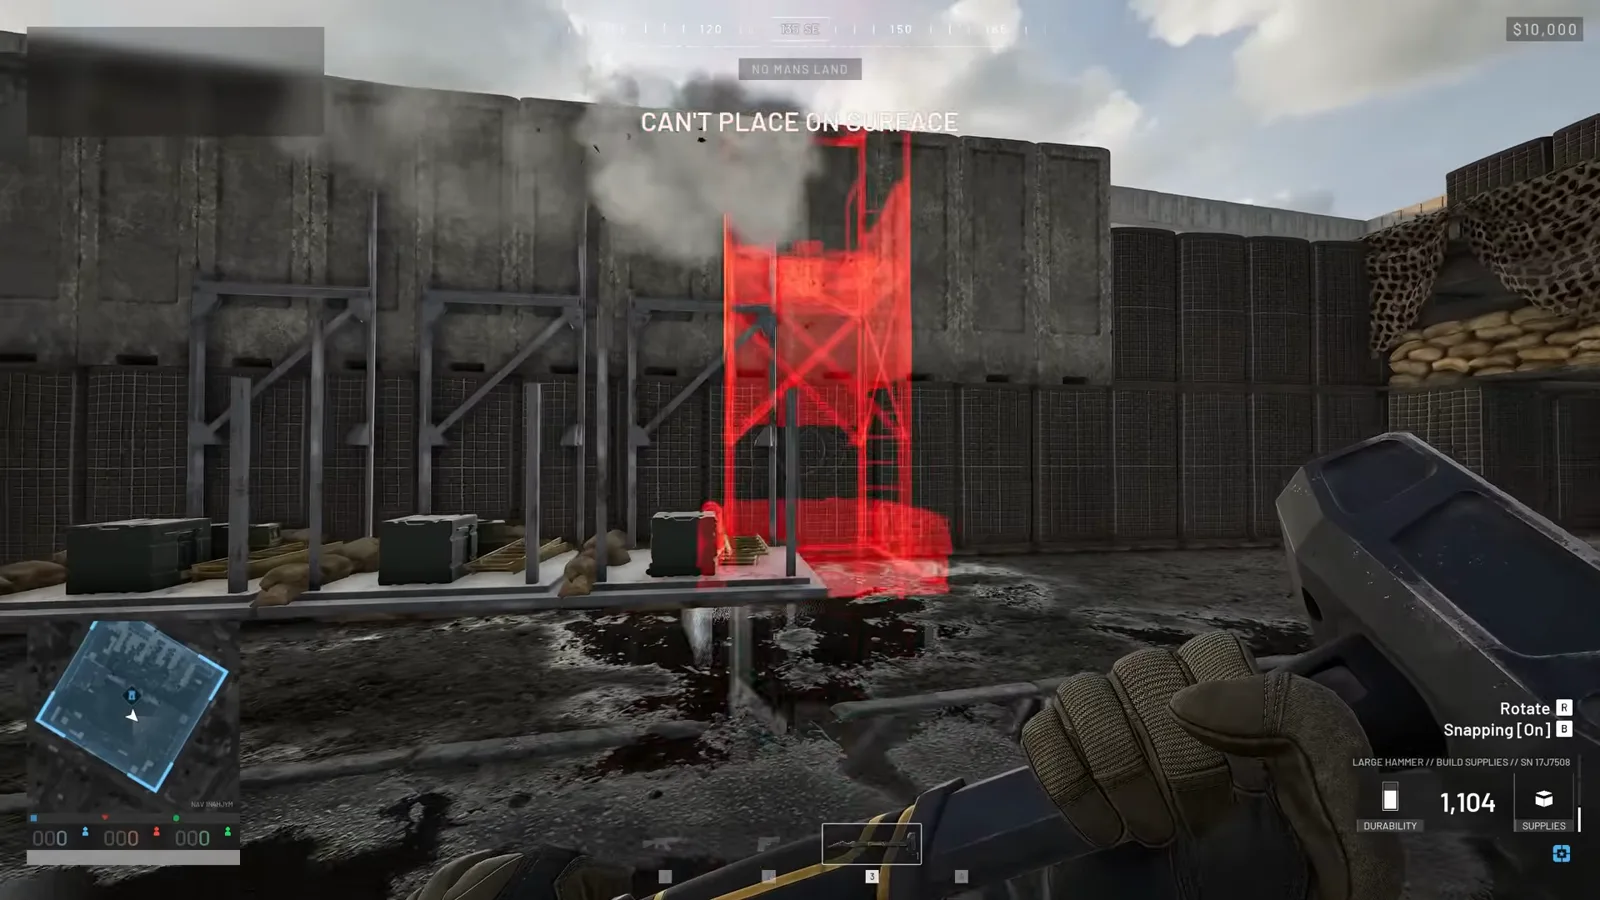
Deep link: Watch the hammer animation cancel tutorial (4:20).
Step 7: Drill Rig Mechanics and Fuel Pallet Management
The Drill Rig is the ultimate strategic game-winner: when fueled and activated, it forces the contested capture zone to migrate and lock onto your FOB:
- Minimum Activation: Requires 1,200 fuel supplies (one pallet) to start the engine.
- Maximum Duration: Holds up to 6,000 fuel supplies (five pallets). Always use pallets rather than loose crates for speed.
- Economic Payout: Successfully activating the drill awards $2,500 cash to the engineering squad, making it a lucrative cash farm in addition to a match-winning objective pull.
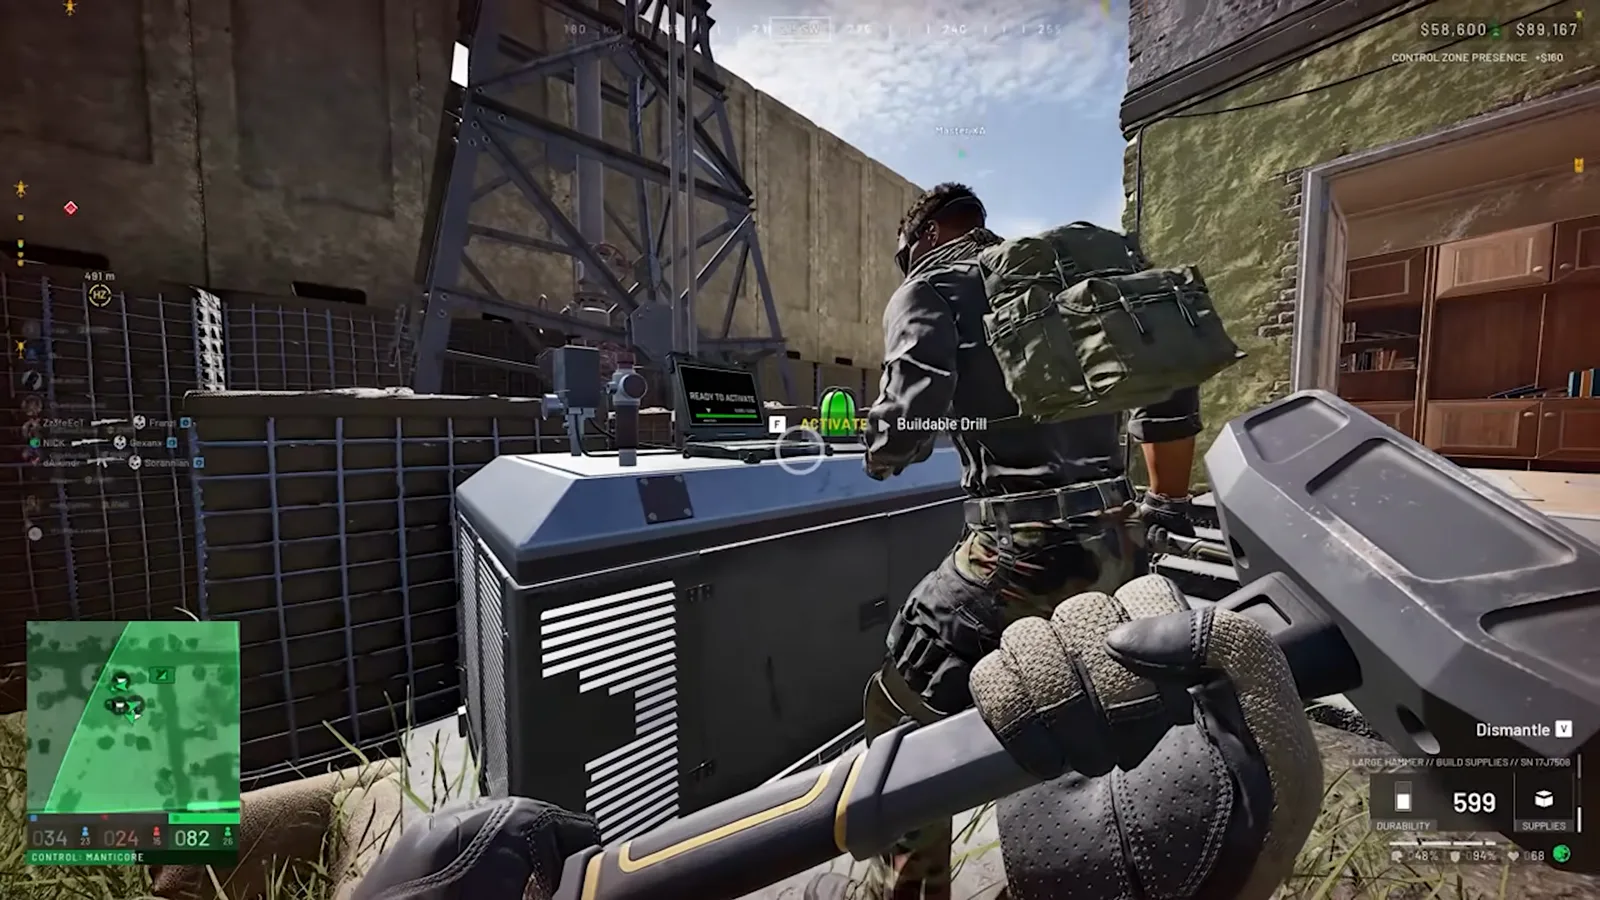
Deep link: Watch drill rig placement and fuel loading (5:30).
Step 8: The 4-Drill Rig Infinite Rotation Loop
Every time a drill rig finishes its cycle, it enters a strict 5 to 10 minute cooldown:
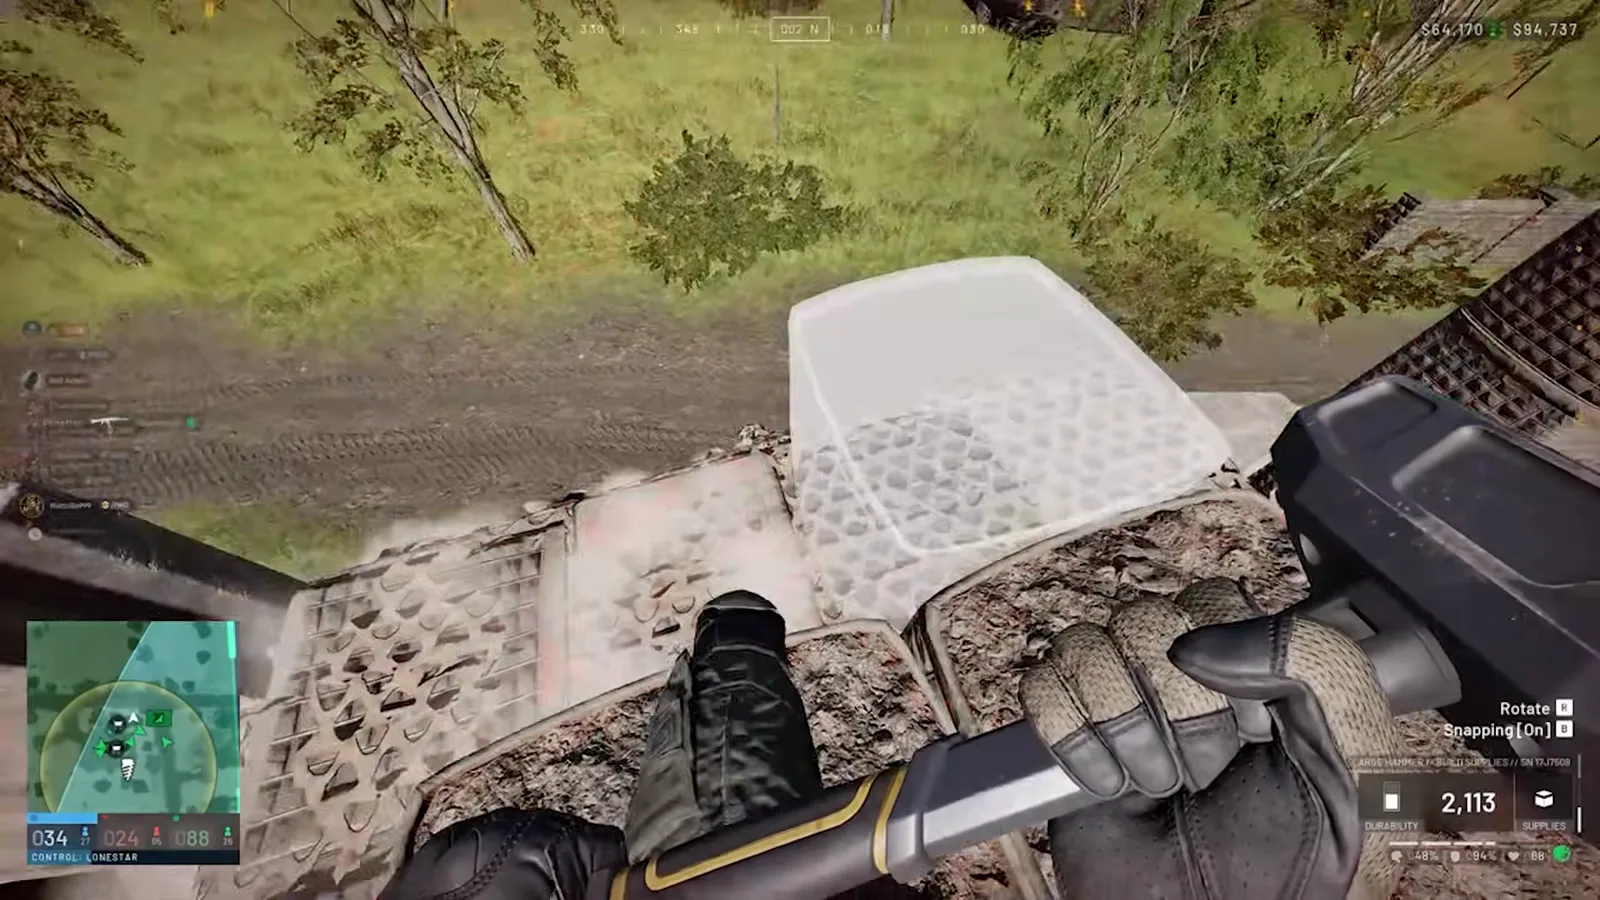
- Because cooldowns are tied to individual rigs rather than the entire base, an advanced FOB builds four drill rigs.
- The Cycle: Run Rig 1. When it expires, activate Rig 2, then Rig 3, then Rig 4.
- By the time Rig 4 completes its cycle, Rig 1 has cooled down and is ready for refueling, permanently chaining the capture zone to your fortified position.
For logistics delivery routes to keep fuel pallets flowing into your FOB, consult our logistics and supply transport guide. If defending against enemy armored columns attempting to breach your perimeter, pair this layout with our anti-tank combat guide and best loadout configurations.
Related Articles
fixes
WARDOGS Low FPS & Stuttering Fix: 100-Player Performance Guide
Fix WARDOGS low FPS, sudden frame drops and micro-stuttering in 100-player battles with a hardware-first performance troubleshooting ladder.
guides
WARDOGS Helicopter J-Hook Landing Guide: Fast Combat Touchdowns
Master the combat J-Hook in WARDOGS: enter at maximum speed, dump collective, snap yaw and roll, and land between cover before anti-air can lock on.
guides
WARDOGS Sniper Unlock Guide: Rapid Leveling & Zero-Kill Scout
Skip the useless starter rifle and unlock SKS, Mosin, and SVD snipers fast in WARDOGS with zero-shot spotting techniques, loadouts, and CQB survival.
Was this helpful?
Thanks for the feedback!