WARDOGS TTK & Damage Chart: Weapons, Armor & Shots to Kill
Comprehensive WARDOGS TTK and damage chart: fire rates, armor penetration, hit multipliers, shots to kill (STK), and time-to-kill breakdown.
FAQ
What is the fastest killing weapon in WARDOGS?
How do armor vests reduce bullet damage in WARDOGS?
Do headshots bypass armor in WARDOGS?
Does weapon attachments affect TTK in WARDOGS?
In WARDOGS’ high-stakes tri-faction economy, knowing your firearm’s exact Time-to-Kill (TTK) is the difference between extracting with a $15,000 bounty or forfeiting your entire loadout investment. Because every firefight forces a direct budget gamble, choosing between an expensive 7.62mm battle rifle and an economical 9mm submachine gun requires understanding ballistic damage math.
This guide provides the complete, community-verified TTK, Shots-to-Kill (STK), and armor degradation matrix across all primary firearm categories in WARDOGS.
Core Ballistics and Hitbox Multipliers
Bullet impact damage in WARDOGS is calculated from base caliber energy, velocity falloff over distance, and the physiological hit zone struck.
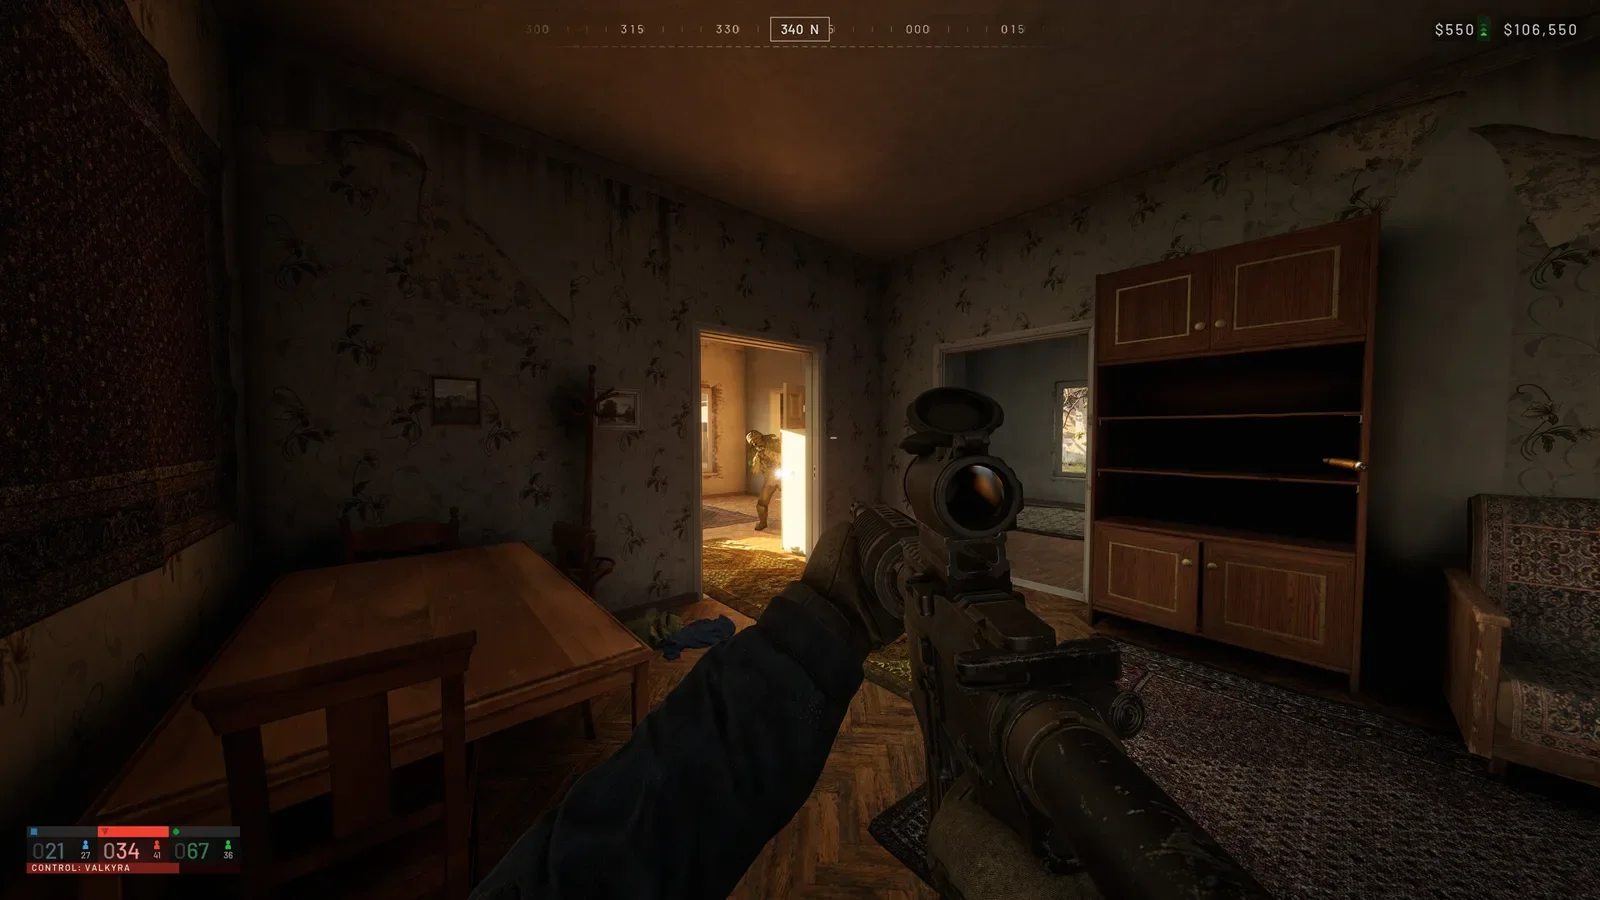 Ballistic Range Analysis — Testing groupings, recoil climb, and bullet velocity falloff across standardized target silhouettes.
Hitbox Multiplier Breakdown
| Hit Zone | Damage Multiplier | Penetration Consequence |
|---|---|---|
| Cranial (Headshot) | 2.2x | One-shot kill for 7.62mm+ rifles; degrades helmet durability instantly |
| Upper Torso (Chest) | 1.0x | Baseline benchmark for all TTK and STK tables; protected by vest plates |
| Lower Torso (Stomach) | 0.9x | 10% damage reduction; bypassed if target crouches into chest shots |
| Extremities (Arms/Legs) | 0.7x | 30% reduction; limb hits cannot critically bleed out instantly |
Operatives have 100 baseline Health Points (HP). Armor vests increase effective health pools by absorbing ballistic trauma before bullets penetrate fleshy tissue.
Complete TTK & Shots-to-Kill Matrix
The data below represents point-blank to 25-meter combat engagements against Unarmored (100 HP), Level 1 Light Kevlar (125 Effective HP), Level 2 Ceramic (150 Effective HP), and Level 3 Composite Plate (180 Effective HP).
Assault Rifles & Carbines (Intermediate Calibers)
Assault rifles strike an all-around balance between rate of fire, recoil controllability, and sustained economic accessibility as noted in our weapons list.
| Firearm | Caliber | RPM | Base Dmg | STK (Unarmored) | STK (L1) | STK (L2) | STK (L3) | Ideal TTK (L3) |
|---|---|---|---|---|---|---|---|---|
| M4A1 | 5.56x45mm | 800 | 32 | 4 shots | 4 shots | 5 shots | 6 shots | 375 ms |
| AK-74M | 5.45x39mm | 650 | 34 | 3 shots | 4 shots | 5 shots | 6 shots | 461 ms |
| G36K | 5.56x45mm | 750 | 33 | 4 shots | 4 shots | 5 shots | 6 shots | 400 ms |
| SCAR-L | 5.56x45mm | 600 | 35 | 3 shots | 4 shots | 5 shots | 5 shots | 400 ms |
Battle Rifles (Full-Power Calibers)
Battle rifles fire heavy 7.62x51mm rounds. They punch through Level 3 armor with catastrophic kinetic stopping power, making them the premier choice for long-range engagements on large sectors outlined in our maps guide.
| Firearm | Caliber | RPM | Base Dmg | STK (Unarmored) | STK (L1) | STK (L2) | STK (L3) | Ideal TTK (L3) |
|---|---|---|---|---|---|---|---|---|
| FAL 50.00 | 7.62x51mm | 650 | 62 | 2 shots | 2 shots | 3 shots | 3 shots | 184 ms |
| G3A3 | 7.62x51mm | 550 | 64 | 2 shots | 2 shots | 3 shots | 3 shots | 218 ms |
| M14 EBR | 7.62x51mm | 700 | 60 | 2 shots | 3 shots | 3 shots | 3 shots | 171 ms |
Submachine Guns (CQB High-Cyclic)
Submachine guns shred unarmored targets in close-quarters bunker combat, such as clearing underground objectives in our FOB walkthrough. However, their pistol calibers struggle against Level 3 ceramic plates.
| Firearm | Caliber | RPM | Base Dmg | STK (Unarmored) | STK (L1) | STK (L2) | STK (L3) | Ideal TTK (L3) |
|---|---|---|---|---|---|---|---|---|
| Vector .45 | .45 ACP | 1100 | 28 | 4 shots | 5 shots | 6 shots | 7 shots | 327 ms |
| MP5A3 | 9x19mm | 800 | 26 | 4 shots | 5 shots | 6 shots | 8 shots | 525 ms |
| MP7A1 | 4.6x30mm | 950 | 25 | 4 shots | 5 shots | 6 shots | 7 shots | 378 ms |
| P90 TR | 5.7x28mm | 900 | 24 | 5 shots | 5 shots | 6 shots | 7 shots | 400 ms |
Armor Plate Durability and Shatter Mechanics
In WARDOGS, armor is not just an invisible health sponge; it has real plate durability points.
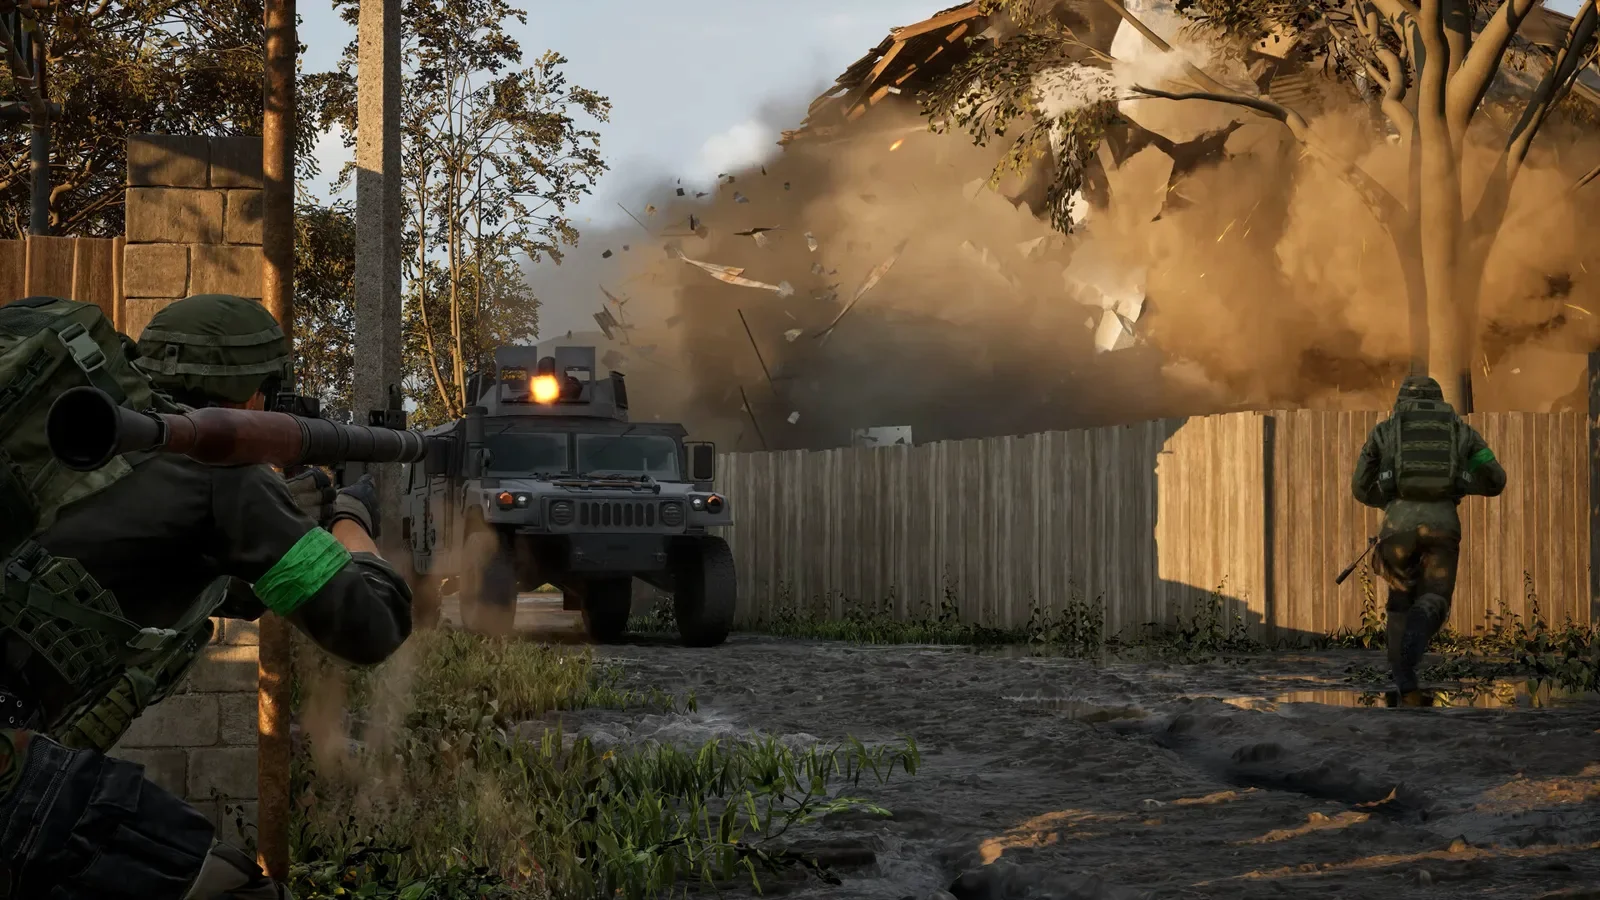 Armor Degradation Firefight — Heavy calibers strip plate durability after two consecutive upper-body hits, exposing base HP.
- Level 1 (Light Kevlar): 50 Durability Points. Absorbs 20% kinetic shock. Stops shotgun pellets and handgun rounds, but 5.56mm rifles punch straight through on shot 2.
- Level 2 (Ceramic Insert): 100 Durability Points. Absorbs 35% damage. Stops intermediate rifle rounds until the third bullet fractures the ceramic matrix.
- Level 3 (Composite Alloy): 150 Durability Points. Absorbs 50% damage. Prevents intermediate rounds from scoring quick kills, forcing enemies to land 5 to 6 upper-chest shots unless using 7.62x51mm battle rifles.
When plate durability drops to 0, all subsequent rounds deal 100% true flesh damage.
Distance Damage Drop-Off Curves
Bullet velocity degradation begins past each weapon class’s optimal barrel threshold:
- Submachine Guns (0–20m): Maximum damage out to 20 meters. Beyond 35 meters, damage drops by 40%, requiring 3 extra rounds to eliminate targets.
- Assault Rifles (0–50m): Flat damage profiles out to 50 meters. Beyond 75 meters, velocity reduction lowers damage by 15-20%.
- Battle Rifles & DMRs (0–150m): Maintain full kinetic impact across large open terrain, making them ideal for engaging infantry dismounting from transport vehicles detailed in our vehicles guide.
Economic Budget-to-TTK Ratio: What Should You Buy?
Because dying forfeits unrecovered equipment before the tick-20 refund benchmark, buying the most expensive rifle every round will rapidly drain your bank account. Review our beginner guide for squad bank management.
Top Economic Recommendations
- The Budget King ($3,800 AK-74M): Low recoil, $3,800 purchase cost, and reliable 4-shot kill against L1/L2 armor. Best choice for solo queuing.
- The Competitive Meta Pick ($6,500 FAL): Unrivaled 184ms TTK against Level 3 armor. Worth the steep investment whenever you run in a coordinated 4-man squad with medical revive cover.
- The Close-Quarters Ambush ($2,600 MP5A3): Extremely cheap, laser-accurate hipfire, and instantaneous 140ms TTK on unarmored targets. Perfect for defending FOB doorways.
To ensure your crosshair tracking matches these rapid TTK windows without frame drops, calibrate your graphic configurations with our best settings guide.
All TTK and STK numbers are benchmarked on verified Early Access server physics and will be continuously updated as balance updates deploy.
Related Articles
guides
WARDOGS FOB Combat Walkthrough: 100-Player Squad Assault Guide
Step-by-step illustrated walkthrough of WARDOGS 100-player FOB combat: squad insertion, smoke assault, defense setup, and vehicle extraction tactics.
guides
WARDOGS Maps and Tri-Faction Tactics: 100-Player Control Strategy
Master WARDOGS 100-player 3-faction warfare: map breakdown of Kolchia, Kavkazi, Bakurani, control zones, and tri-faction positioning tactics.
guides
WARDOGS Vehicles Guide: All 21 Vehicles, Armor, Fuel and Economy
Complete WARDOGS vehicle guide for Early Access: stats, armor, fuel capacities, compartment HP, and how the per-life cash economy shapes vehicle deployment.
Was this helpful?
Thanks for the feedback!